The First Step is to add a Source on Catchr (if you already have a Source on Catchr, you can skip this part).
Log in to app.catchr.io using the Sign in with Google button (it will also create your account if it is the first time you connect).
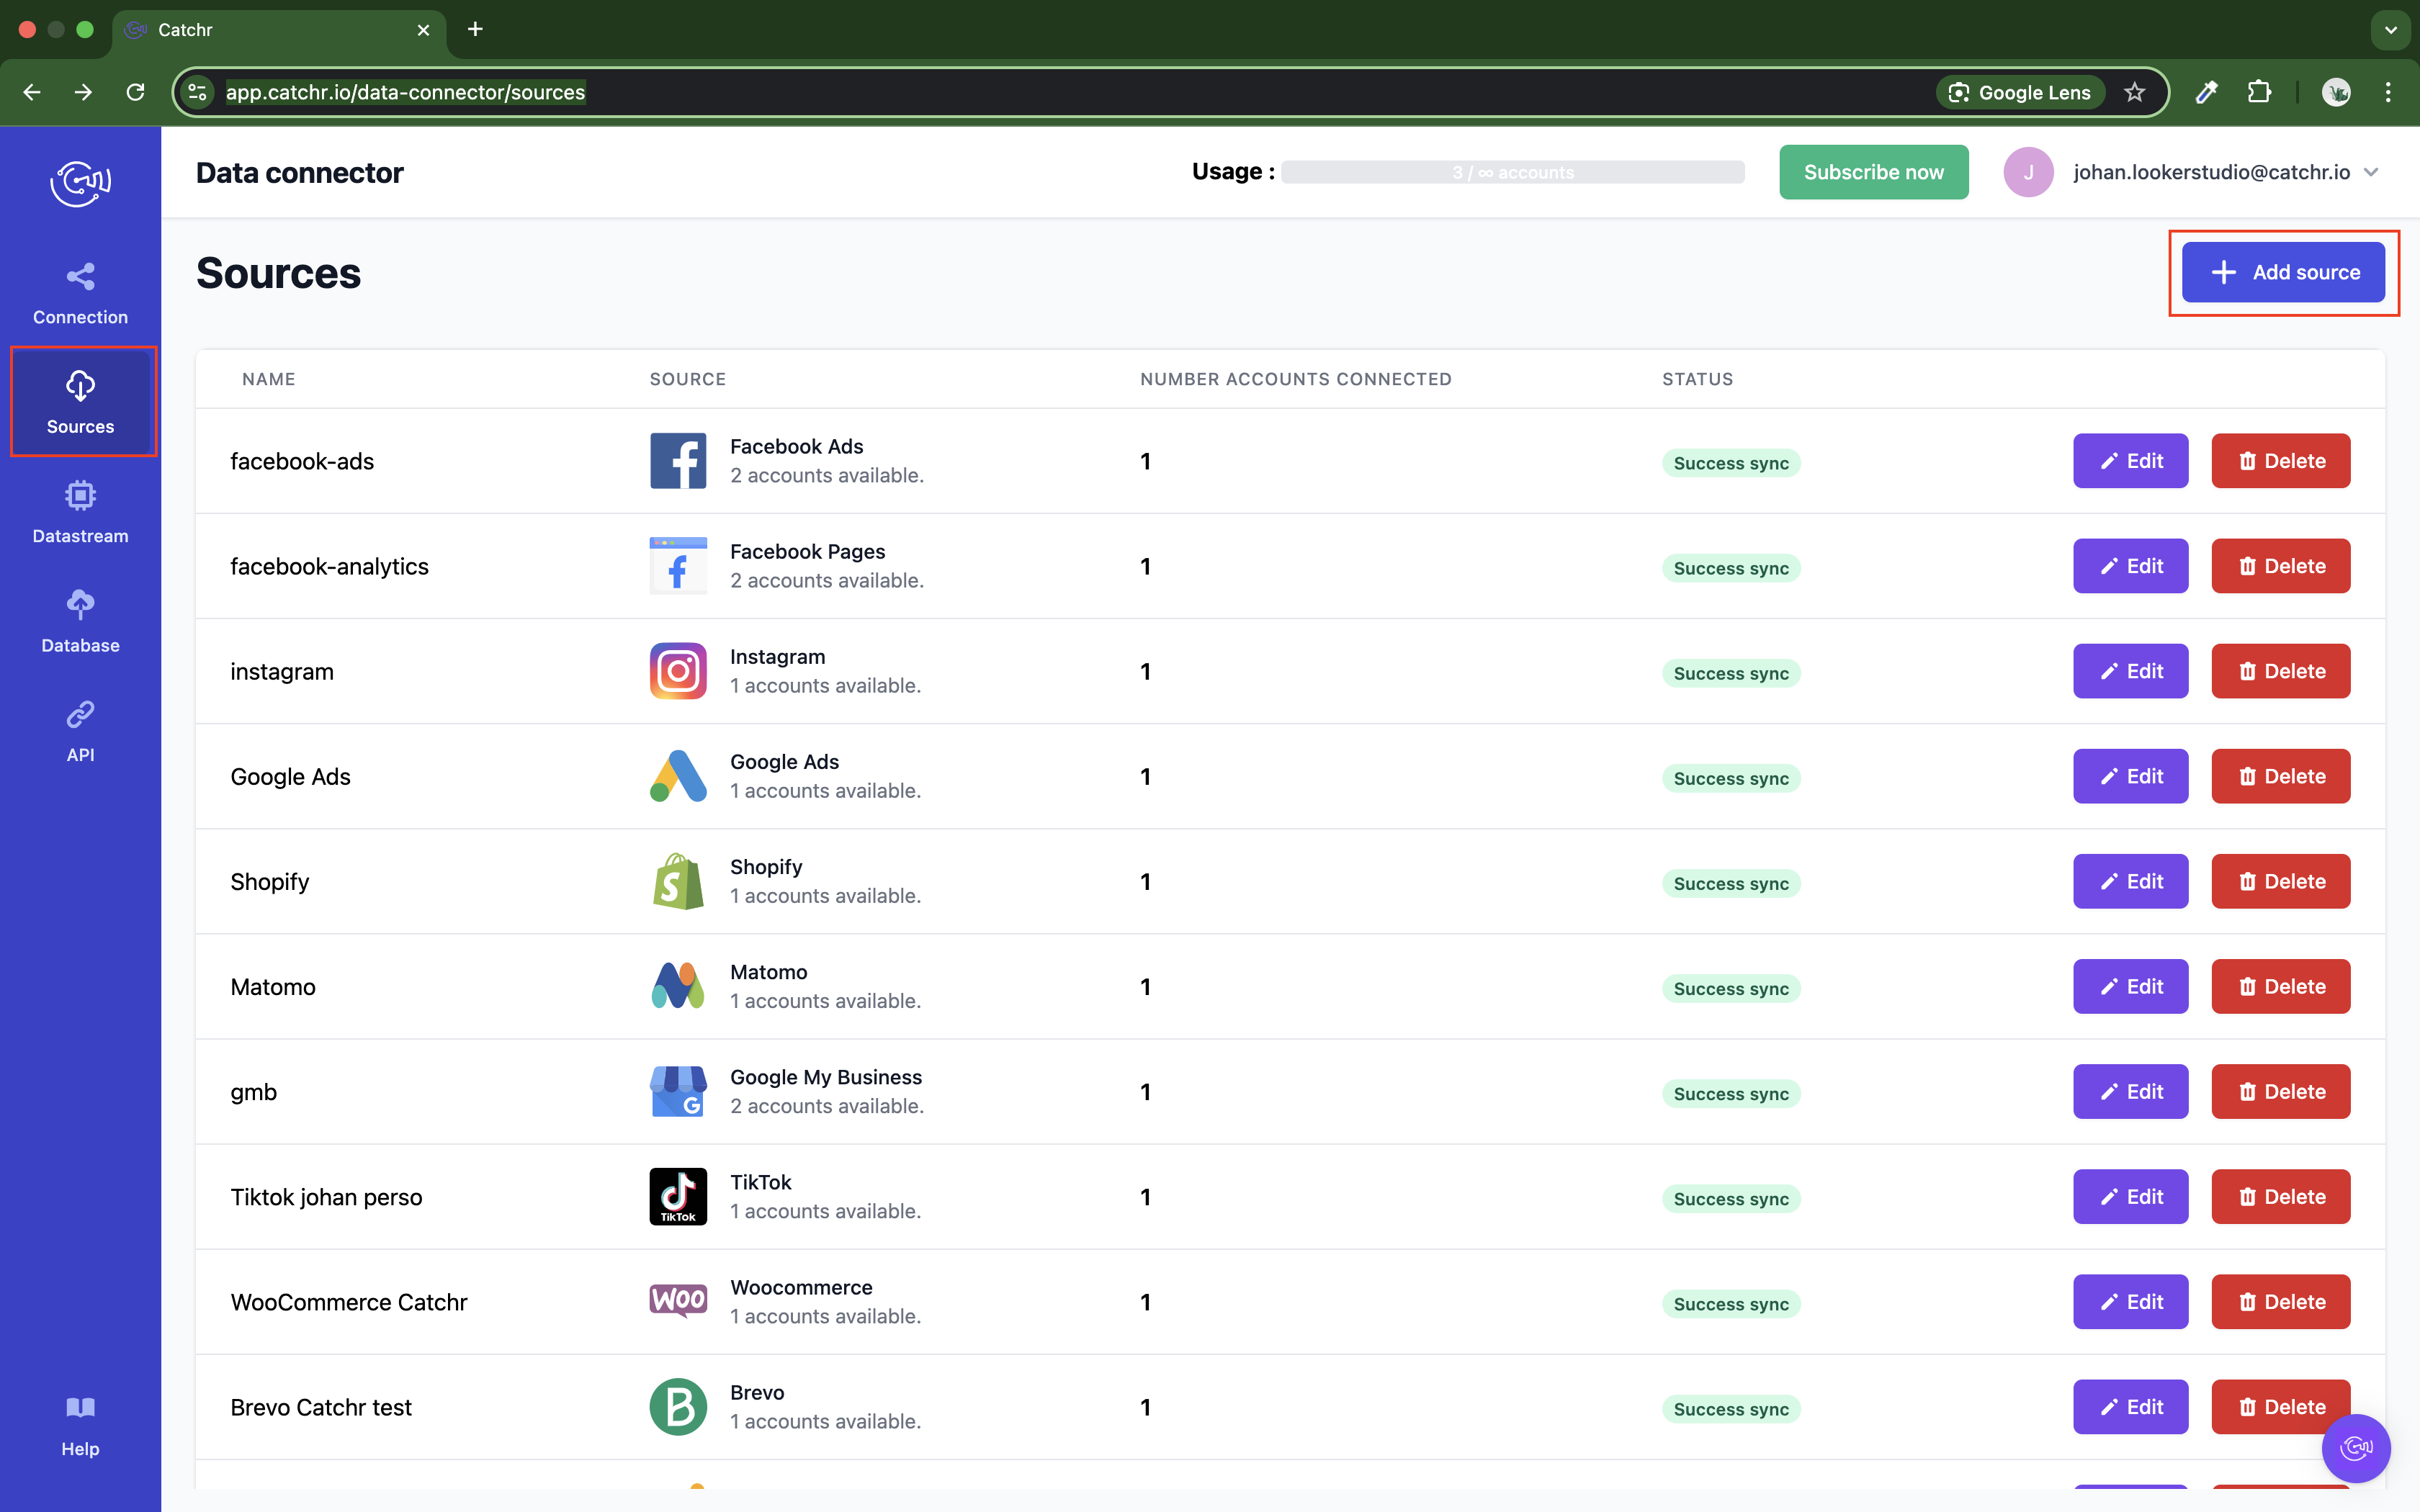
Go to :
Source
Add a new Source
Select the platform you want to use.
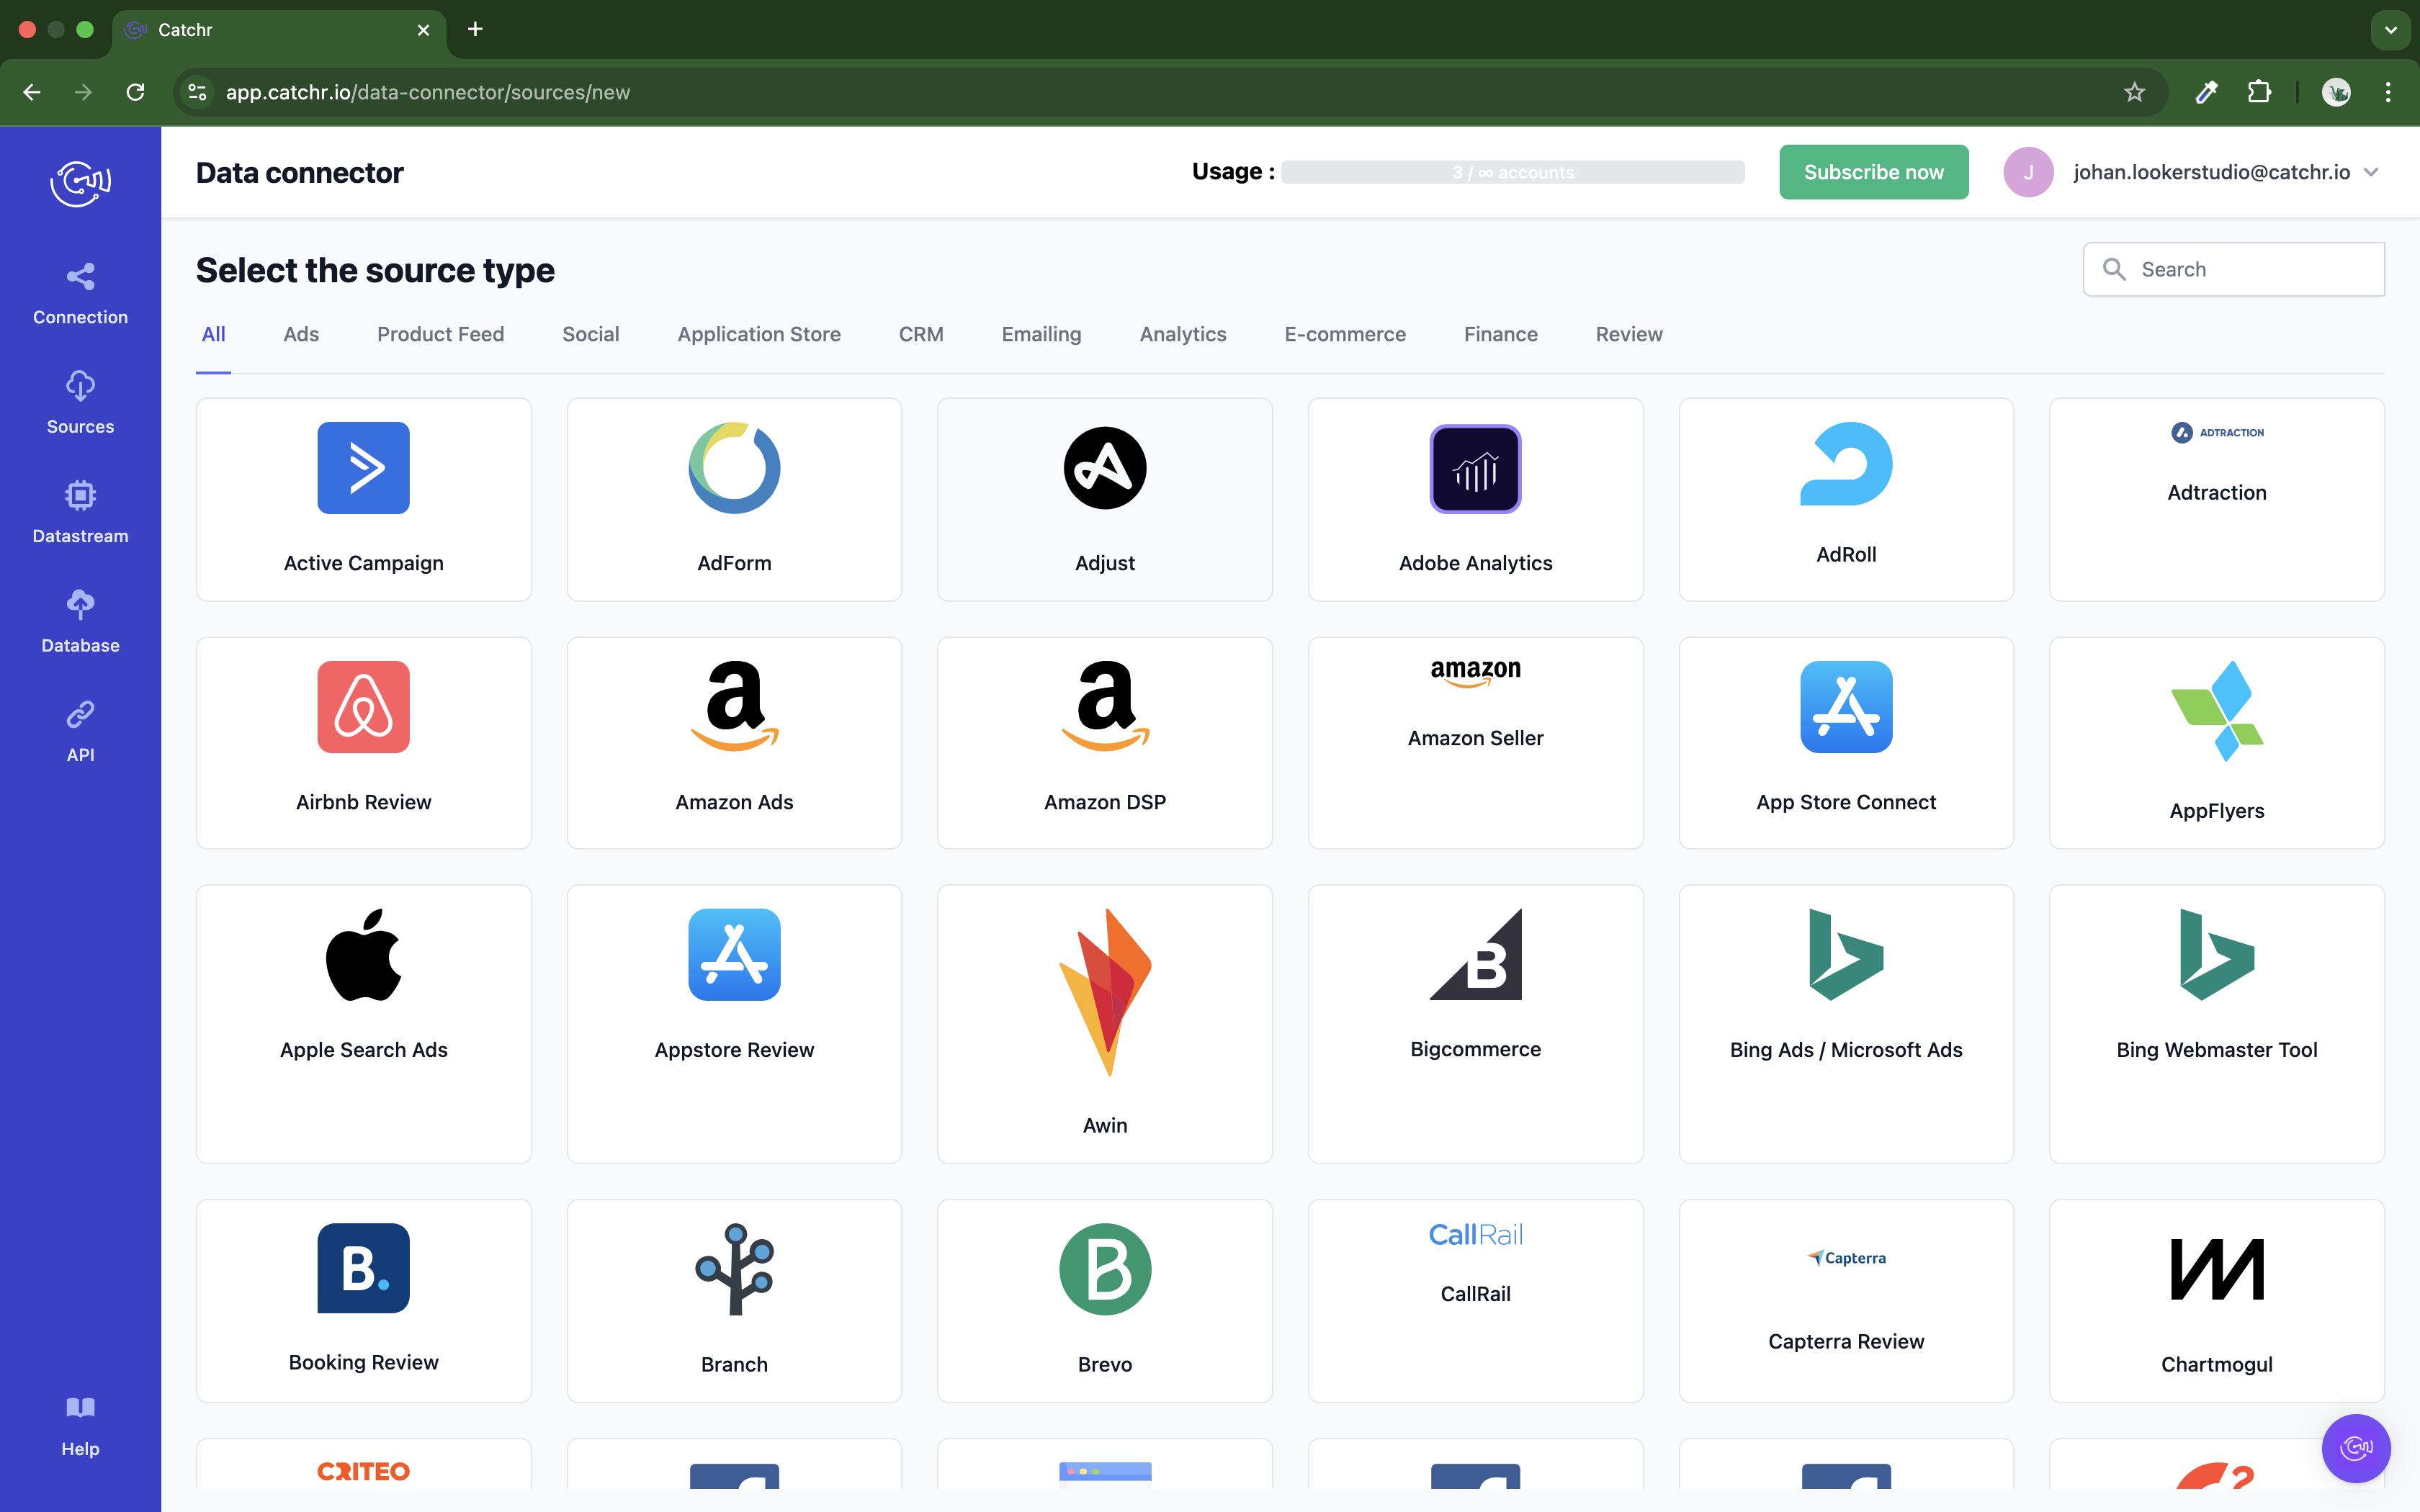
Follow the steps to connect your platform.
Each platform is its way of connecting an account to Catchr (e.g., logging in to the platform account, generating an API Key, or an access token).
Once an account is visible, the page looks like this:
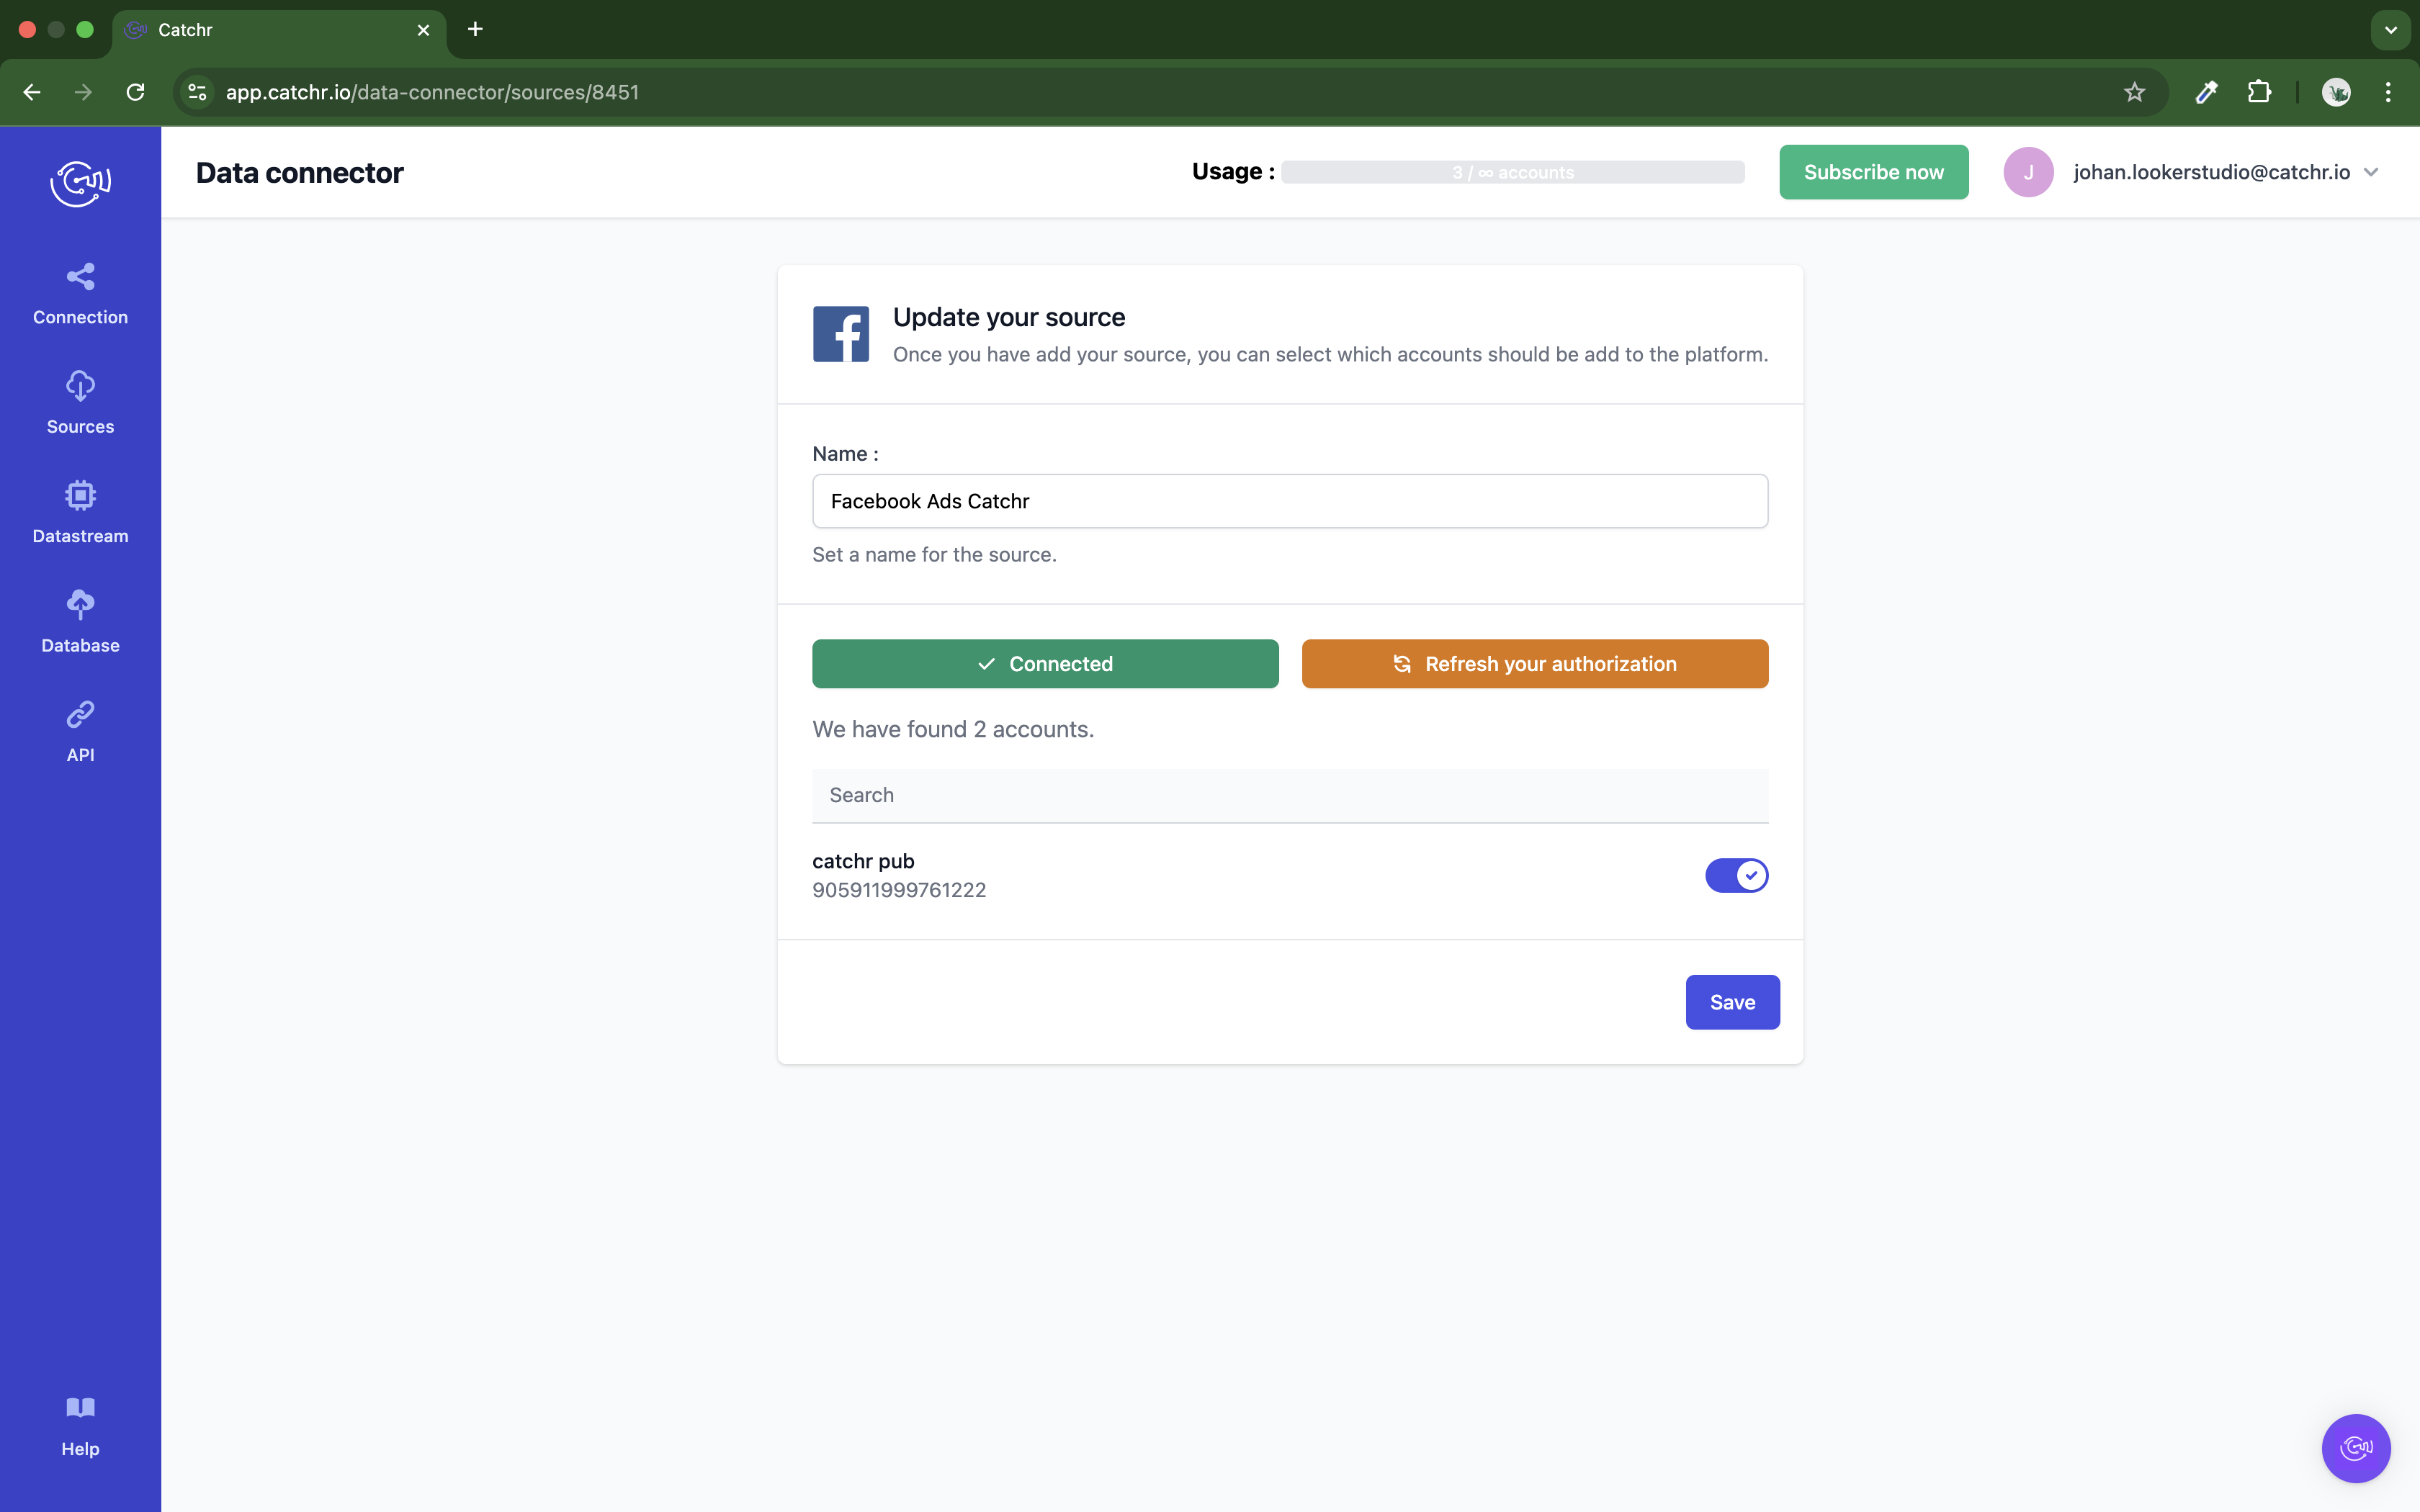
You can activate the account or let Catchr do it once the first call is made using Microsoft Excel. If you have multiple accounts here, you do not need to activate them all. You can still select them in Google Sheets, and Catchr will activate them if we detect a request using them.
The second step to using our Microsoft Excel App0 is to install it on Google Sheets. It will then appear in the Extension Tab.
Follow this link and click Get it now.
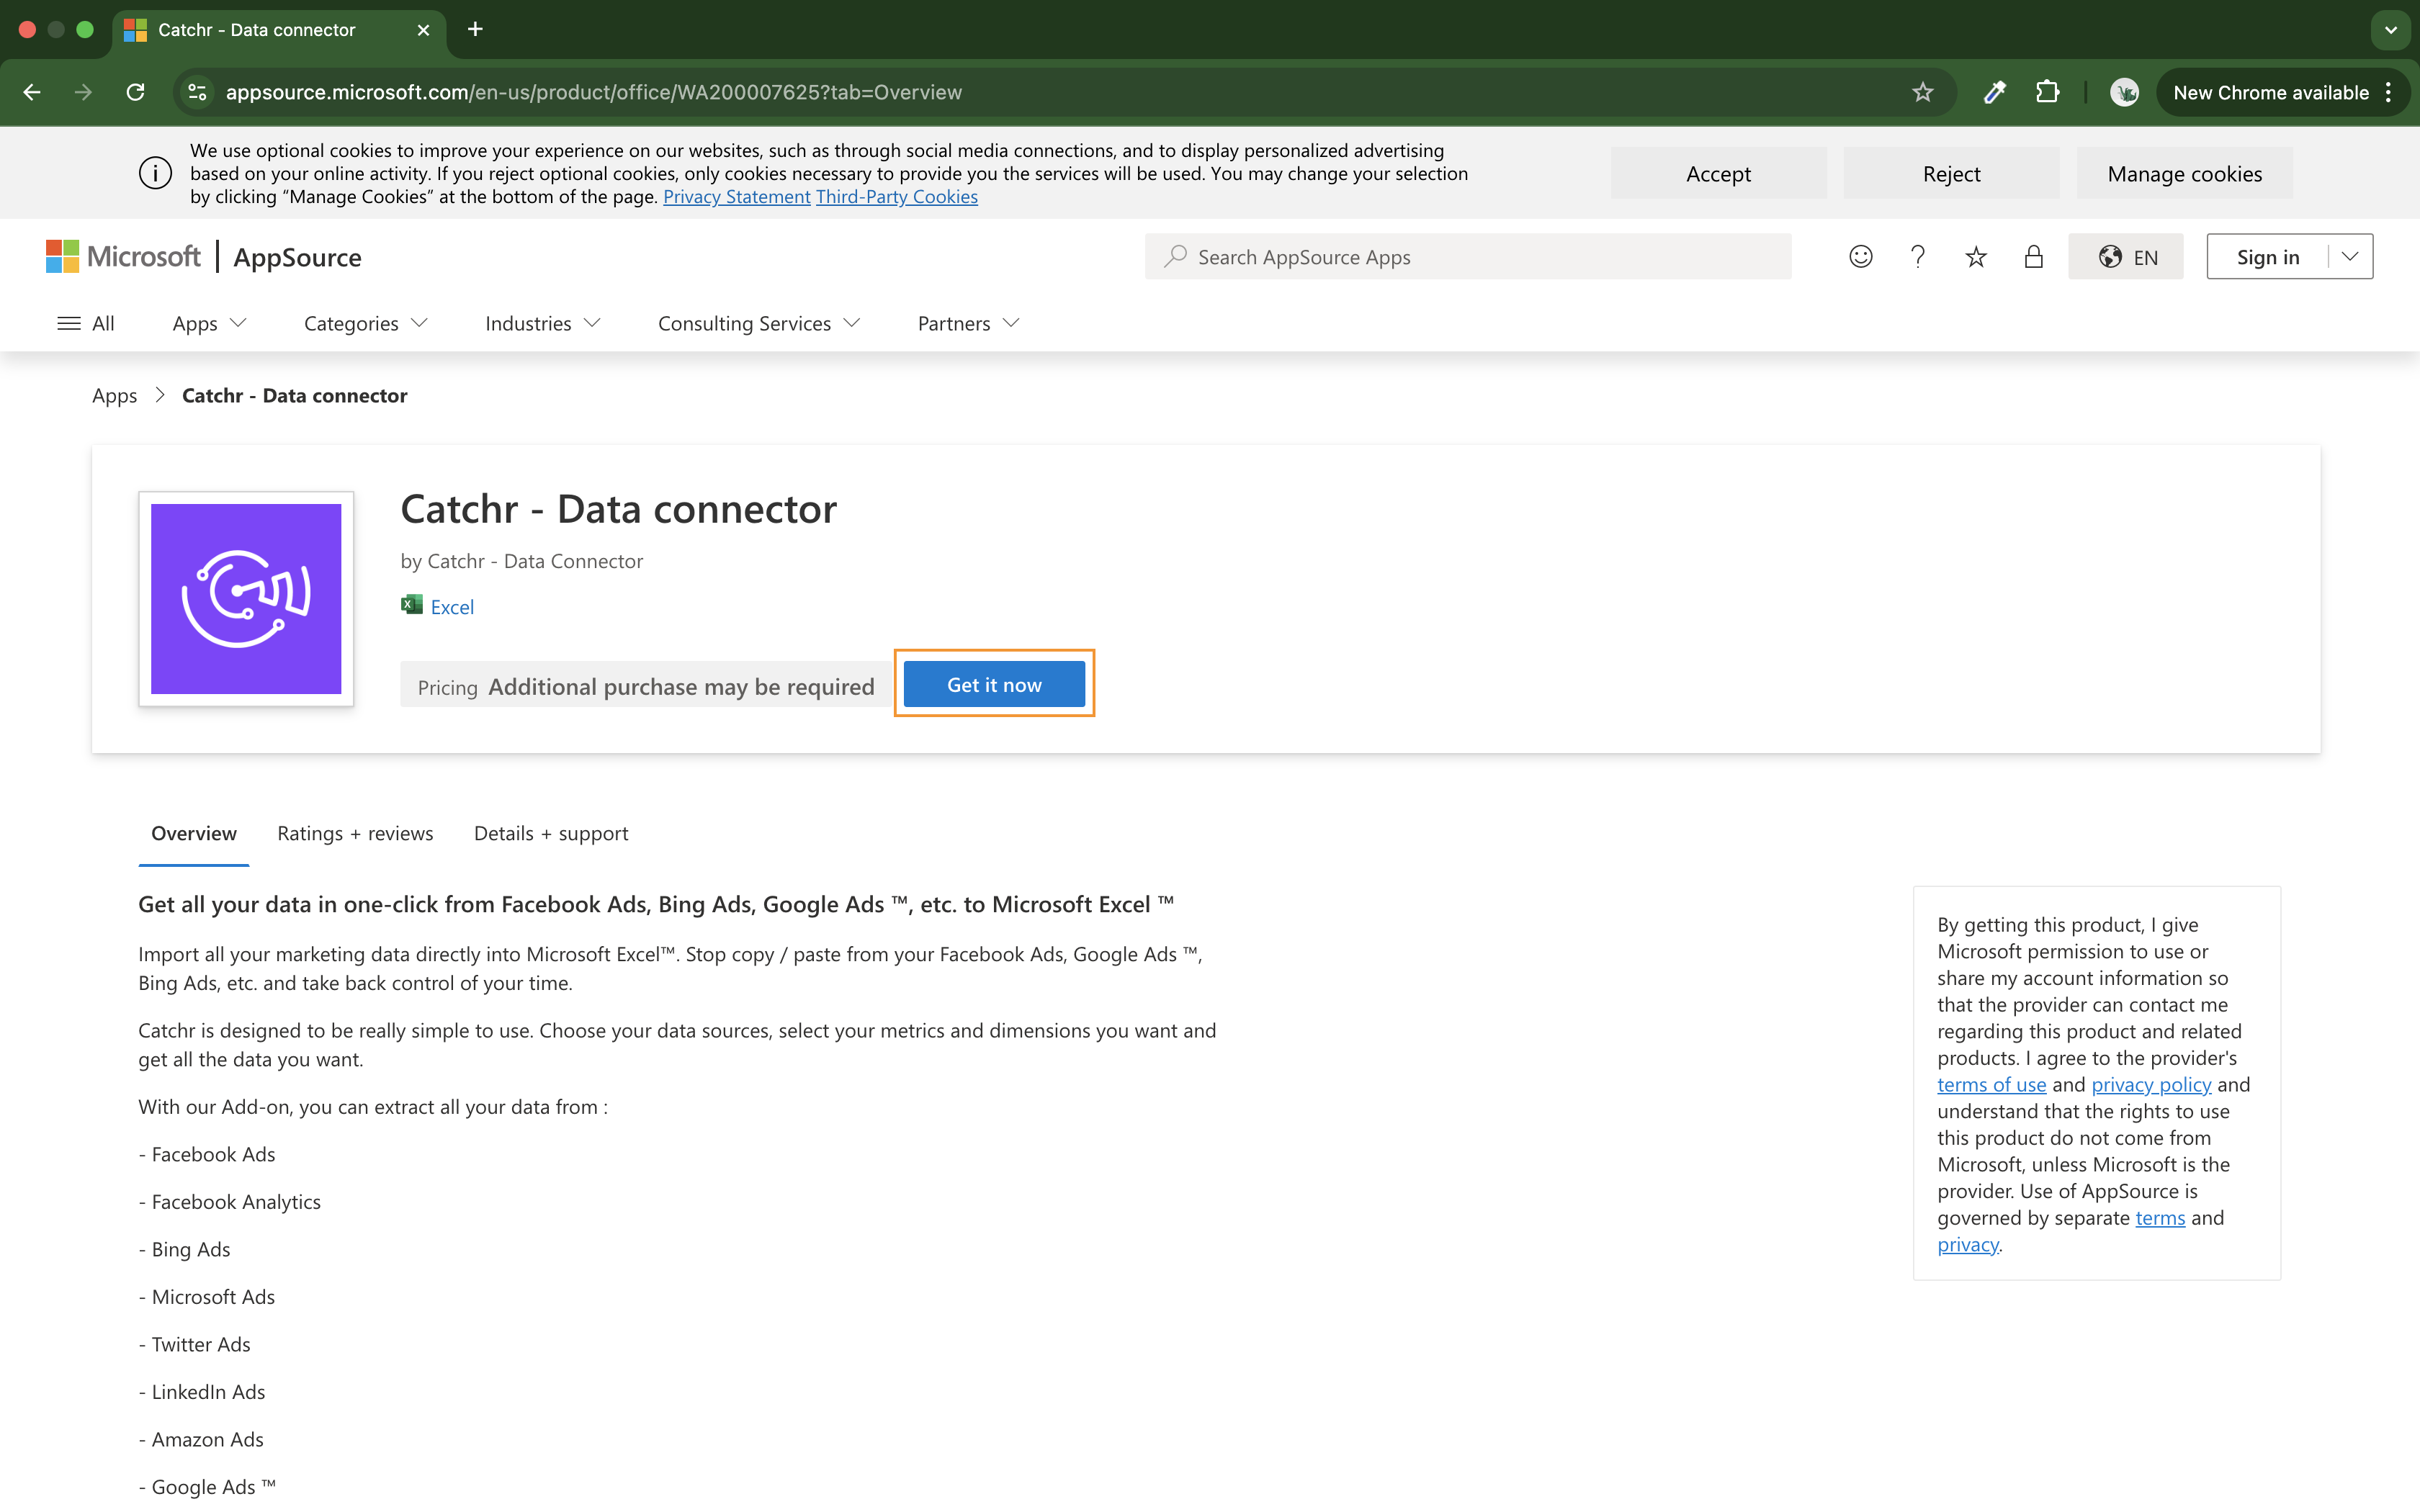
Sign in to Microsoft AppSource with the same Google account you used on Catchr (or create a new account with the email used on your Google account.
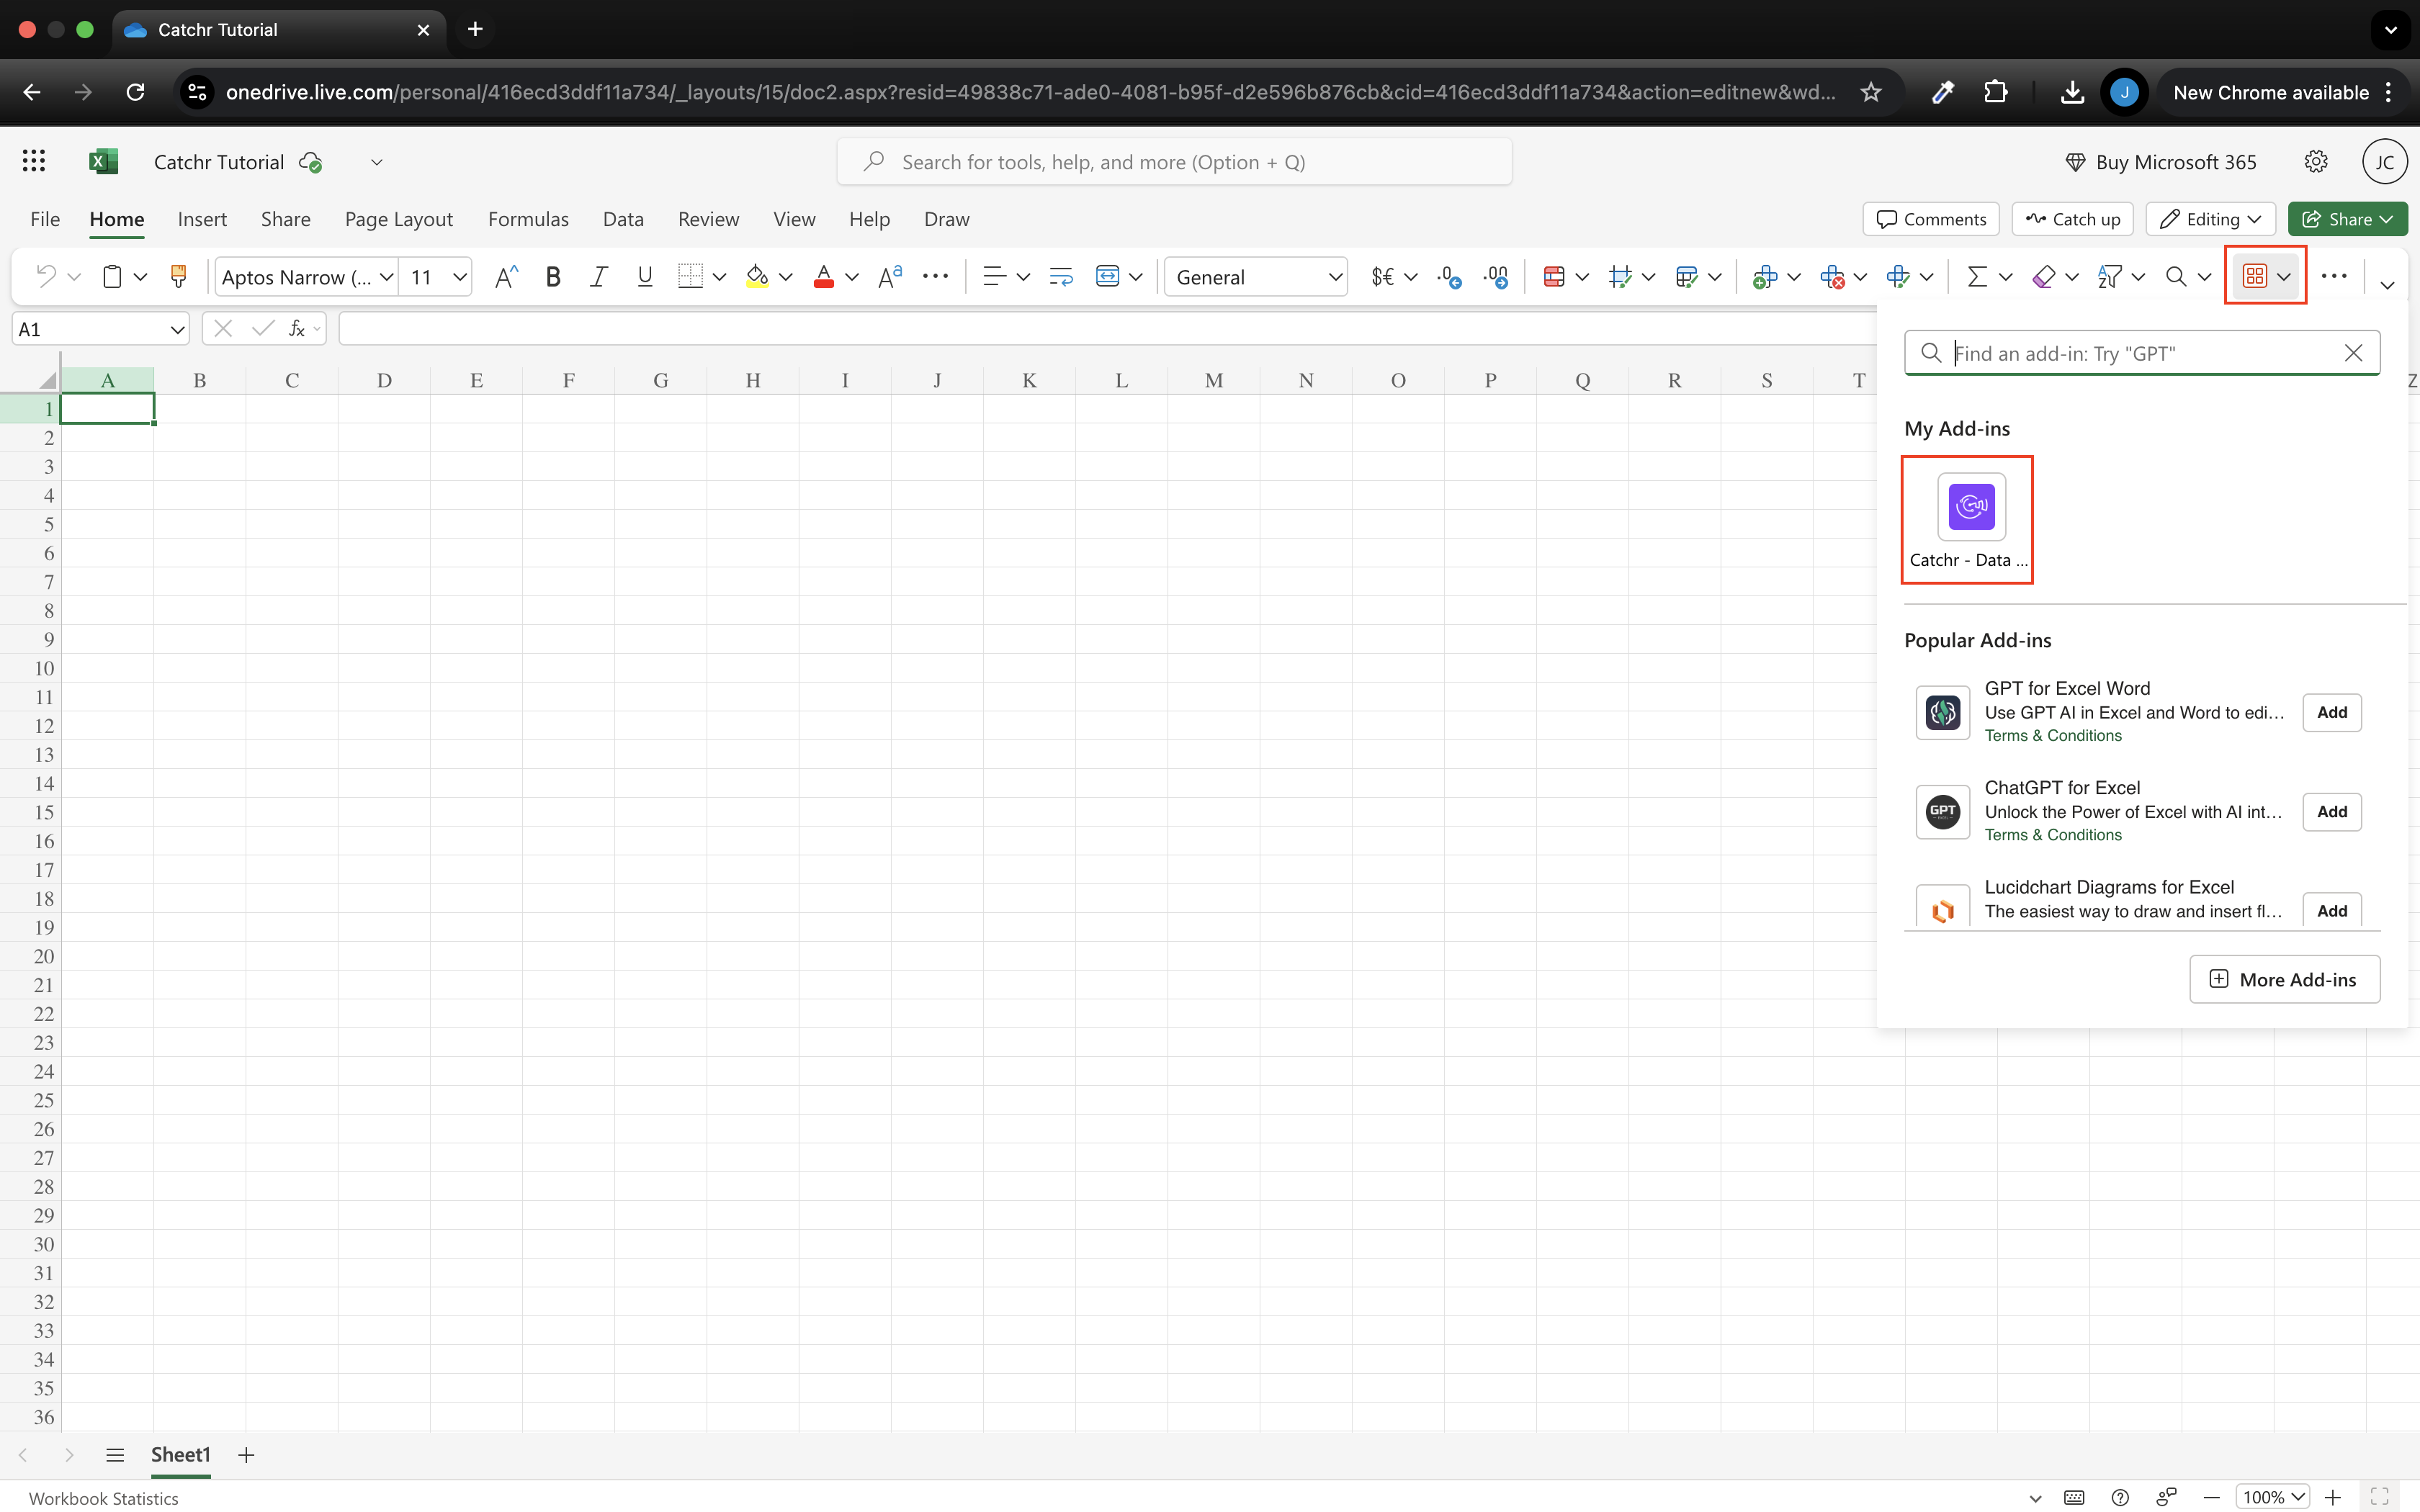
Once the app is installed, you can open a new Microsoft Excel web document and make your request.
It will also work with the desktop version.
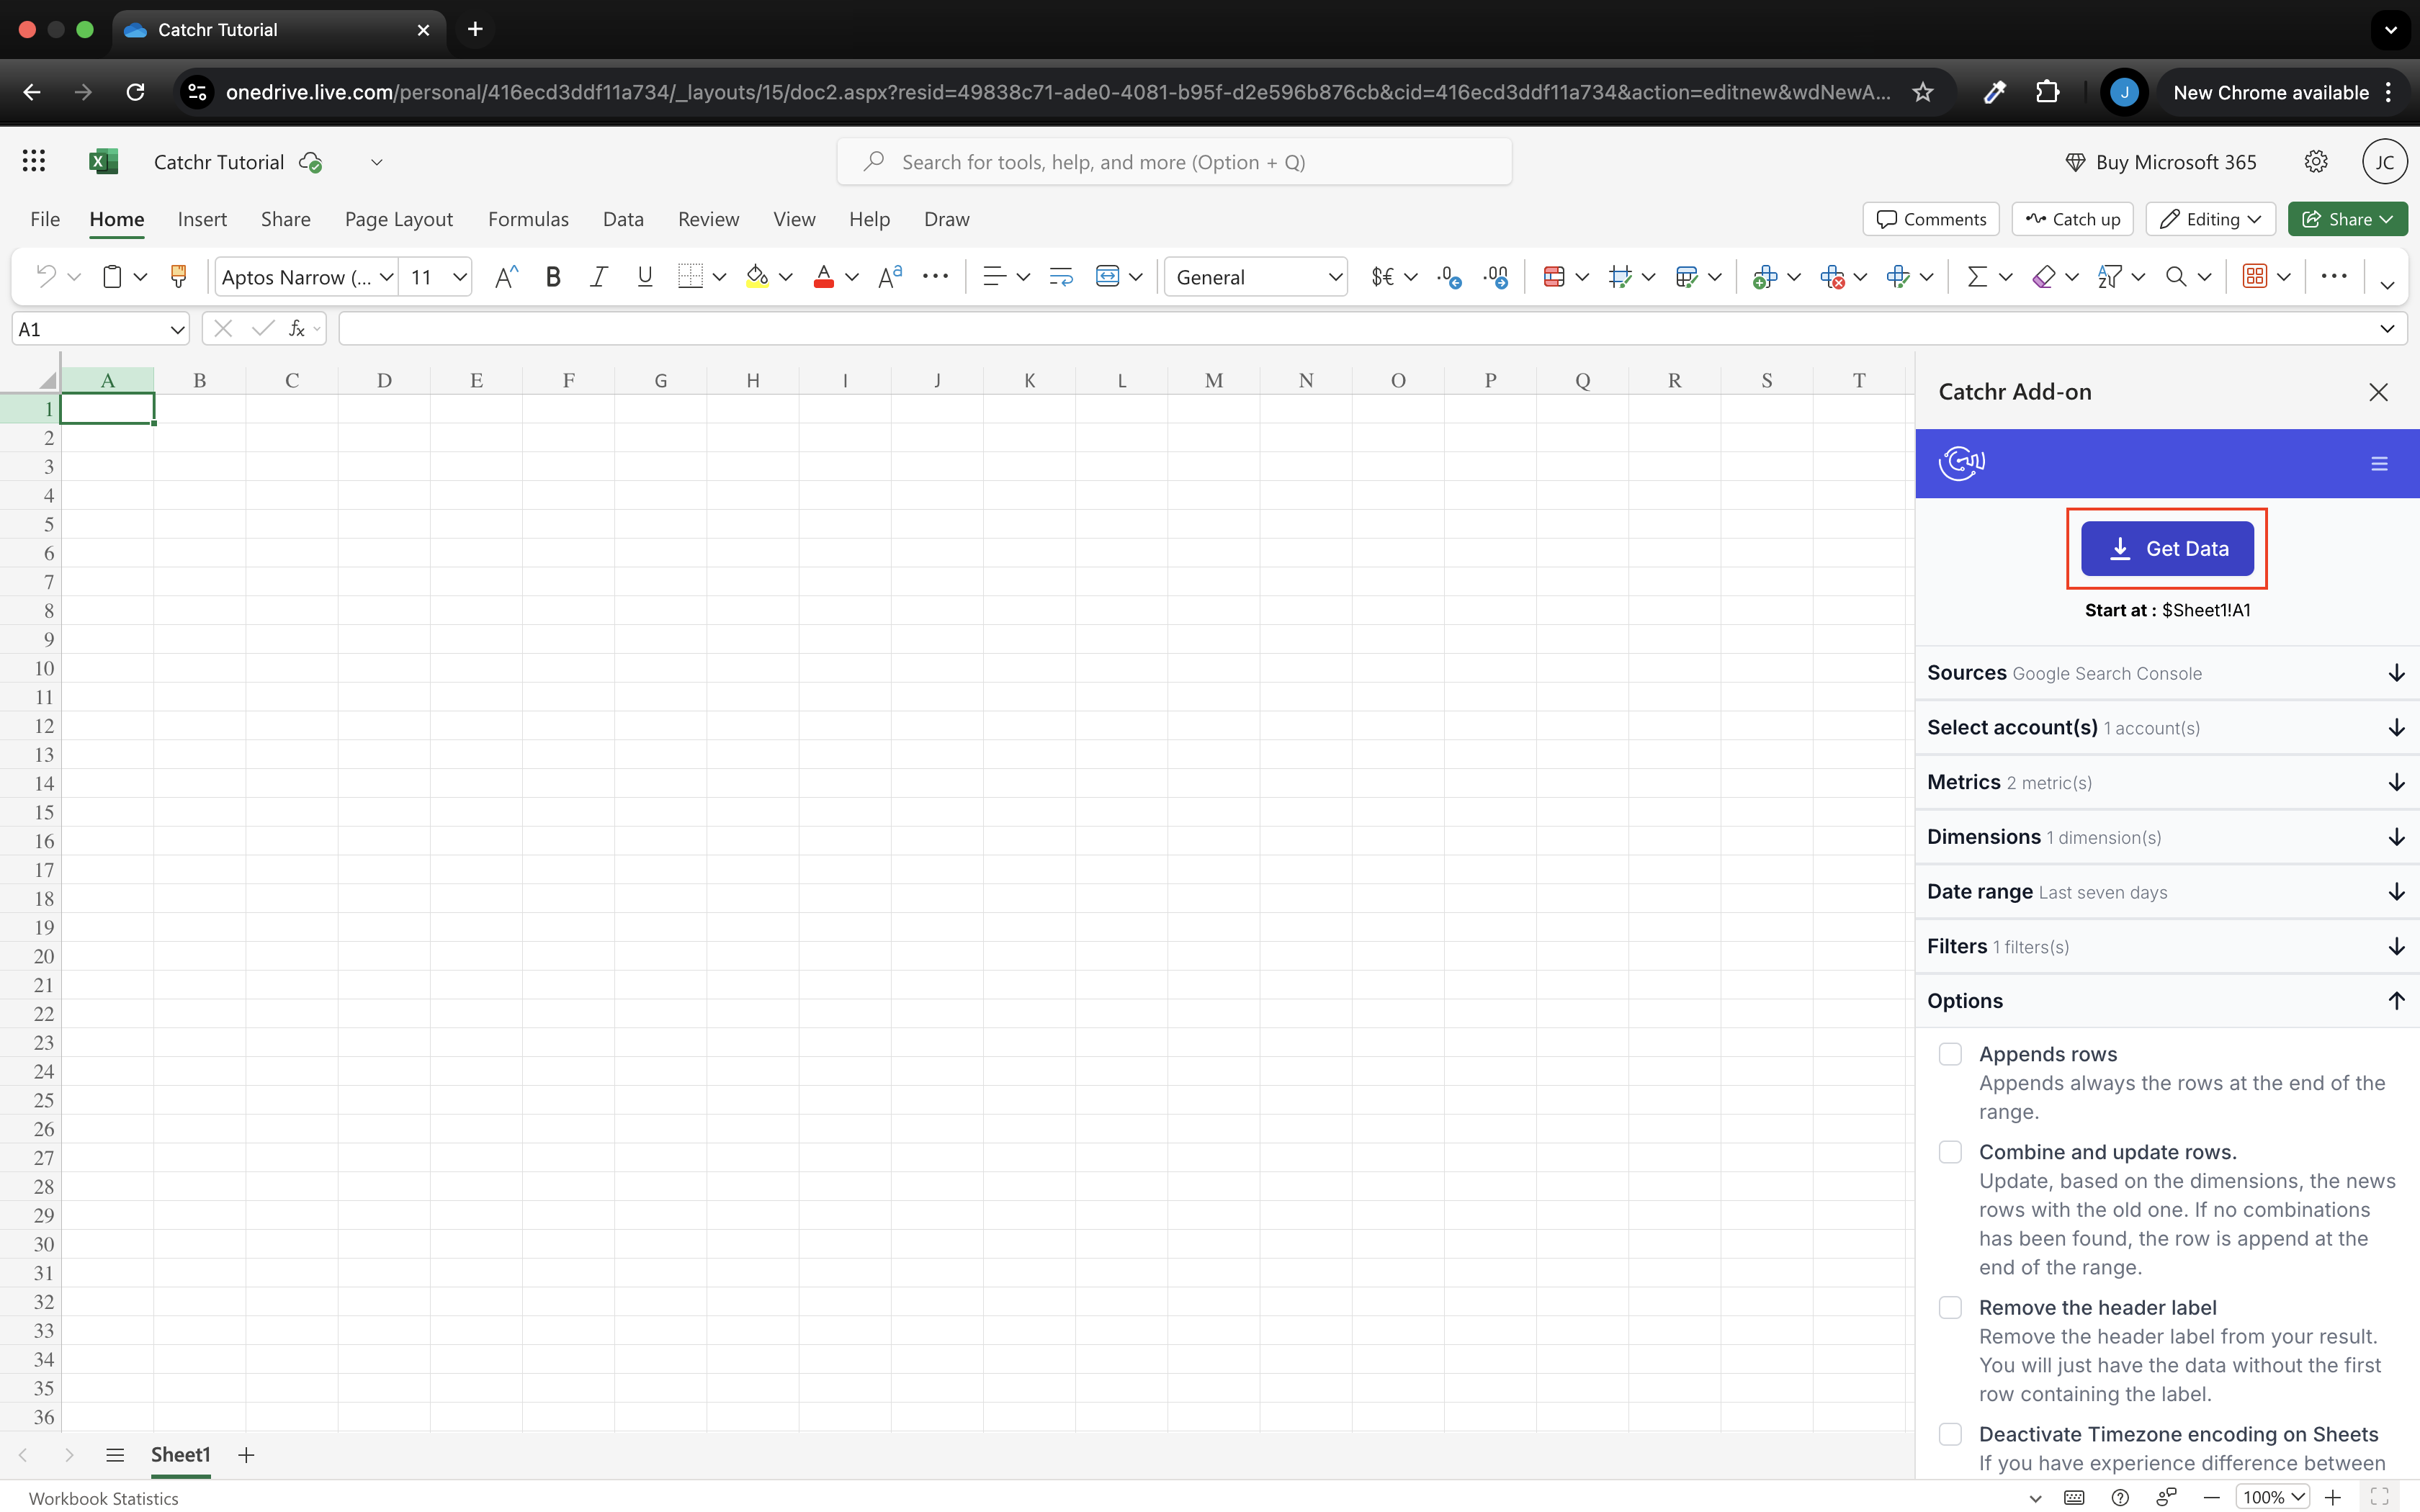
The app is available in your new Excel add-ins at the top right. Click on it.
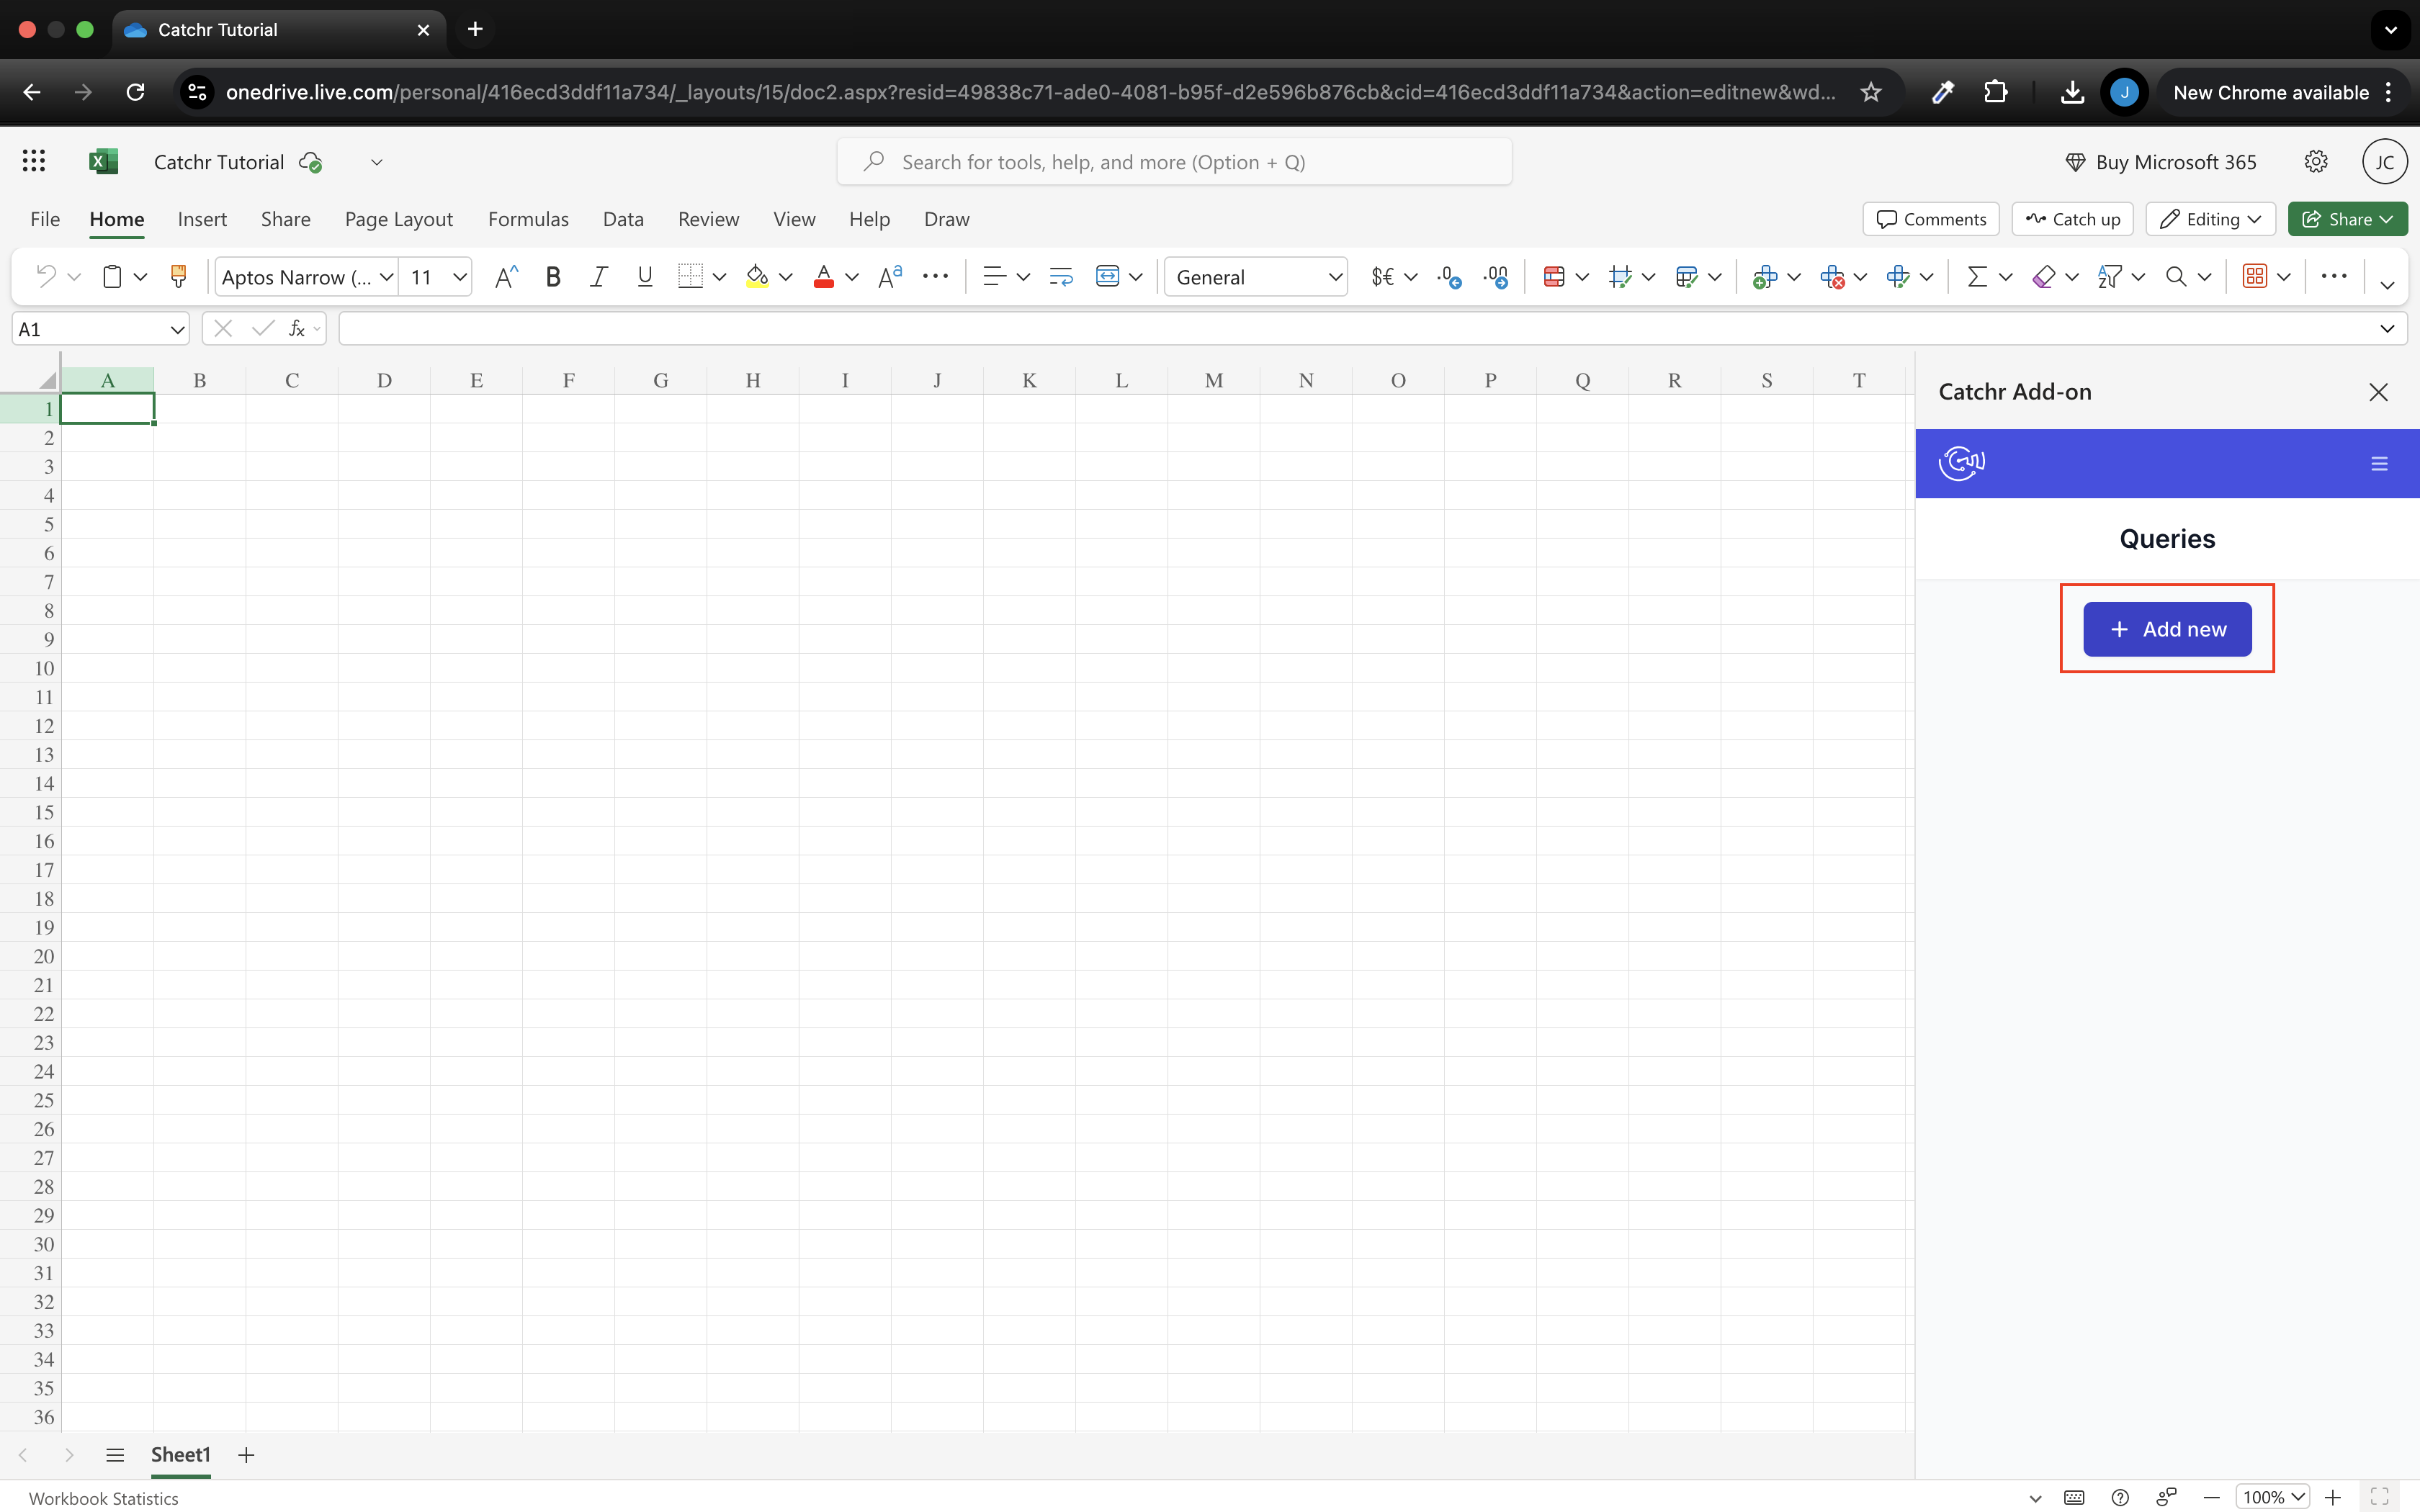
Click on + Add new to start creating a new request.
Select your platform (click on its name). You can also click on the + to be redirected to Catchr and add a new Source (if you do so, quit and launch the add-on to see your new platform).
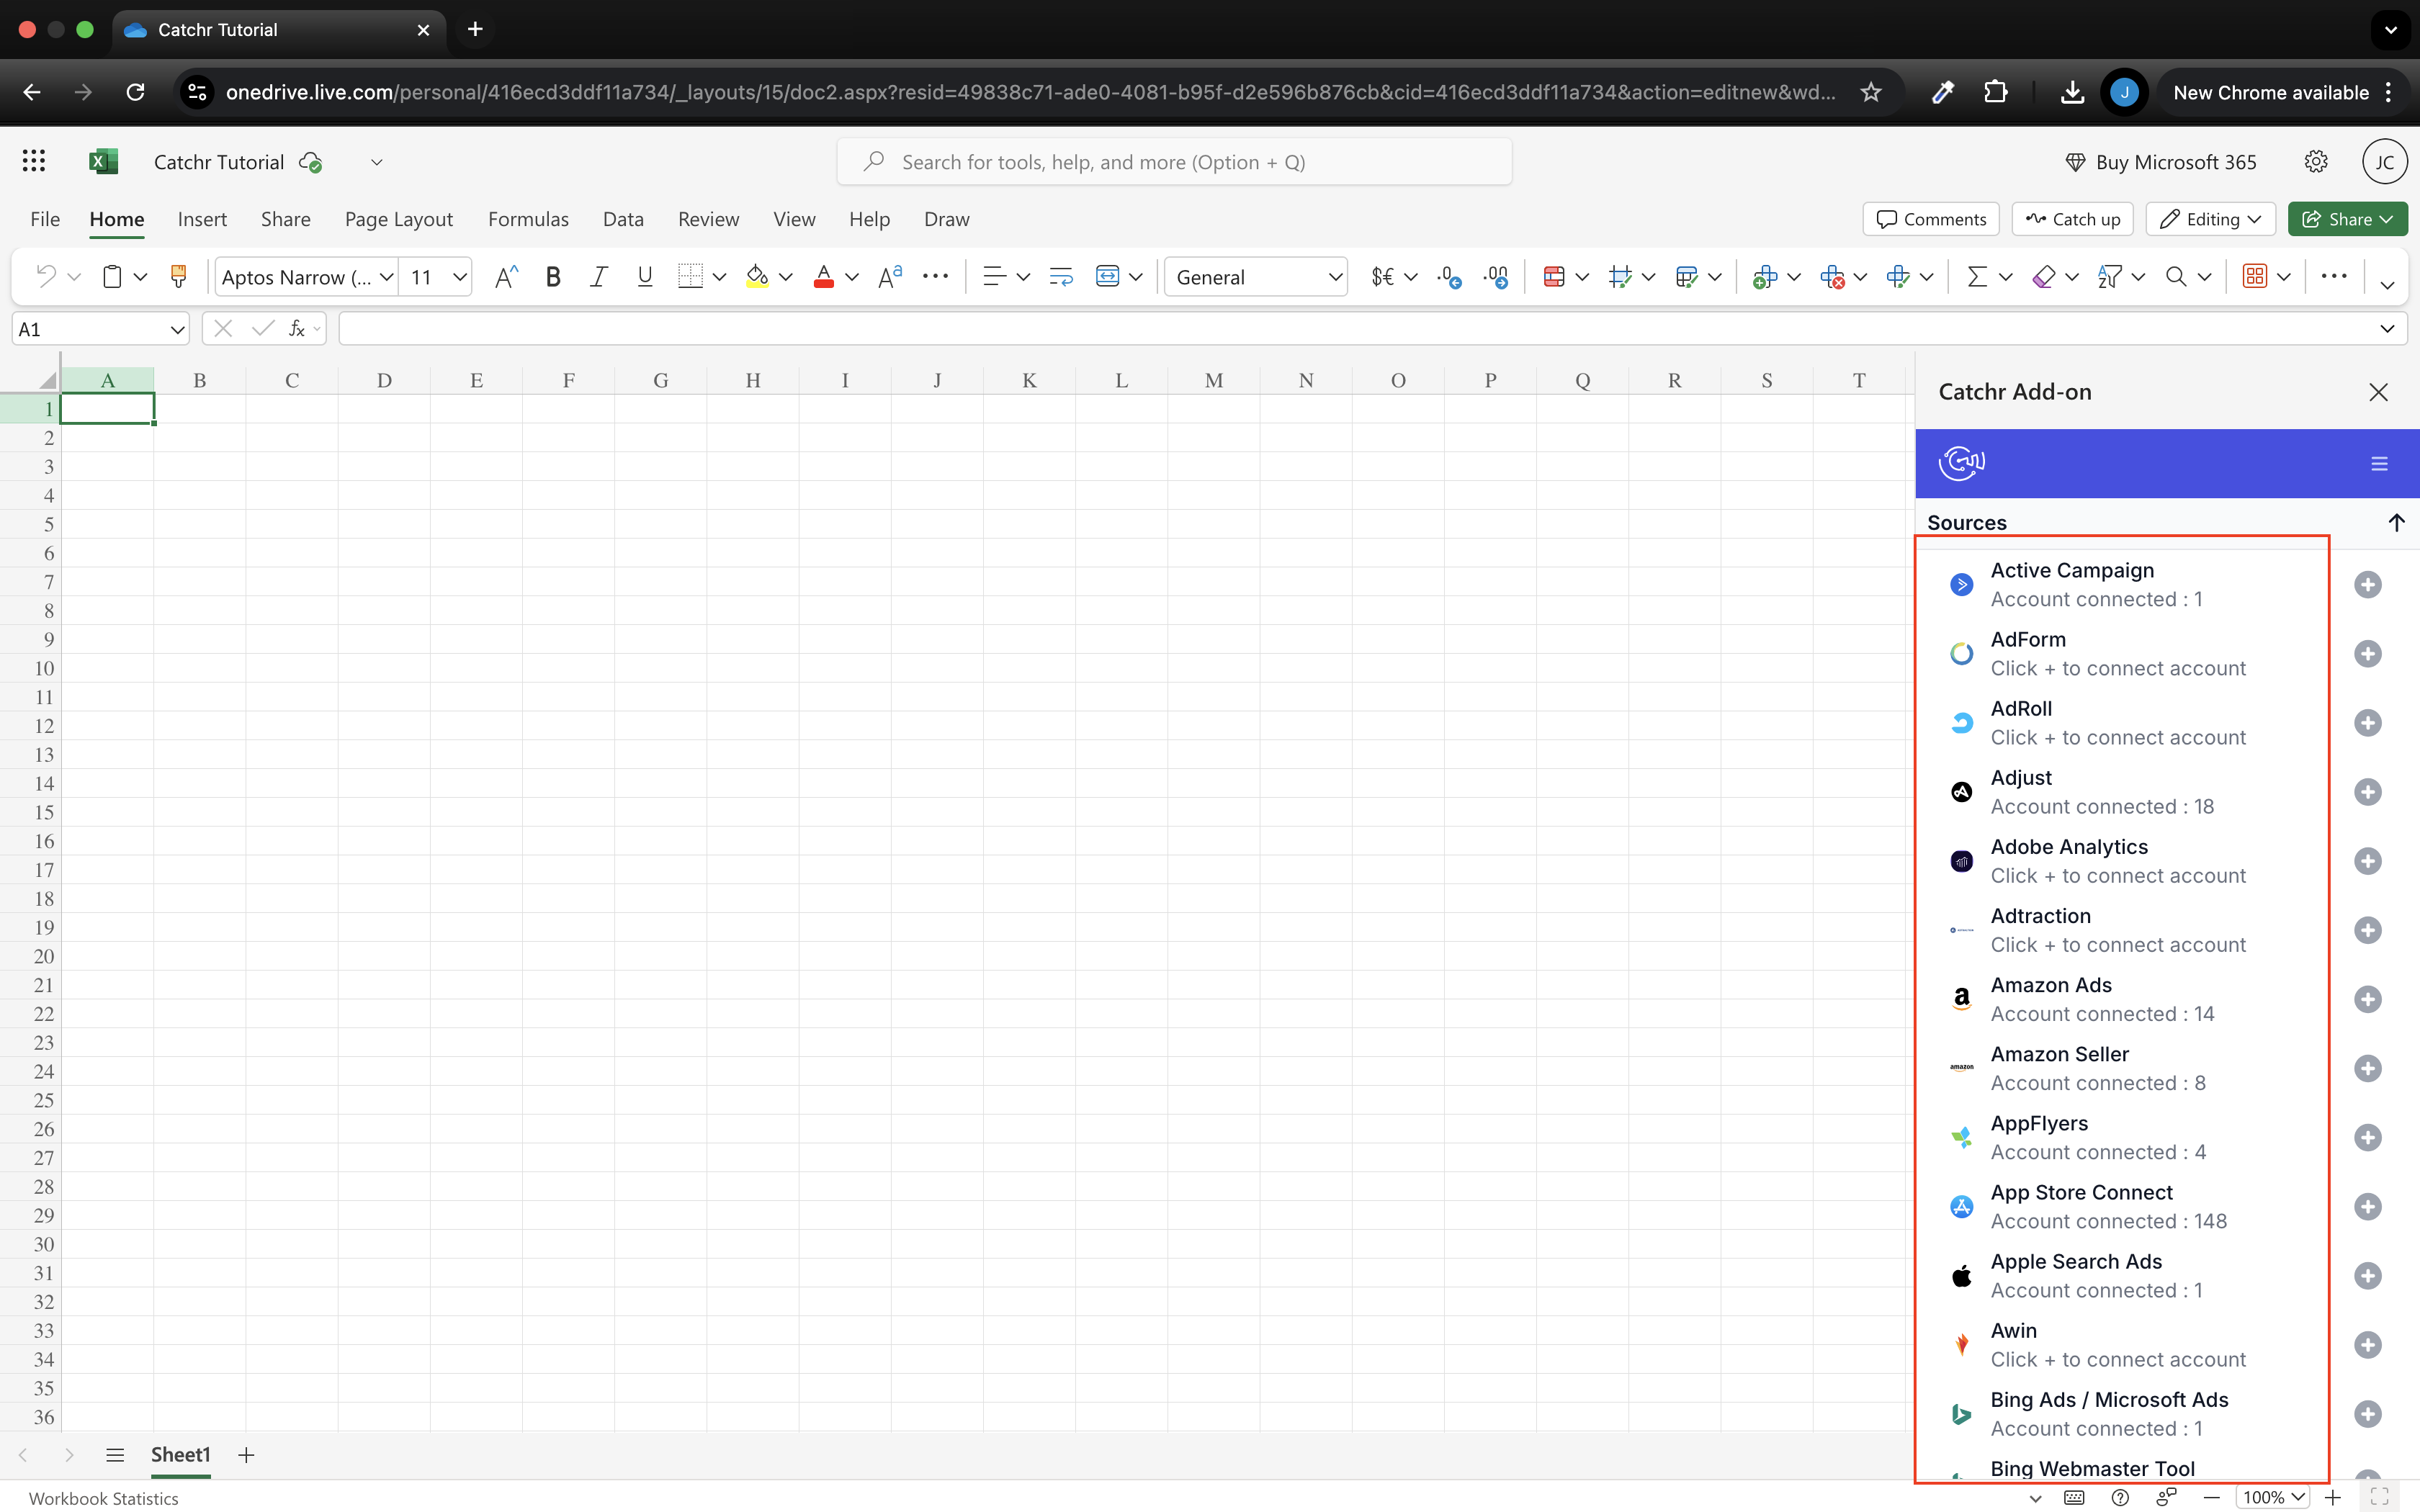
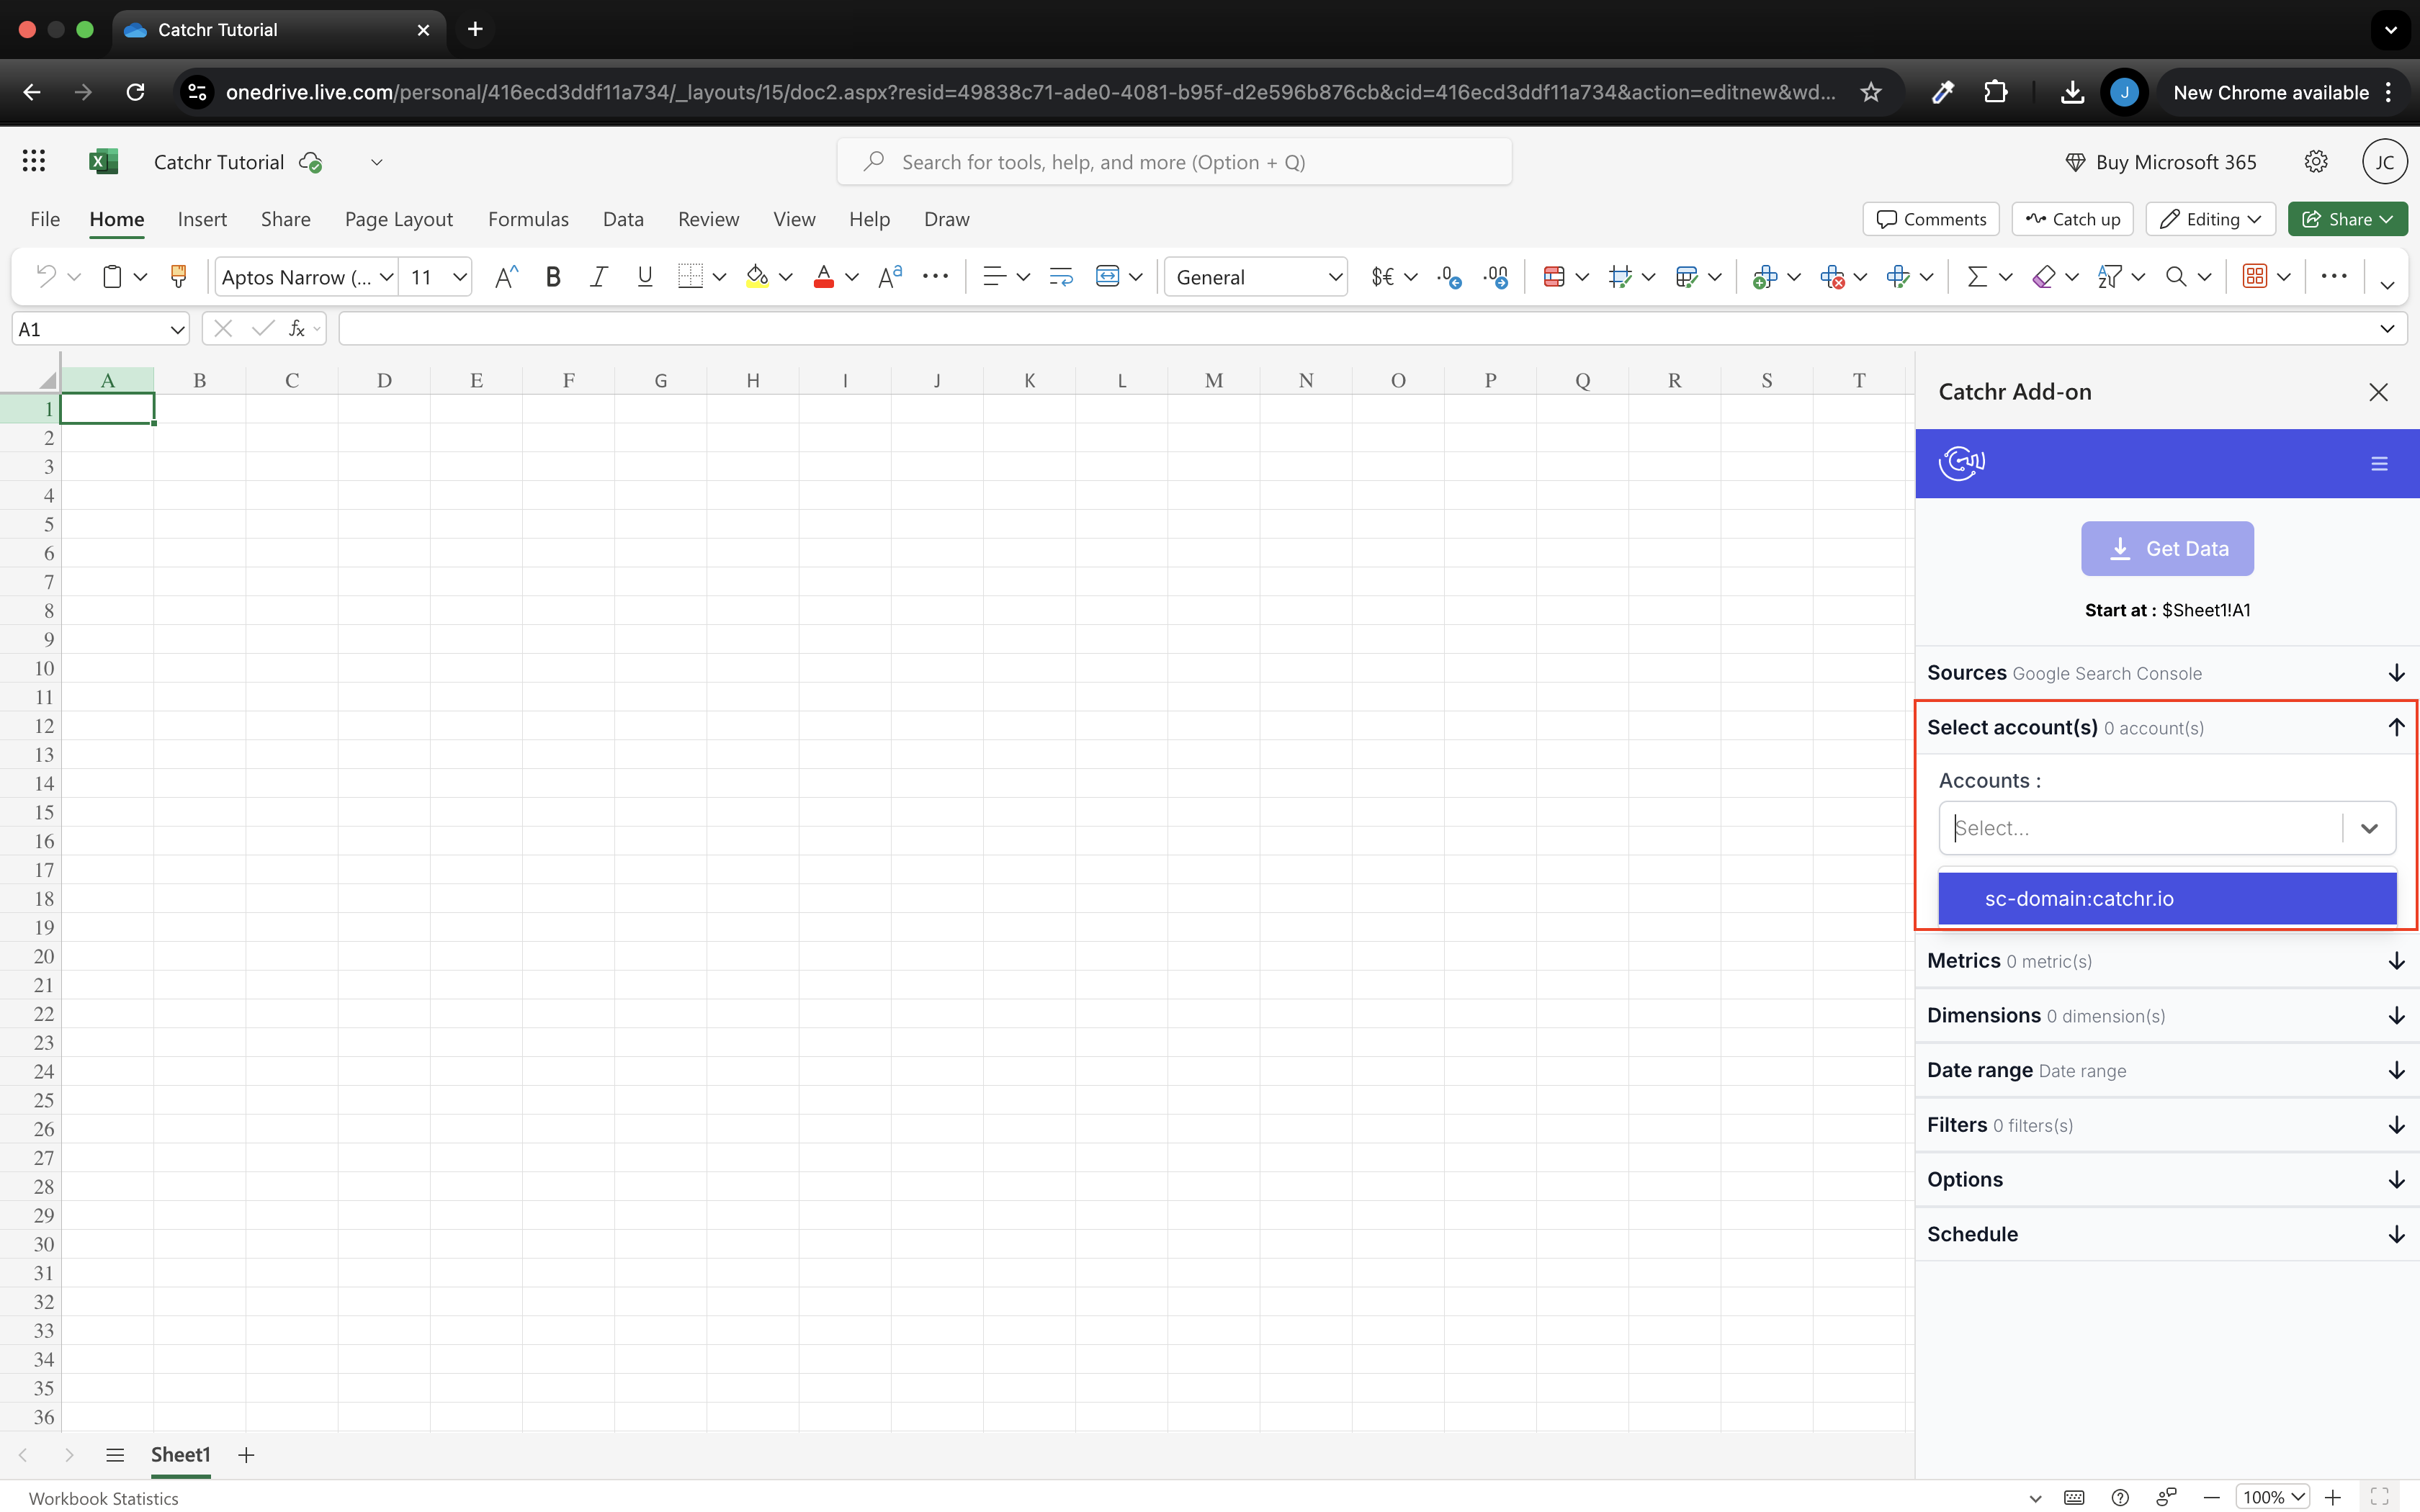
Select your account(s) and click next.
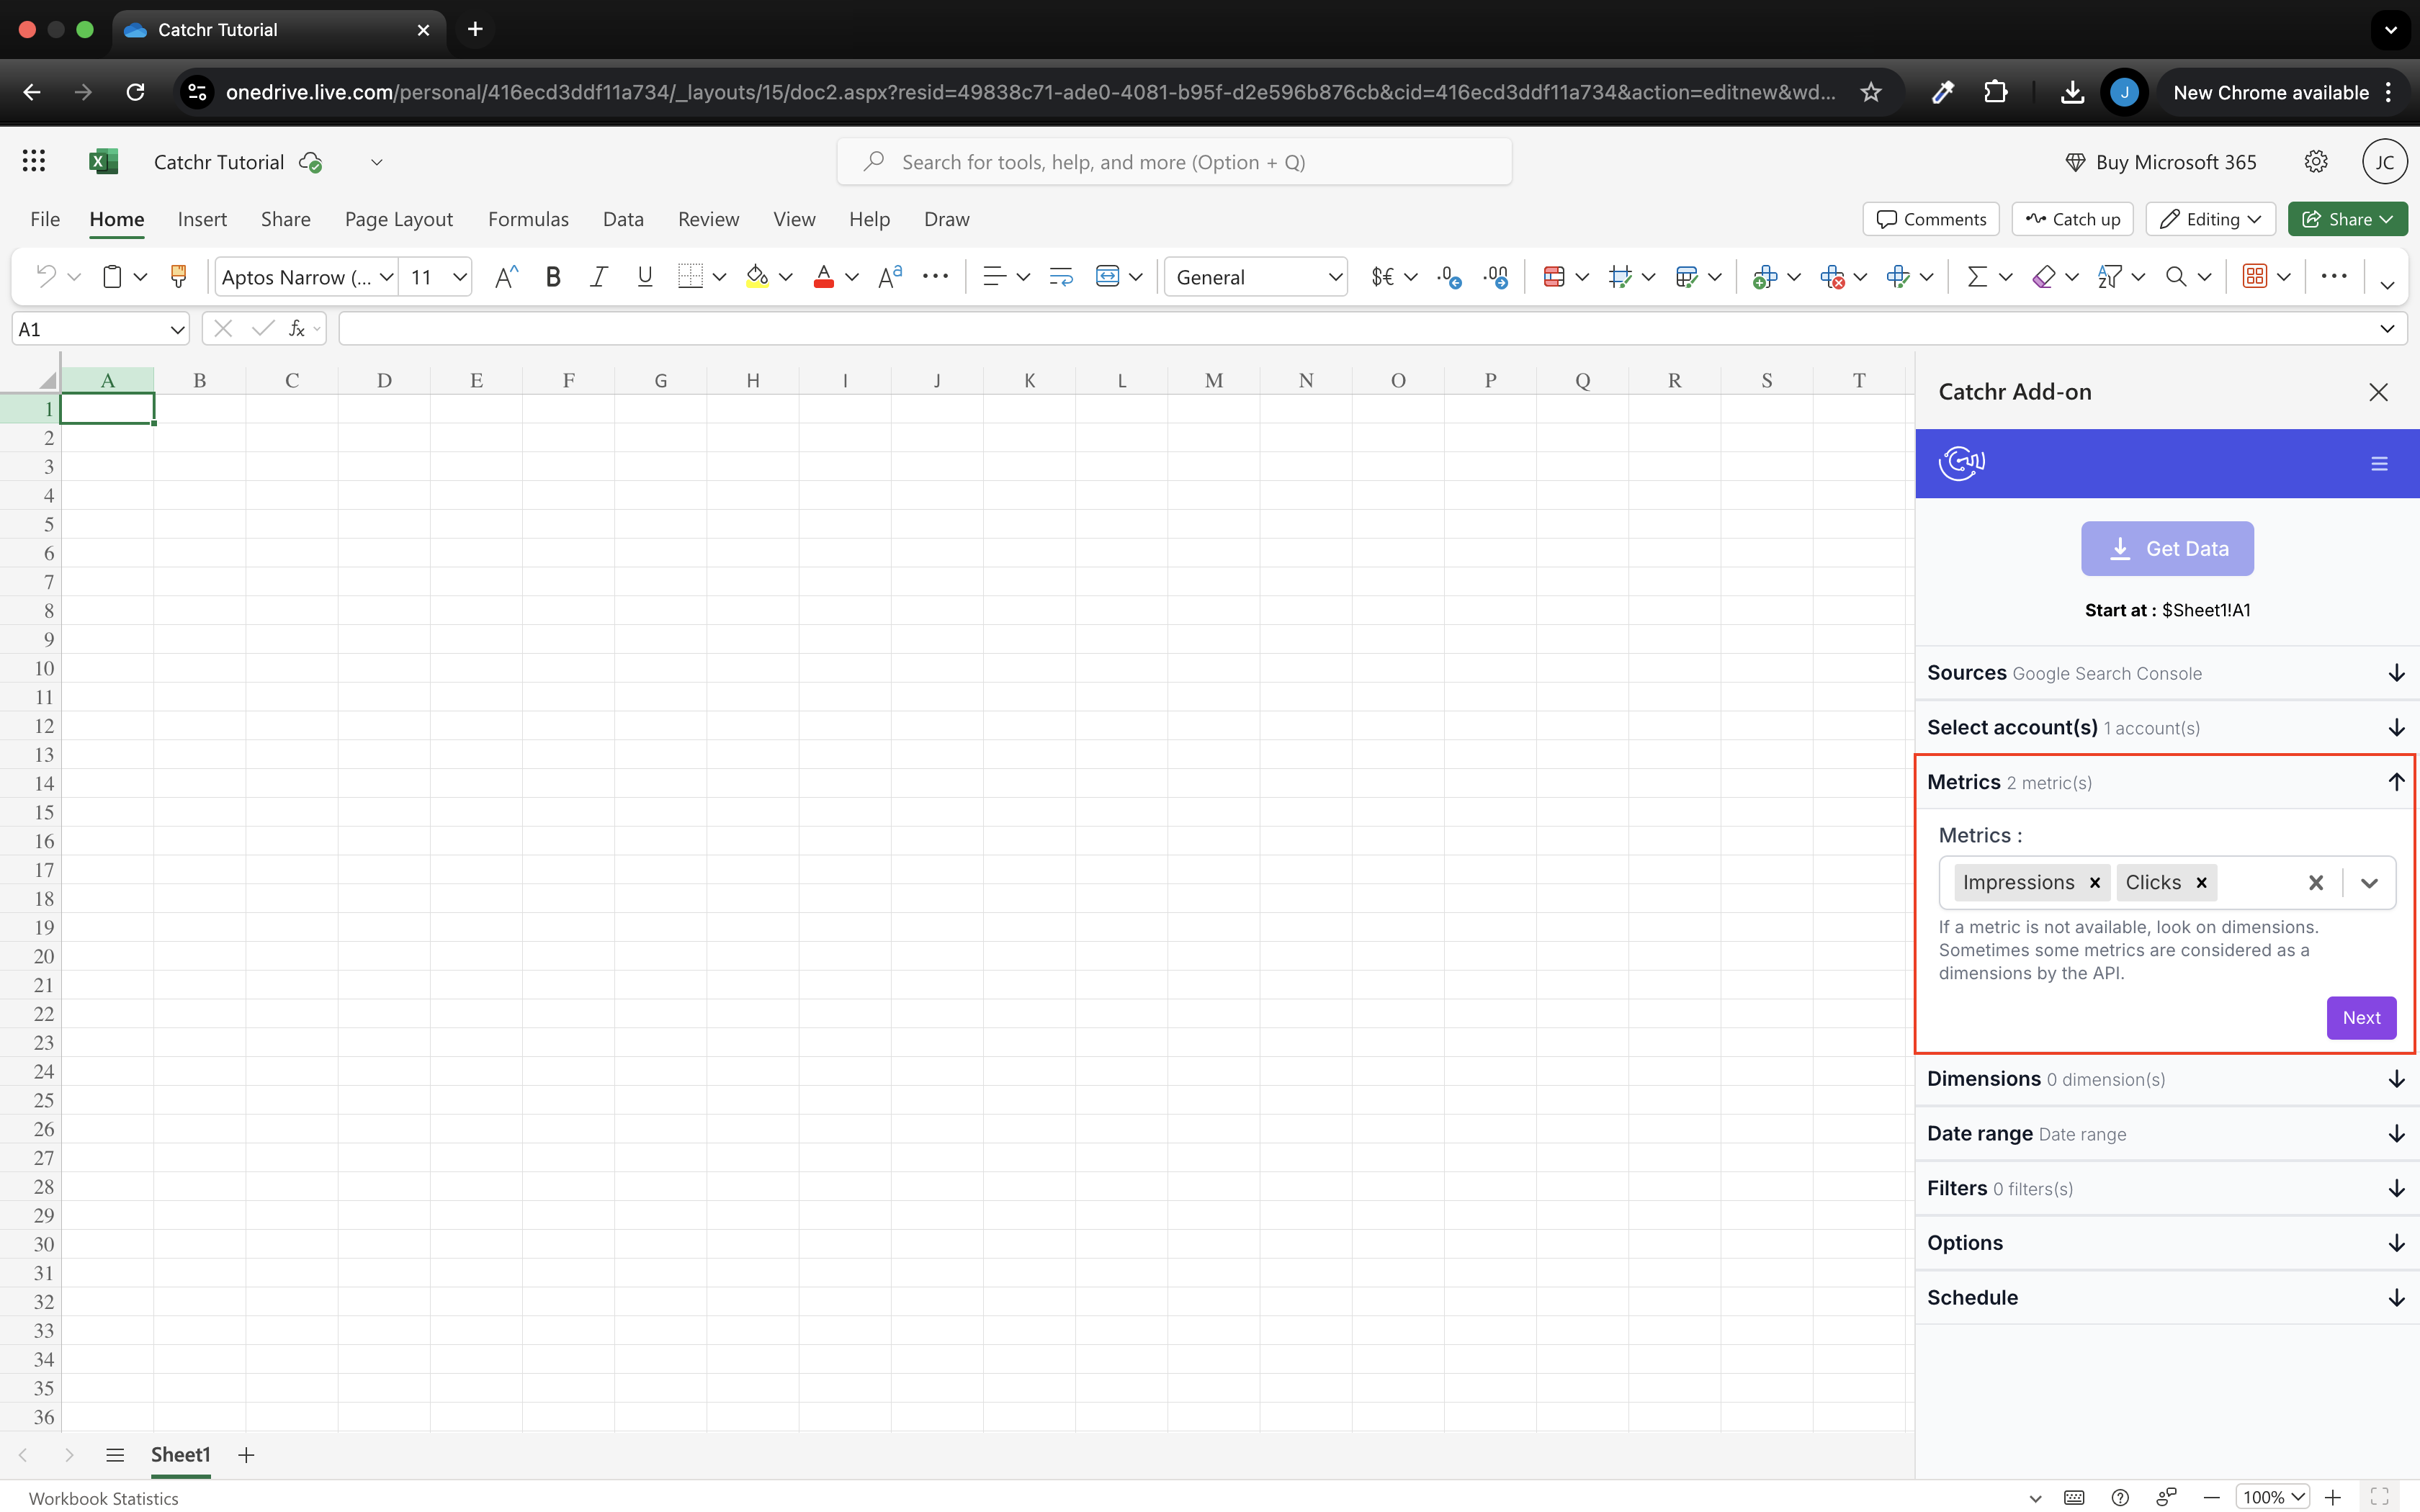
Select your metrics and click next.
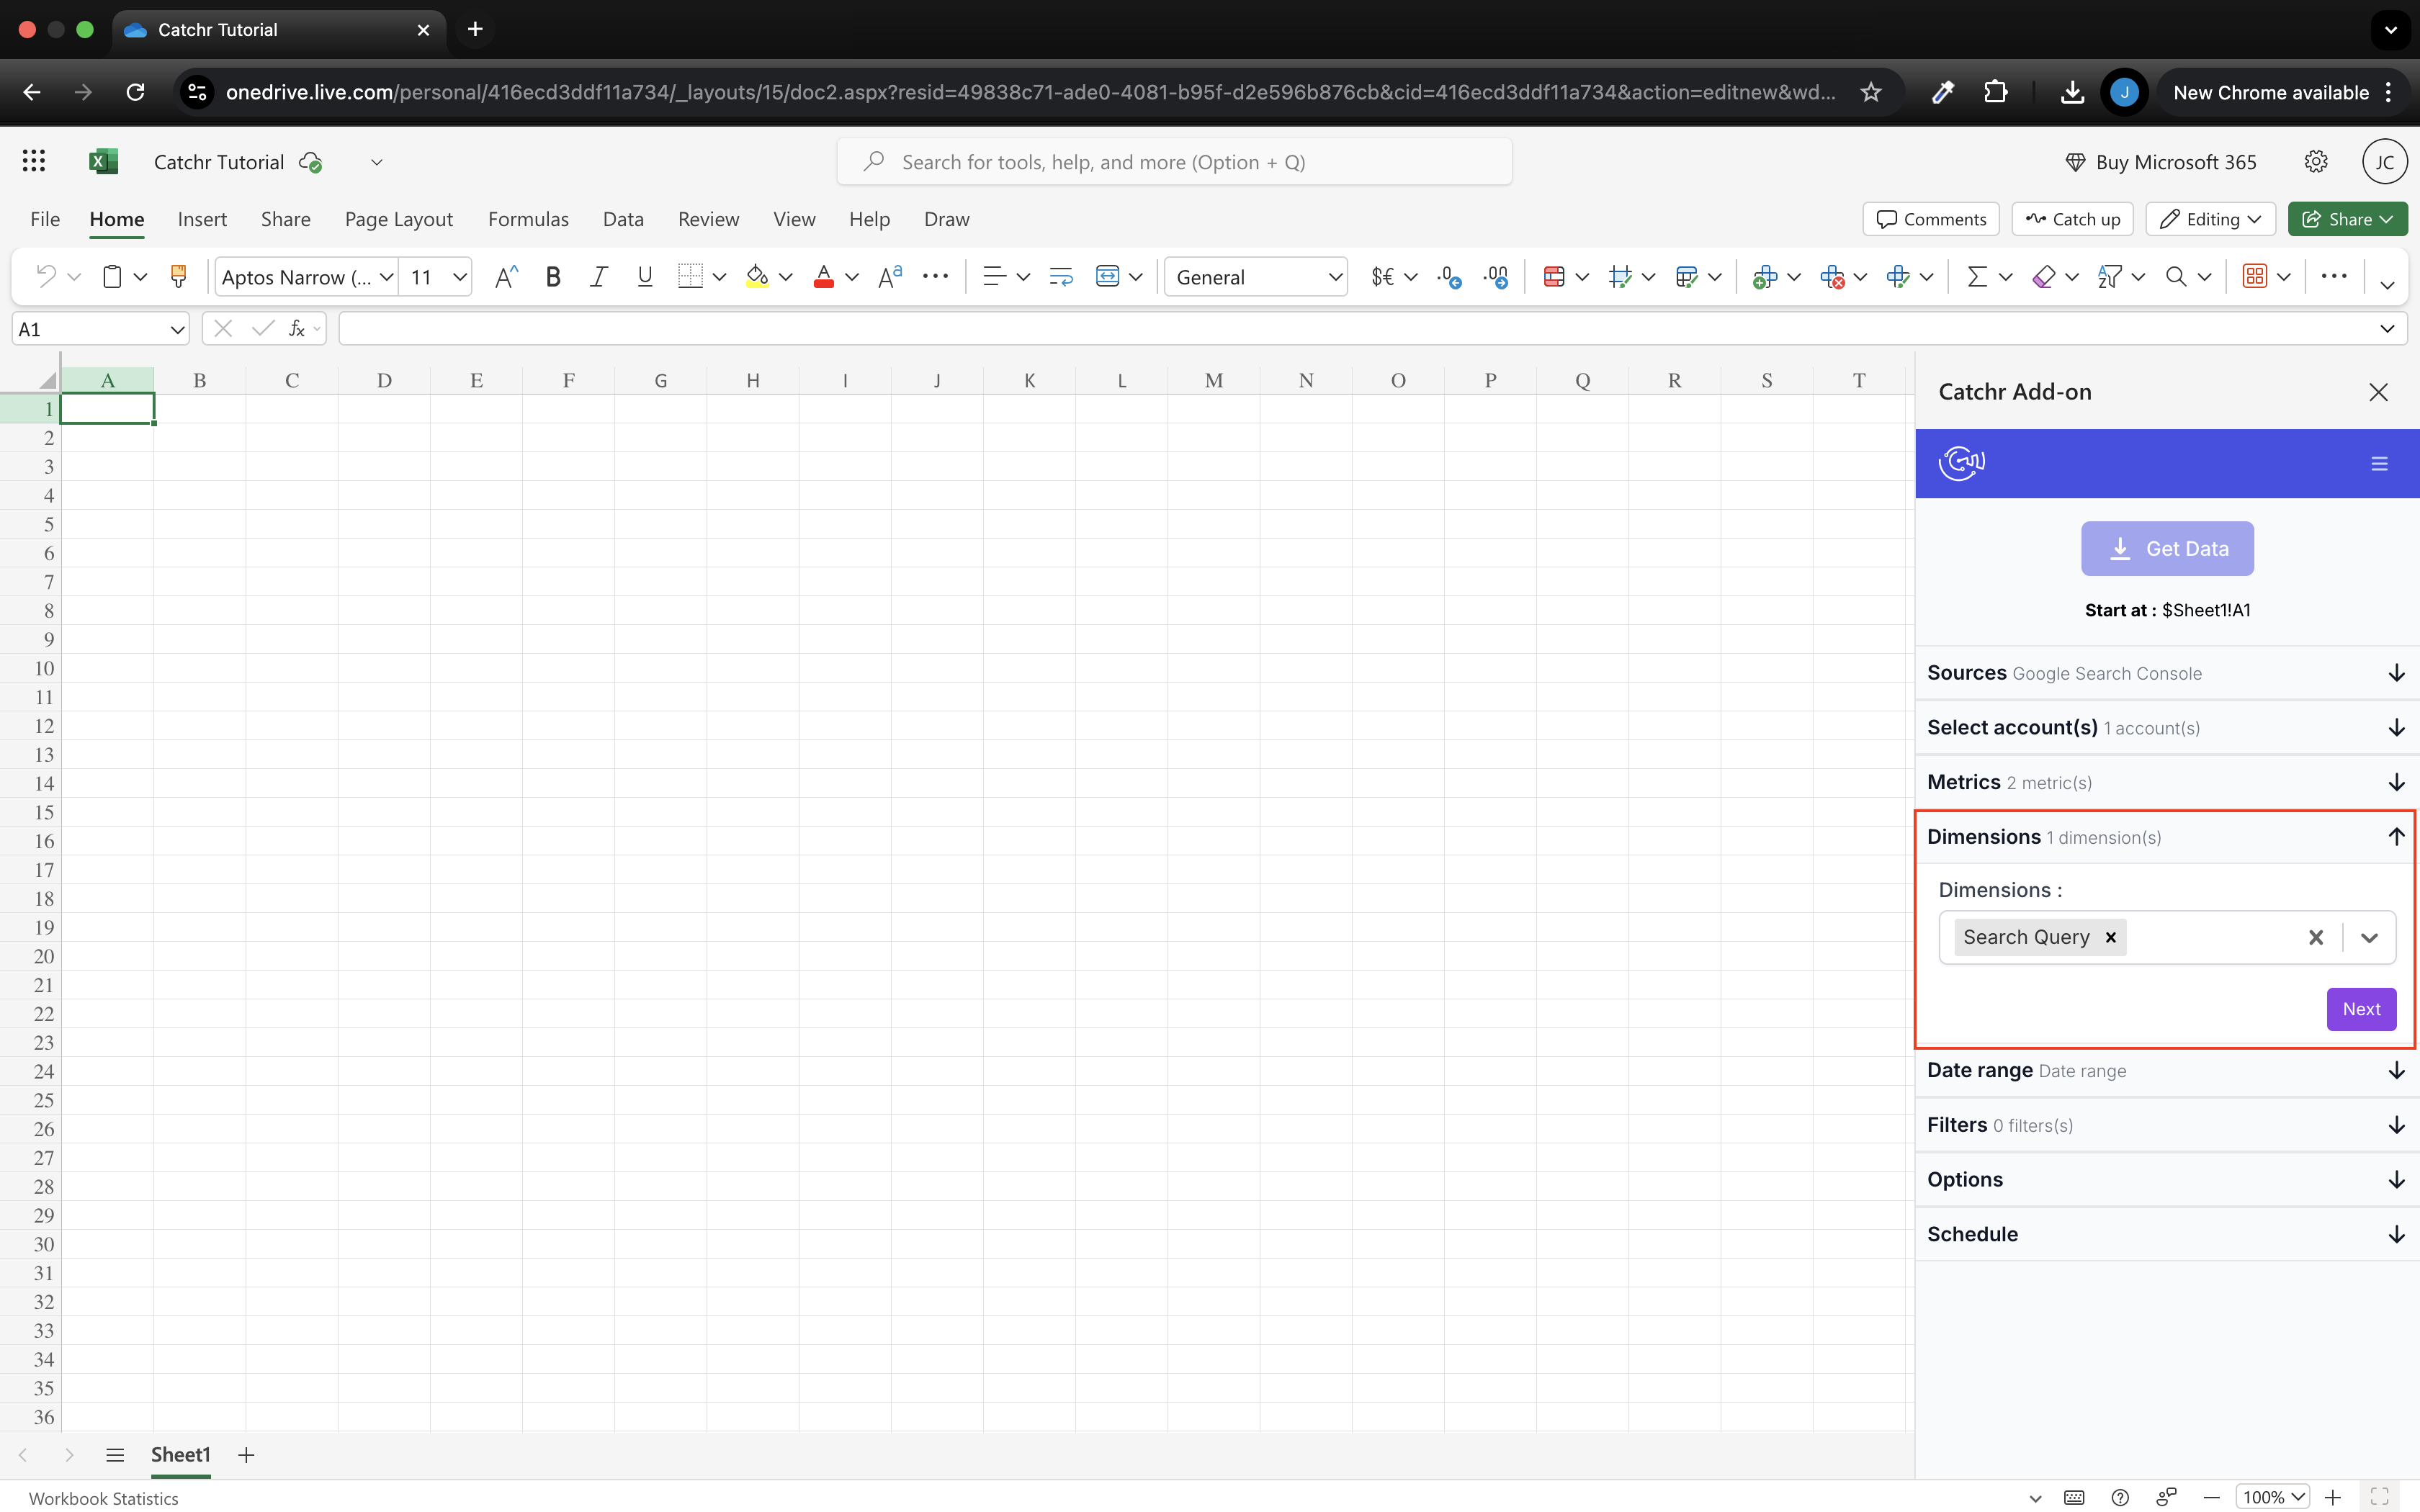
Select your dimensions and click next
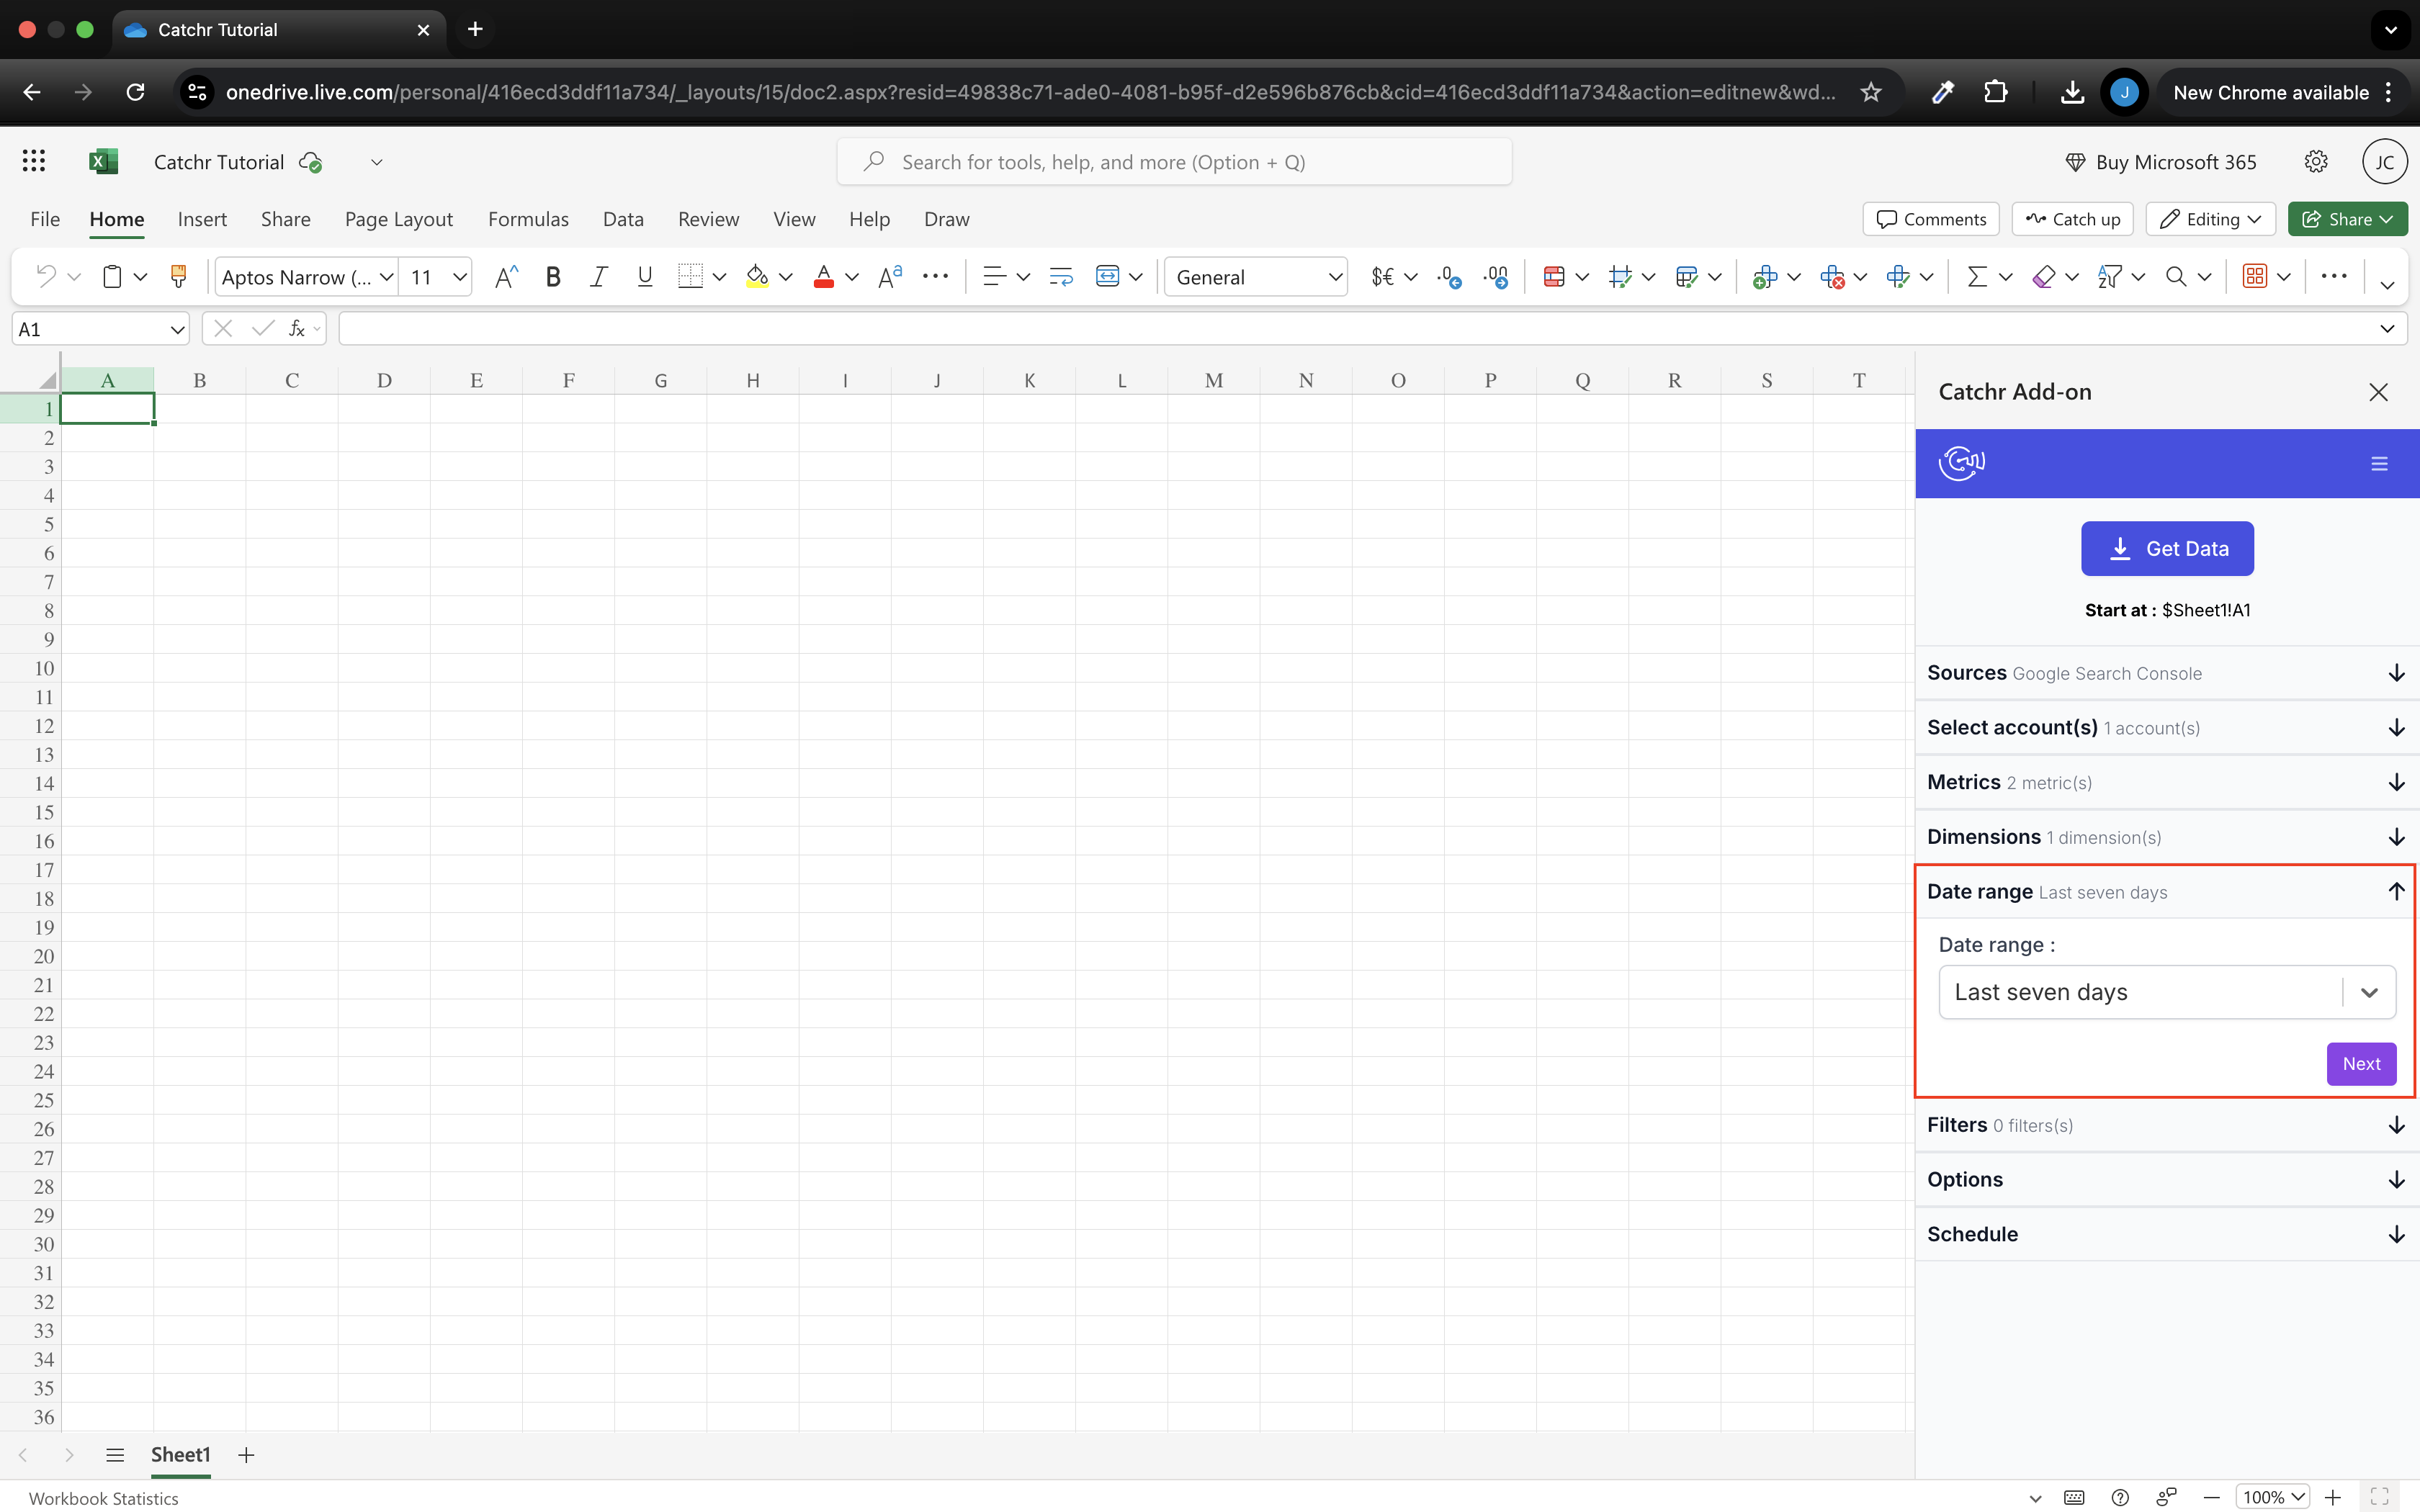
Select the date range. You can select a sliding date range (for example, "Last fourteen days", so your request will always import the last fourteen days and not a defined period) but also a custom date range at the end of the list.
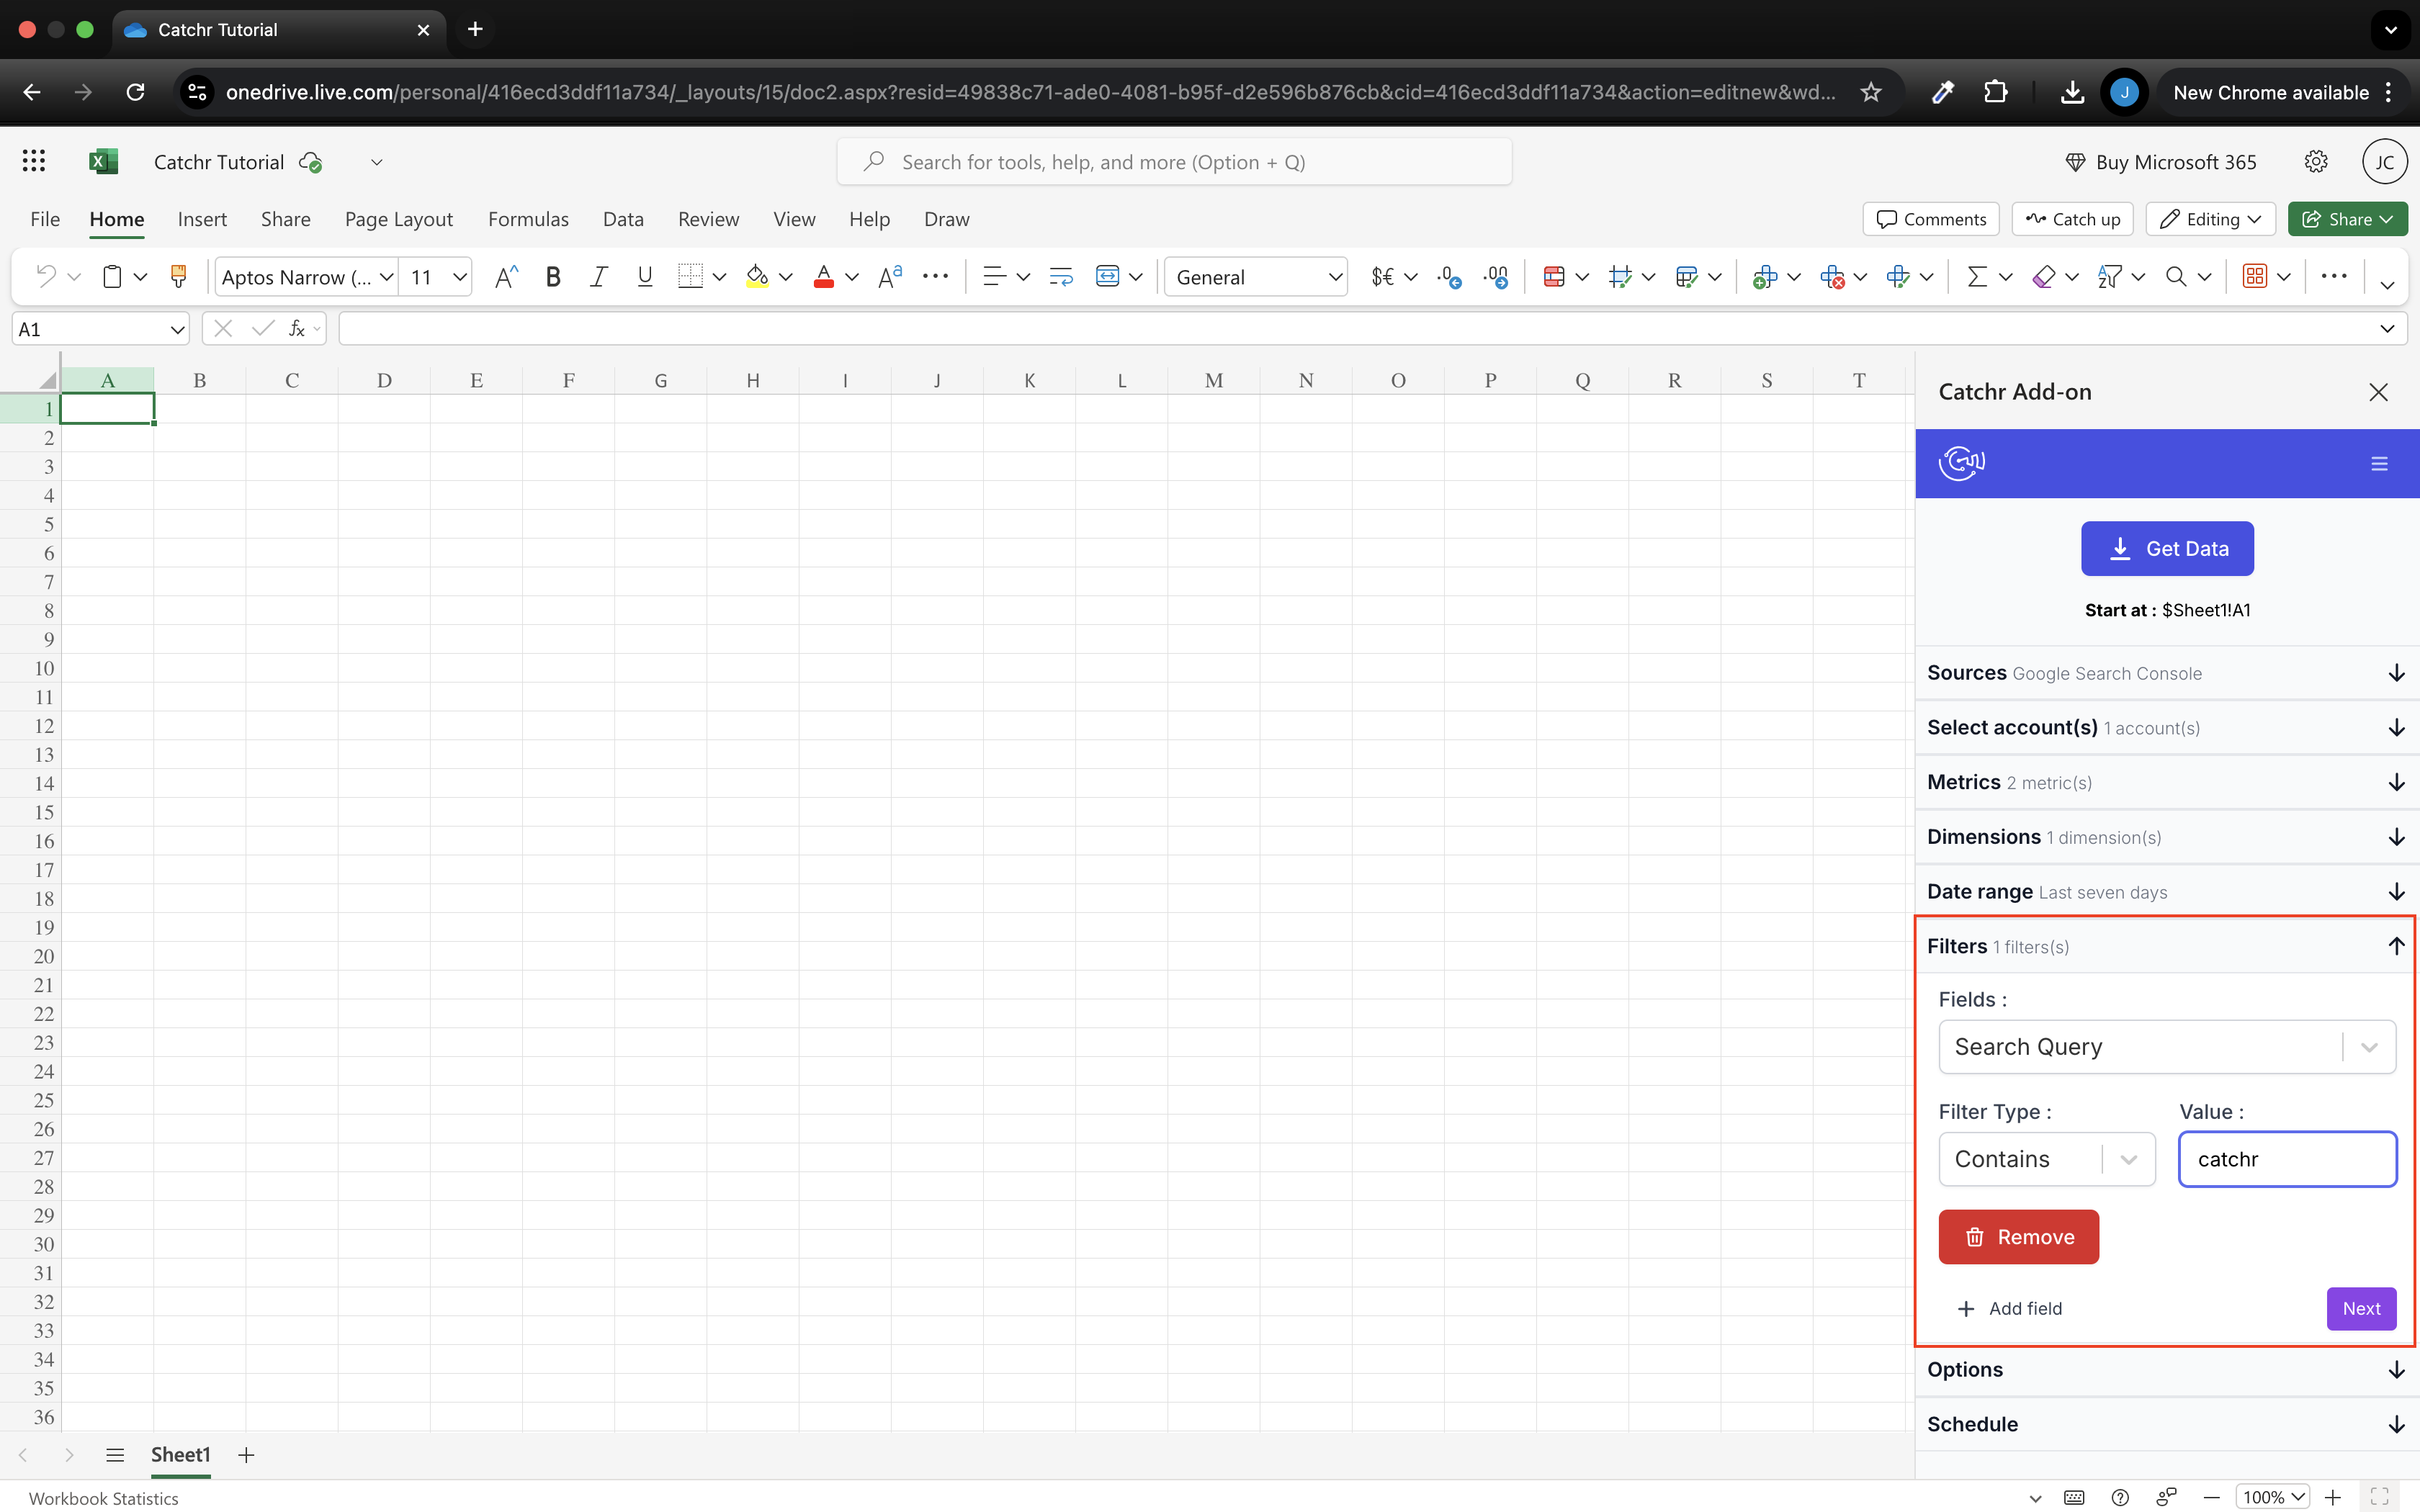
Add some filters if necessary and click next. All filters are separated by an AND close.
Choose the platform options if necessary and click next. Platform options are not available for all platforms. For platforms with attribution, if none is selected, we will use the default attribution setting.
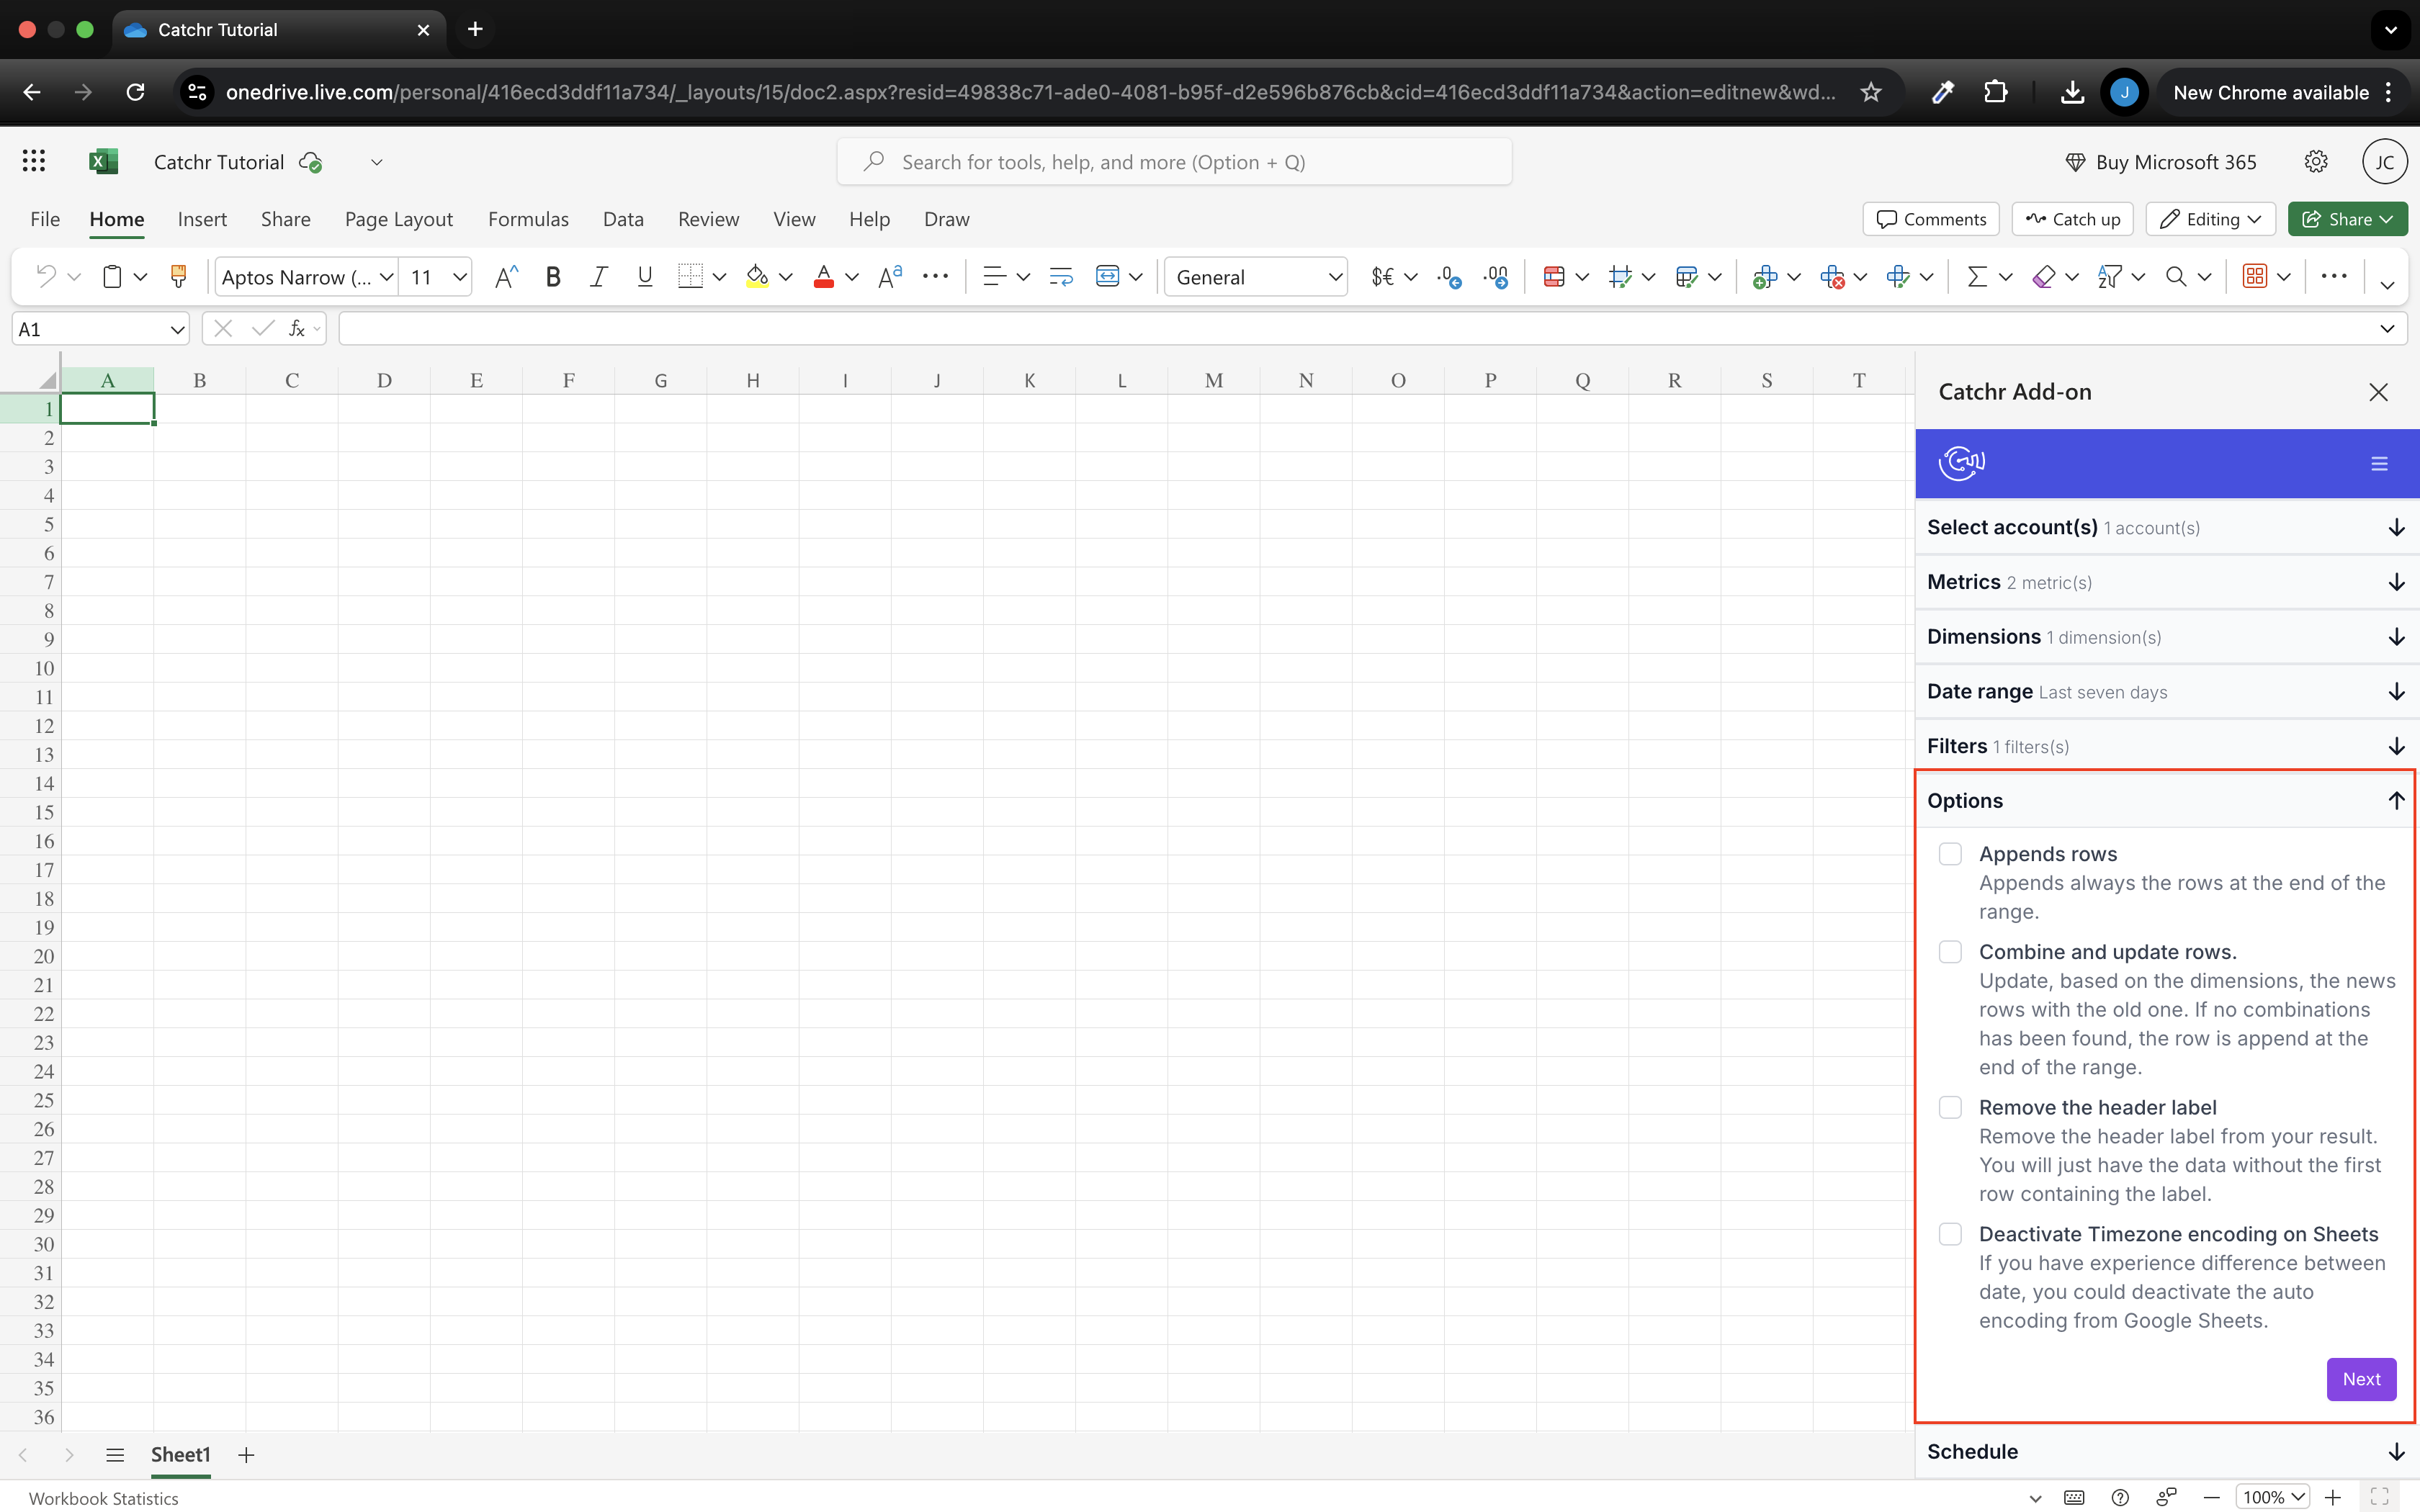
Select options if necessary:
Appends rows: Appends always the rows at the end of the range (if not checked, new data will erase and replace the old data).
Combine and update rows: Update, based on the dimensions, the new rows with the old ones. If no combinations have been found, the row is append at the end of the range. (check it to keep old rows updated and add new rows at the end of the existing one)
Remove the header label: Remove the header label from your result. You will have the data without the first row containing the column labels.
Deactivate Timezone encoding on Sheets: If you experience a difference between dates on your platform and in the Microsoft Excel sheets imports, deactivate the auto encoding from Microsoft Excel sheets.
Finally, schedule an auto refresh if you need one. You can refresh your query every hour, day, week, or month.
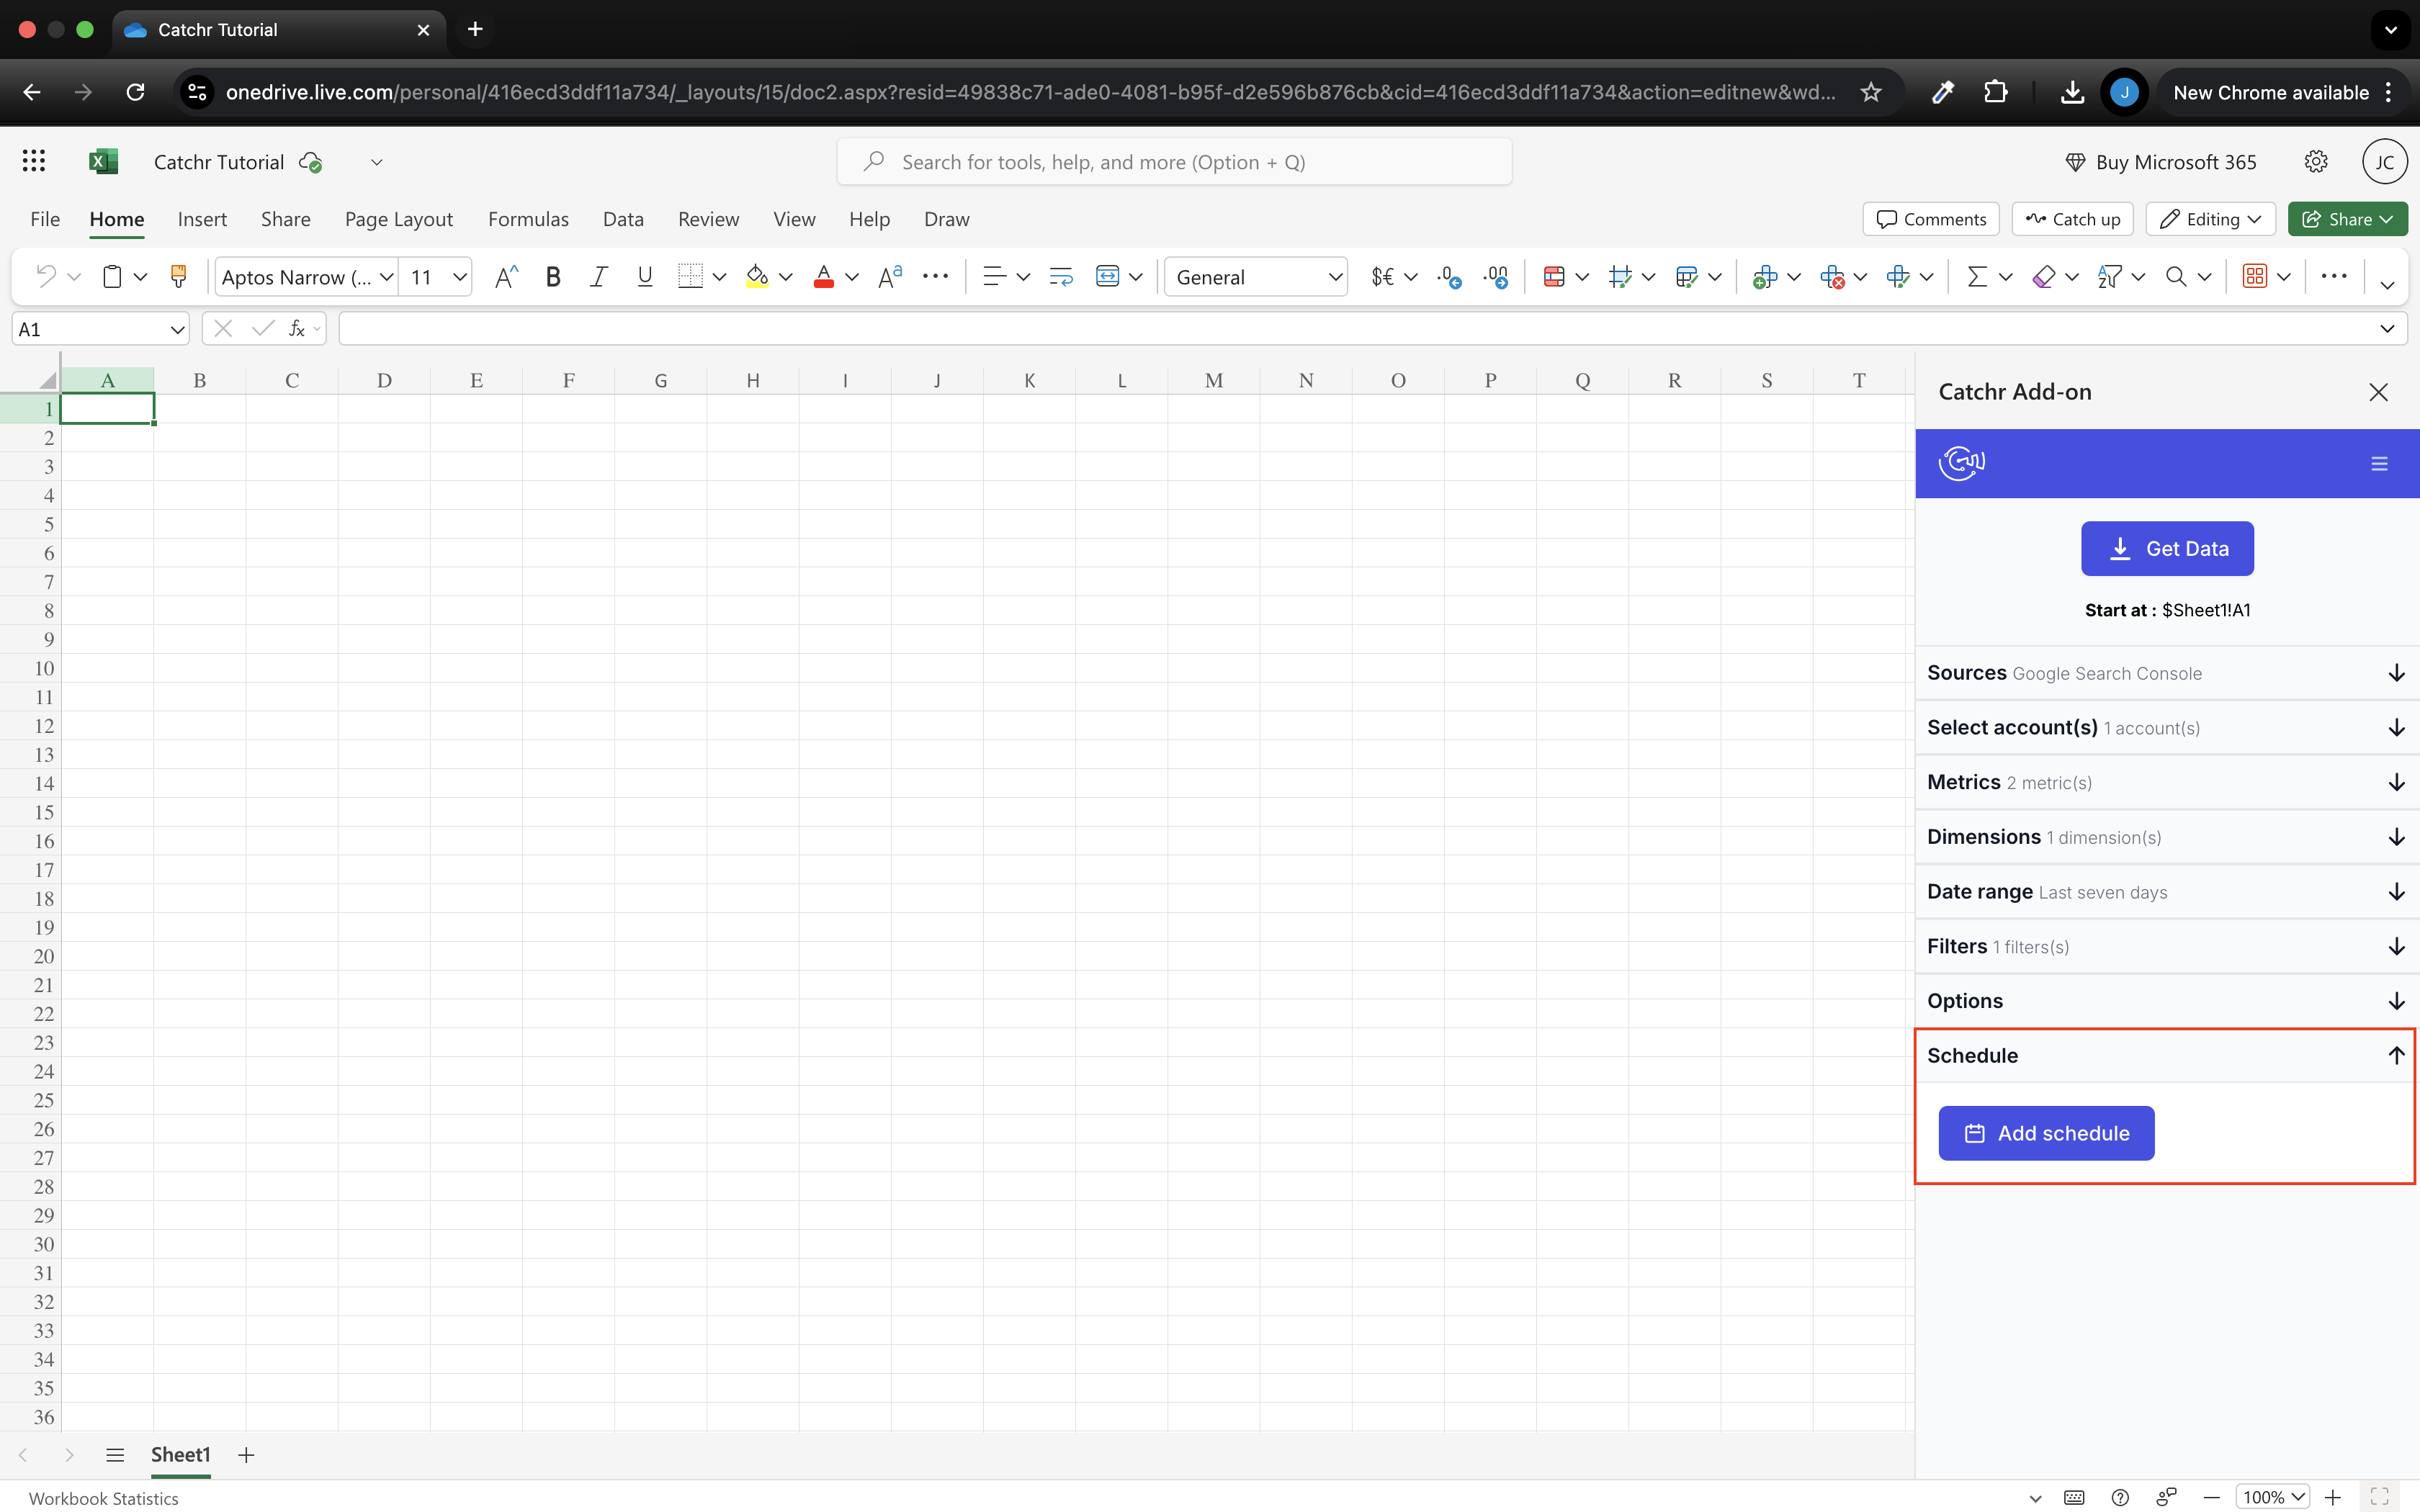

If you have multiple queries with auto refresh and some do not run, consider setting them at different times of the day. When Google Sheets launches multiple queries, it runs them one after the other. If one does not respond, the next ones will fail. It's better to have five requests for each launch at five different hours than five requests for each launch simultaneously.
You're almost done! Check which case is selected on your Microsoft Sheets. Your request will start here.
Then click on Get Data to launch the query.