Connecting your Apple App Store App to Catchr allows you to centralize your App data and automate your reporting workflows. Here are three simple steps to do it.
The key must be created with an Admin Apple Store account.
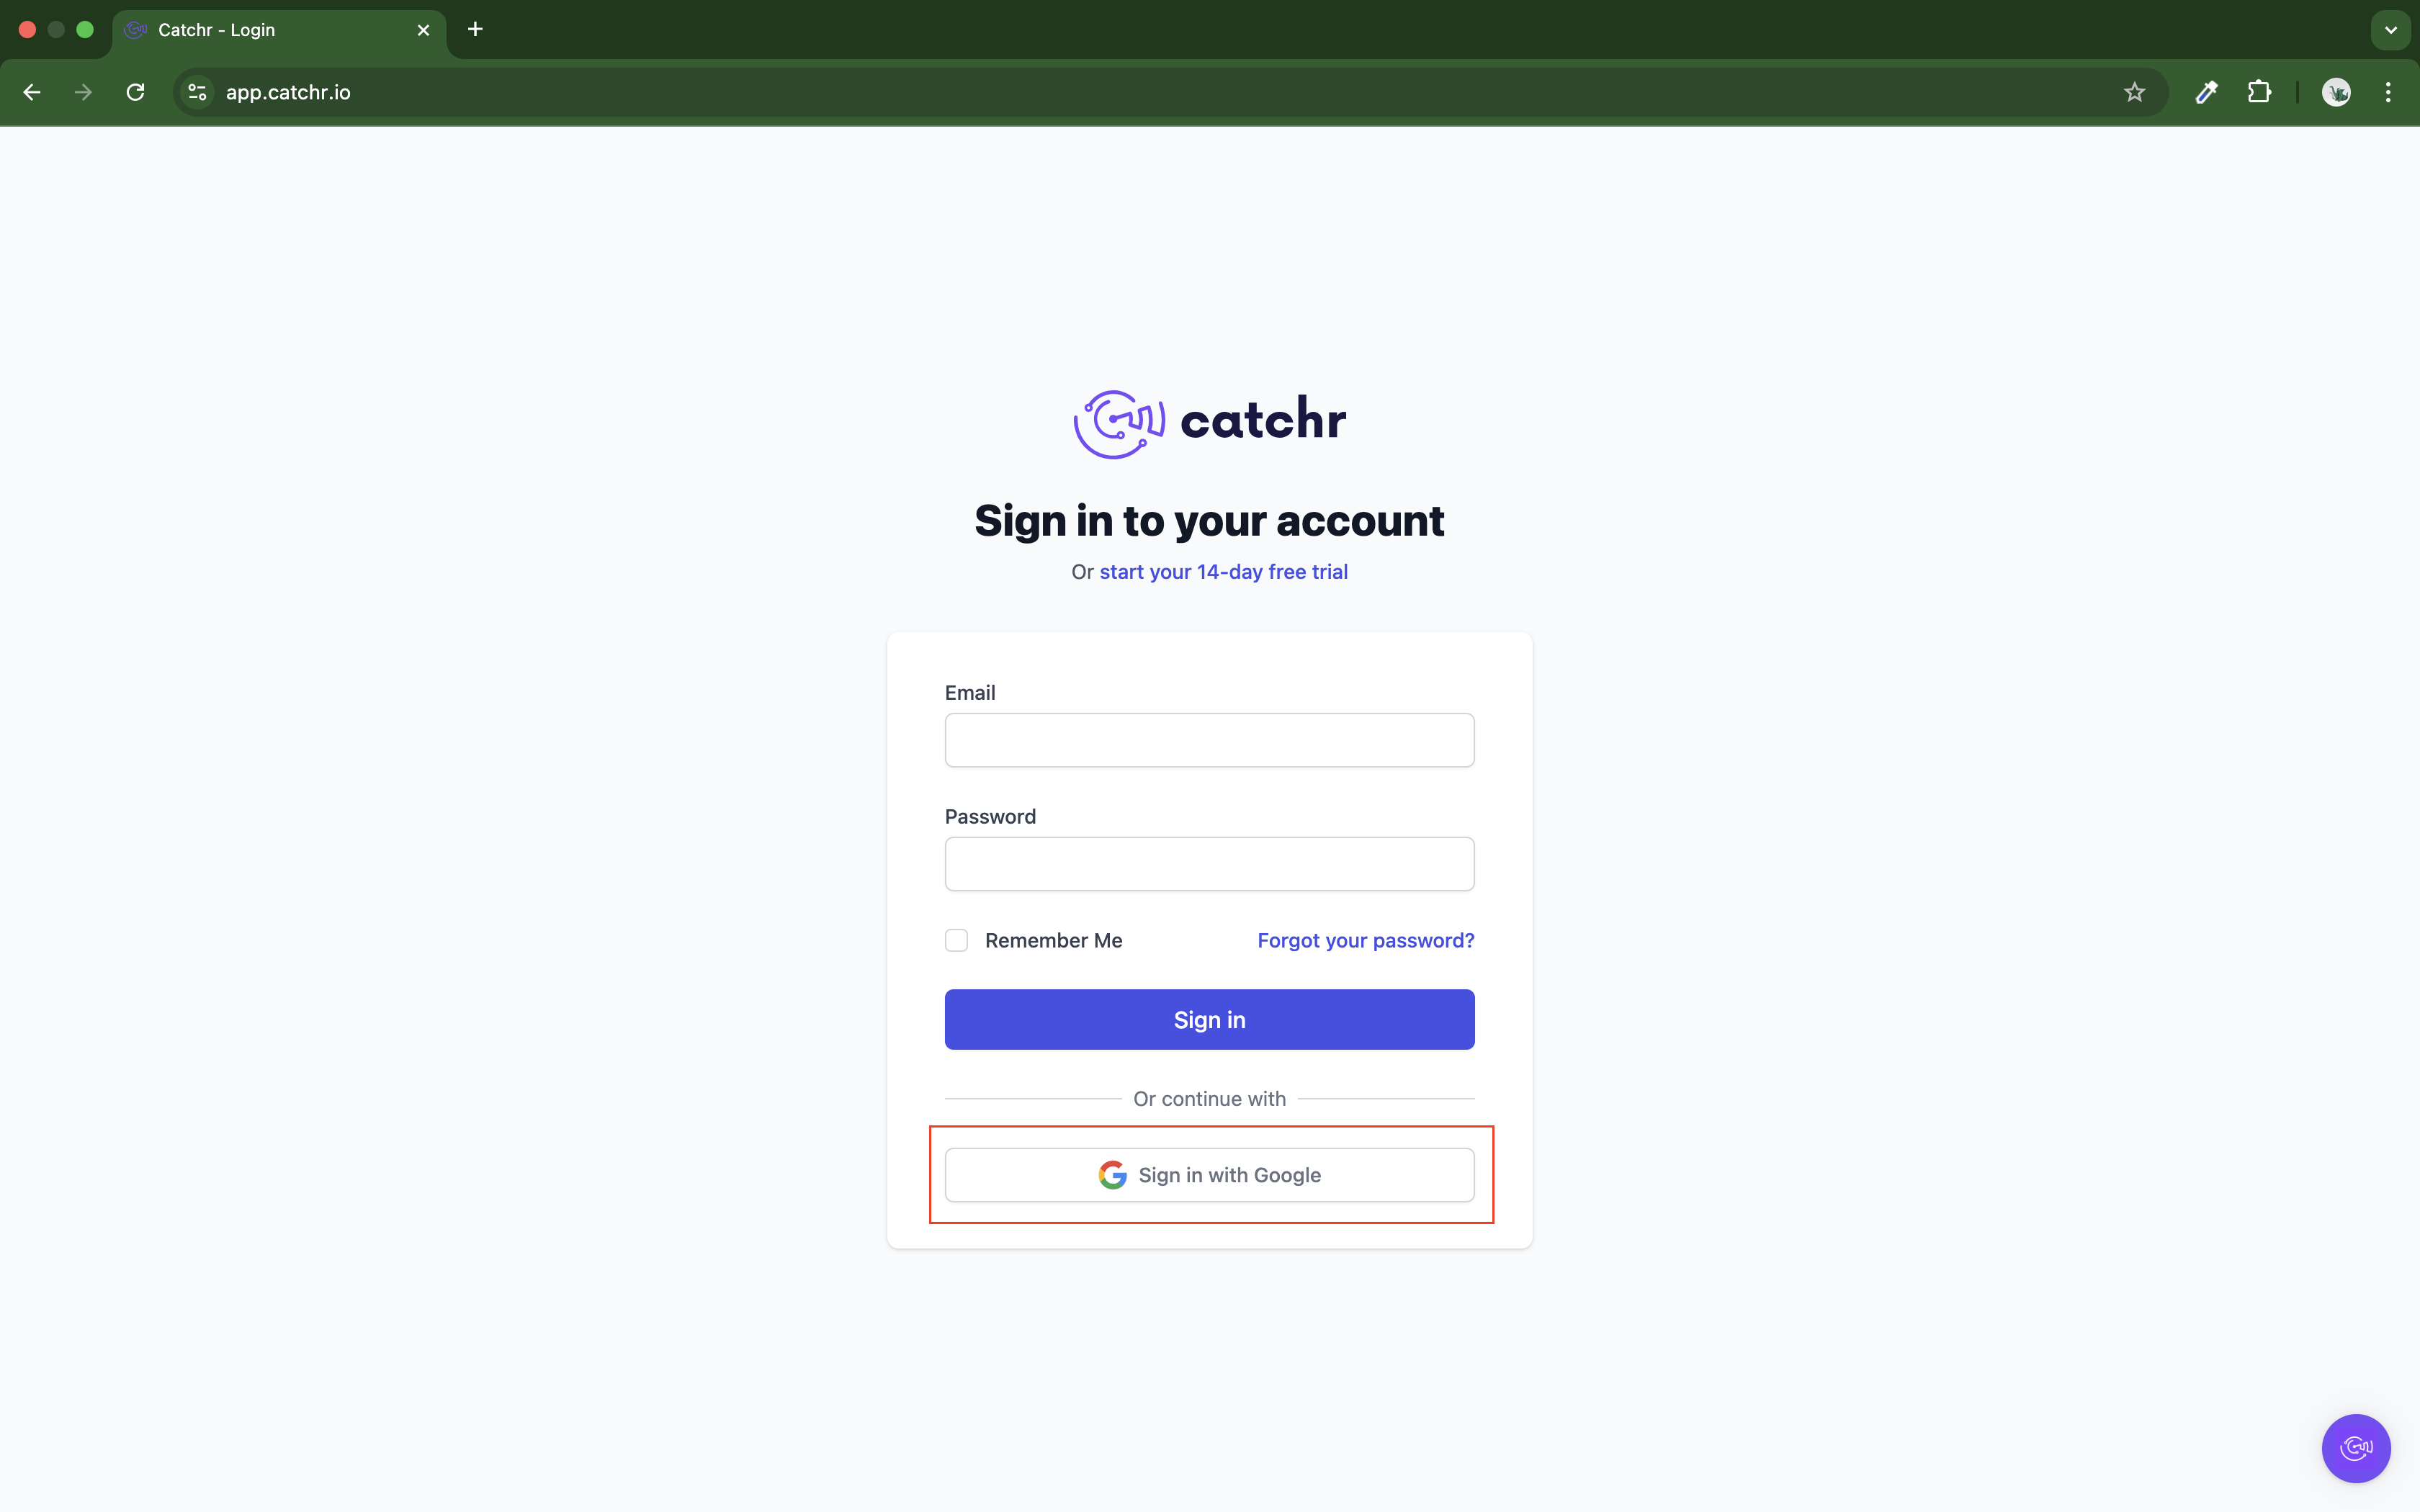
Go to app.catchr.io and log in using your Google account.
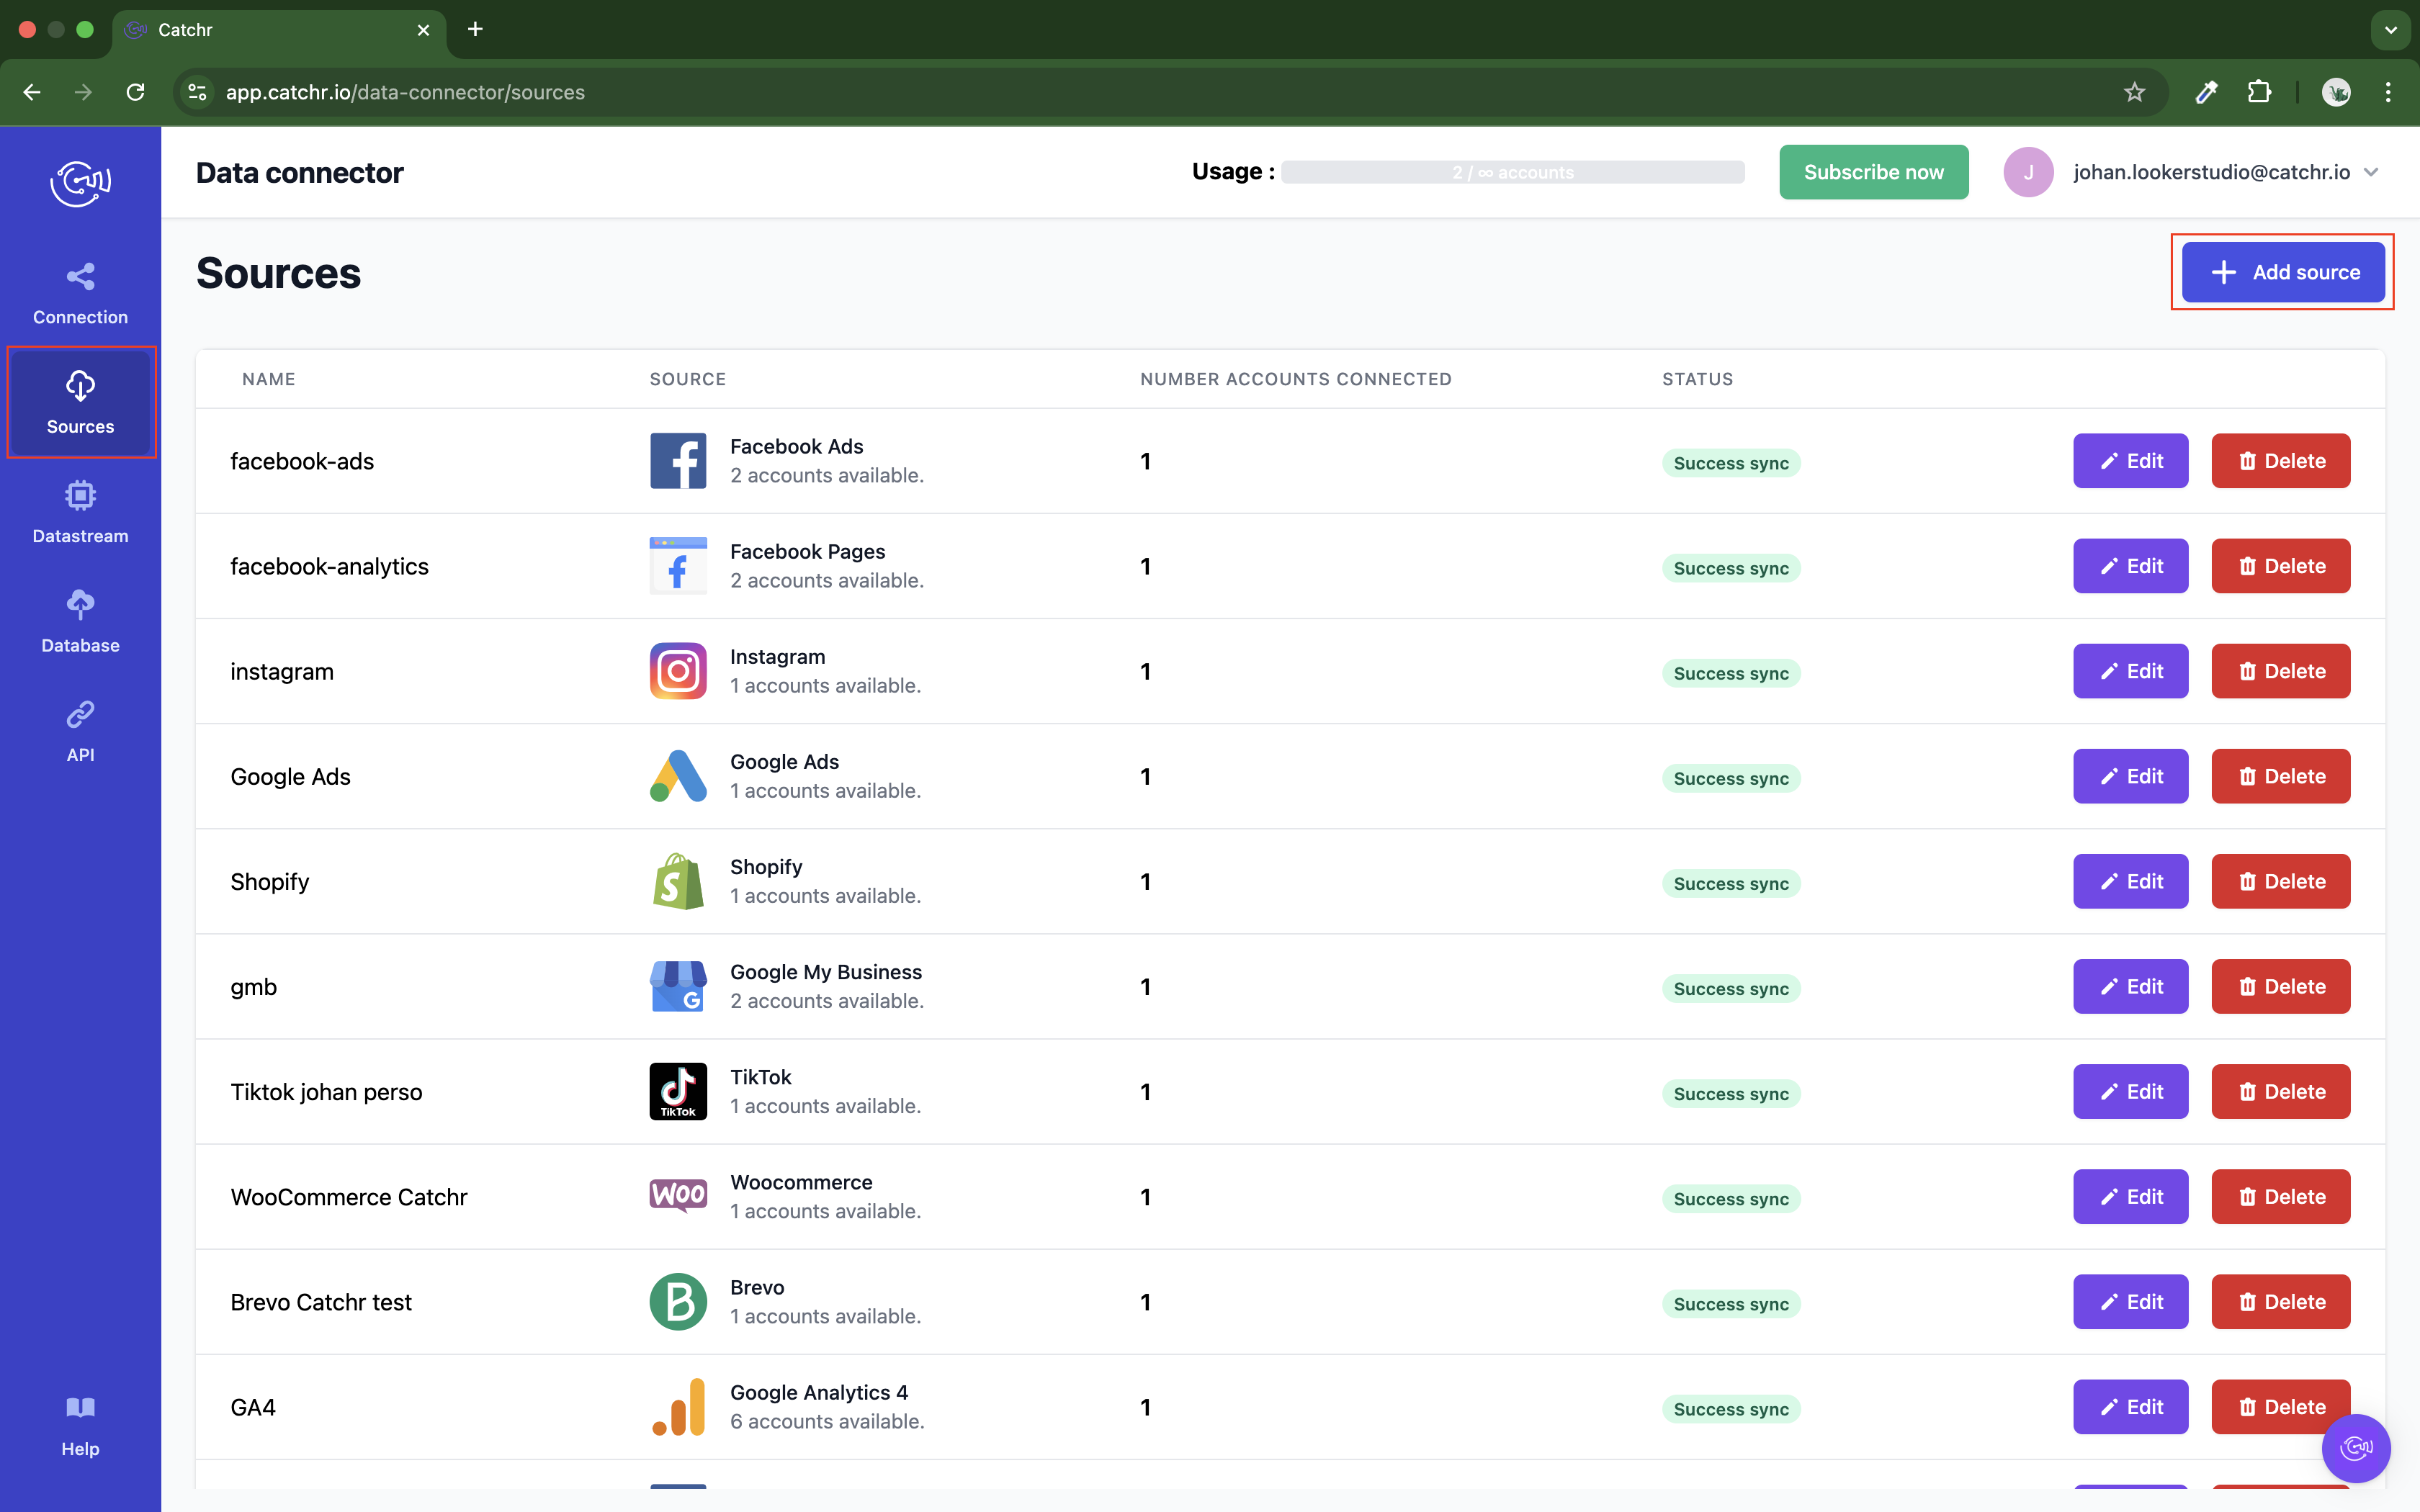
In the left-hand menu, click on Sources.
Click + Add source at the top right of the page.
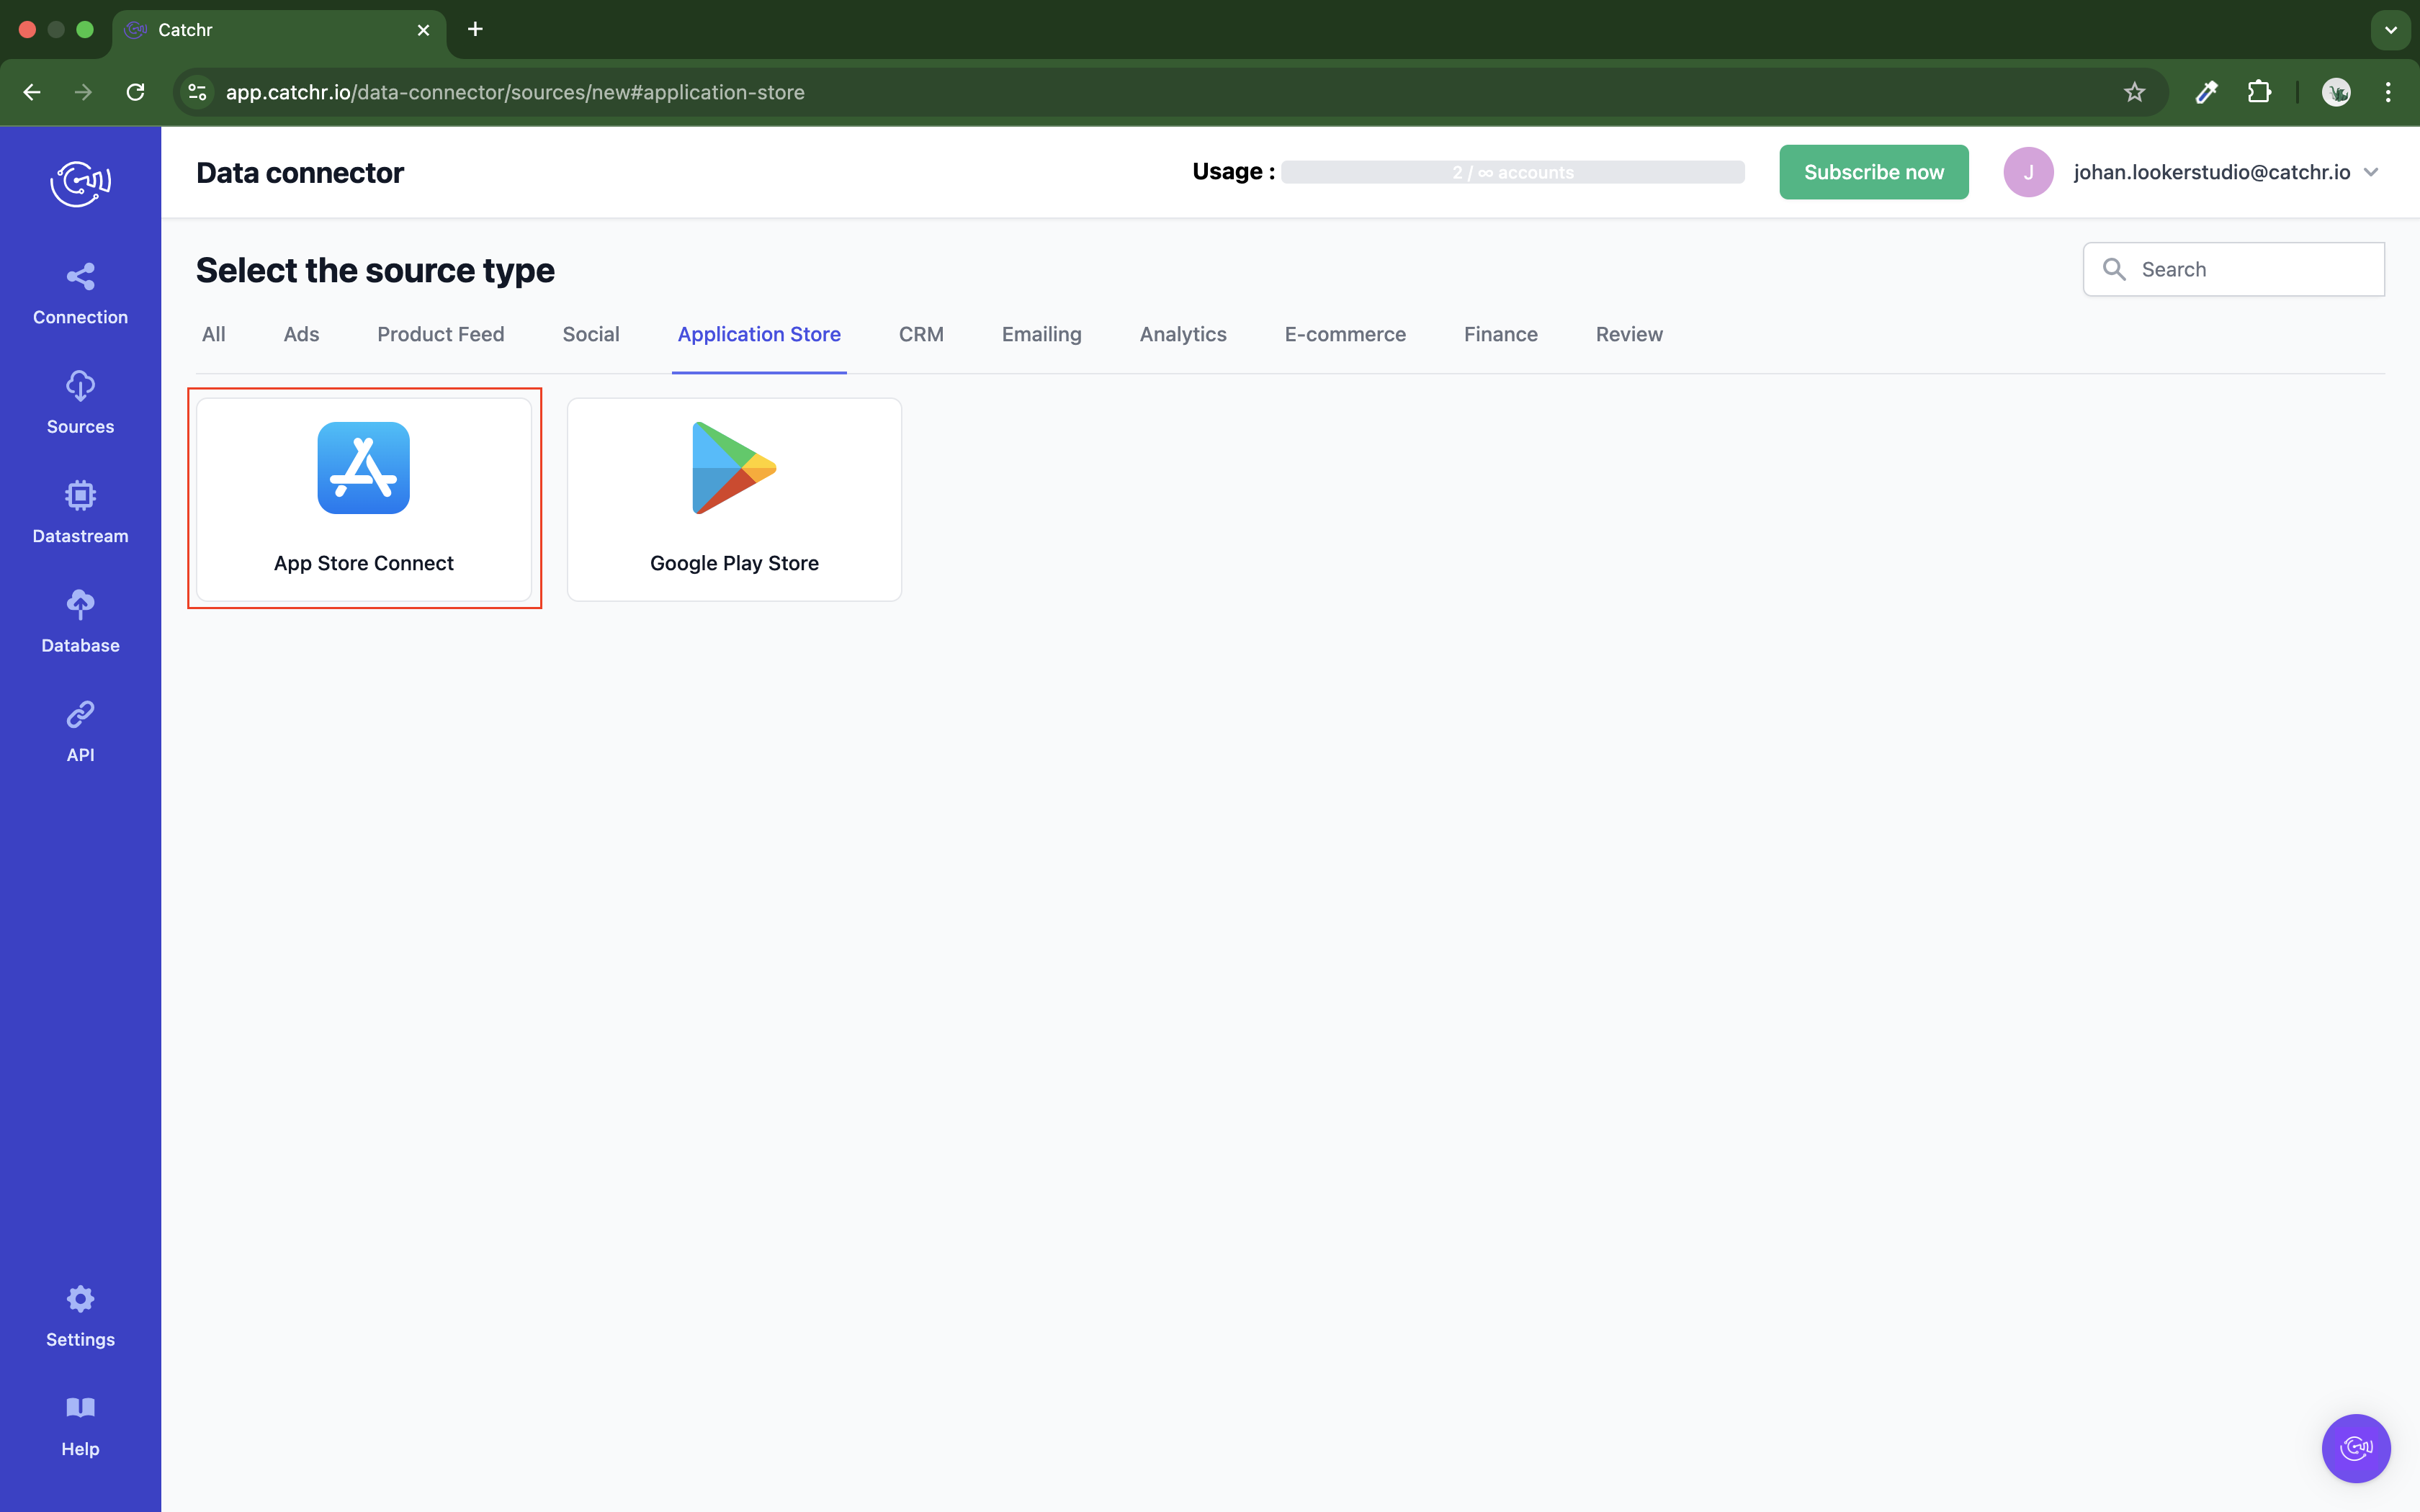
From the list of platforms, select App Store Connect (available in the Application Store section)
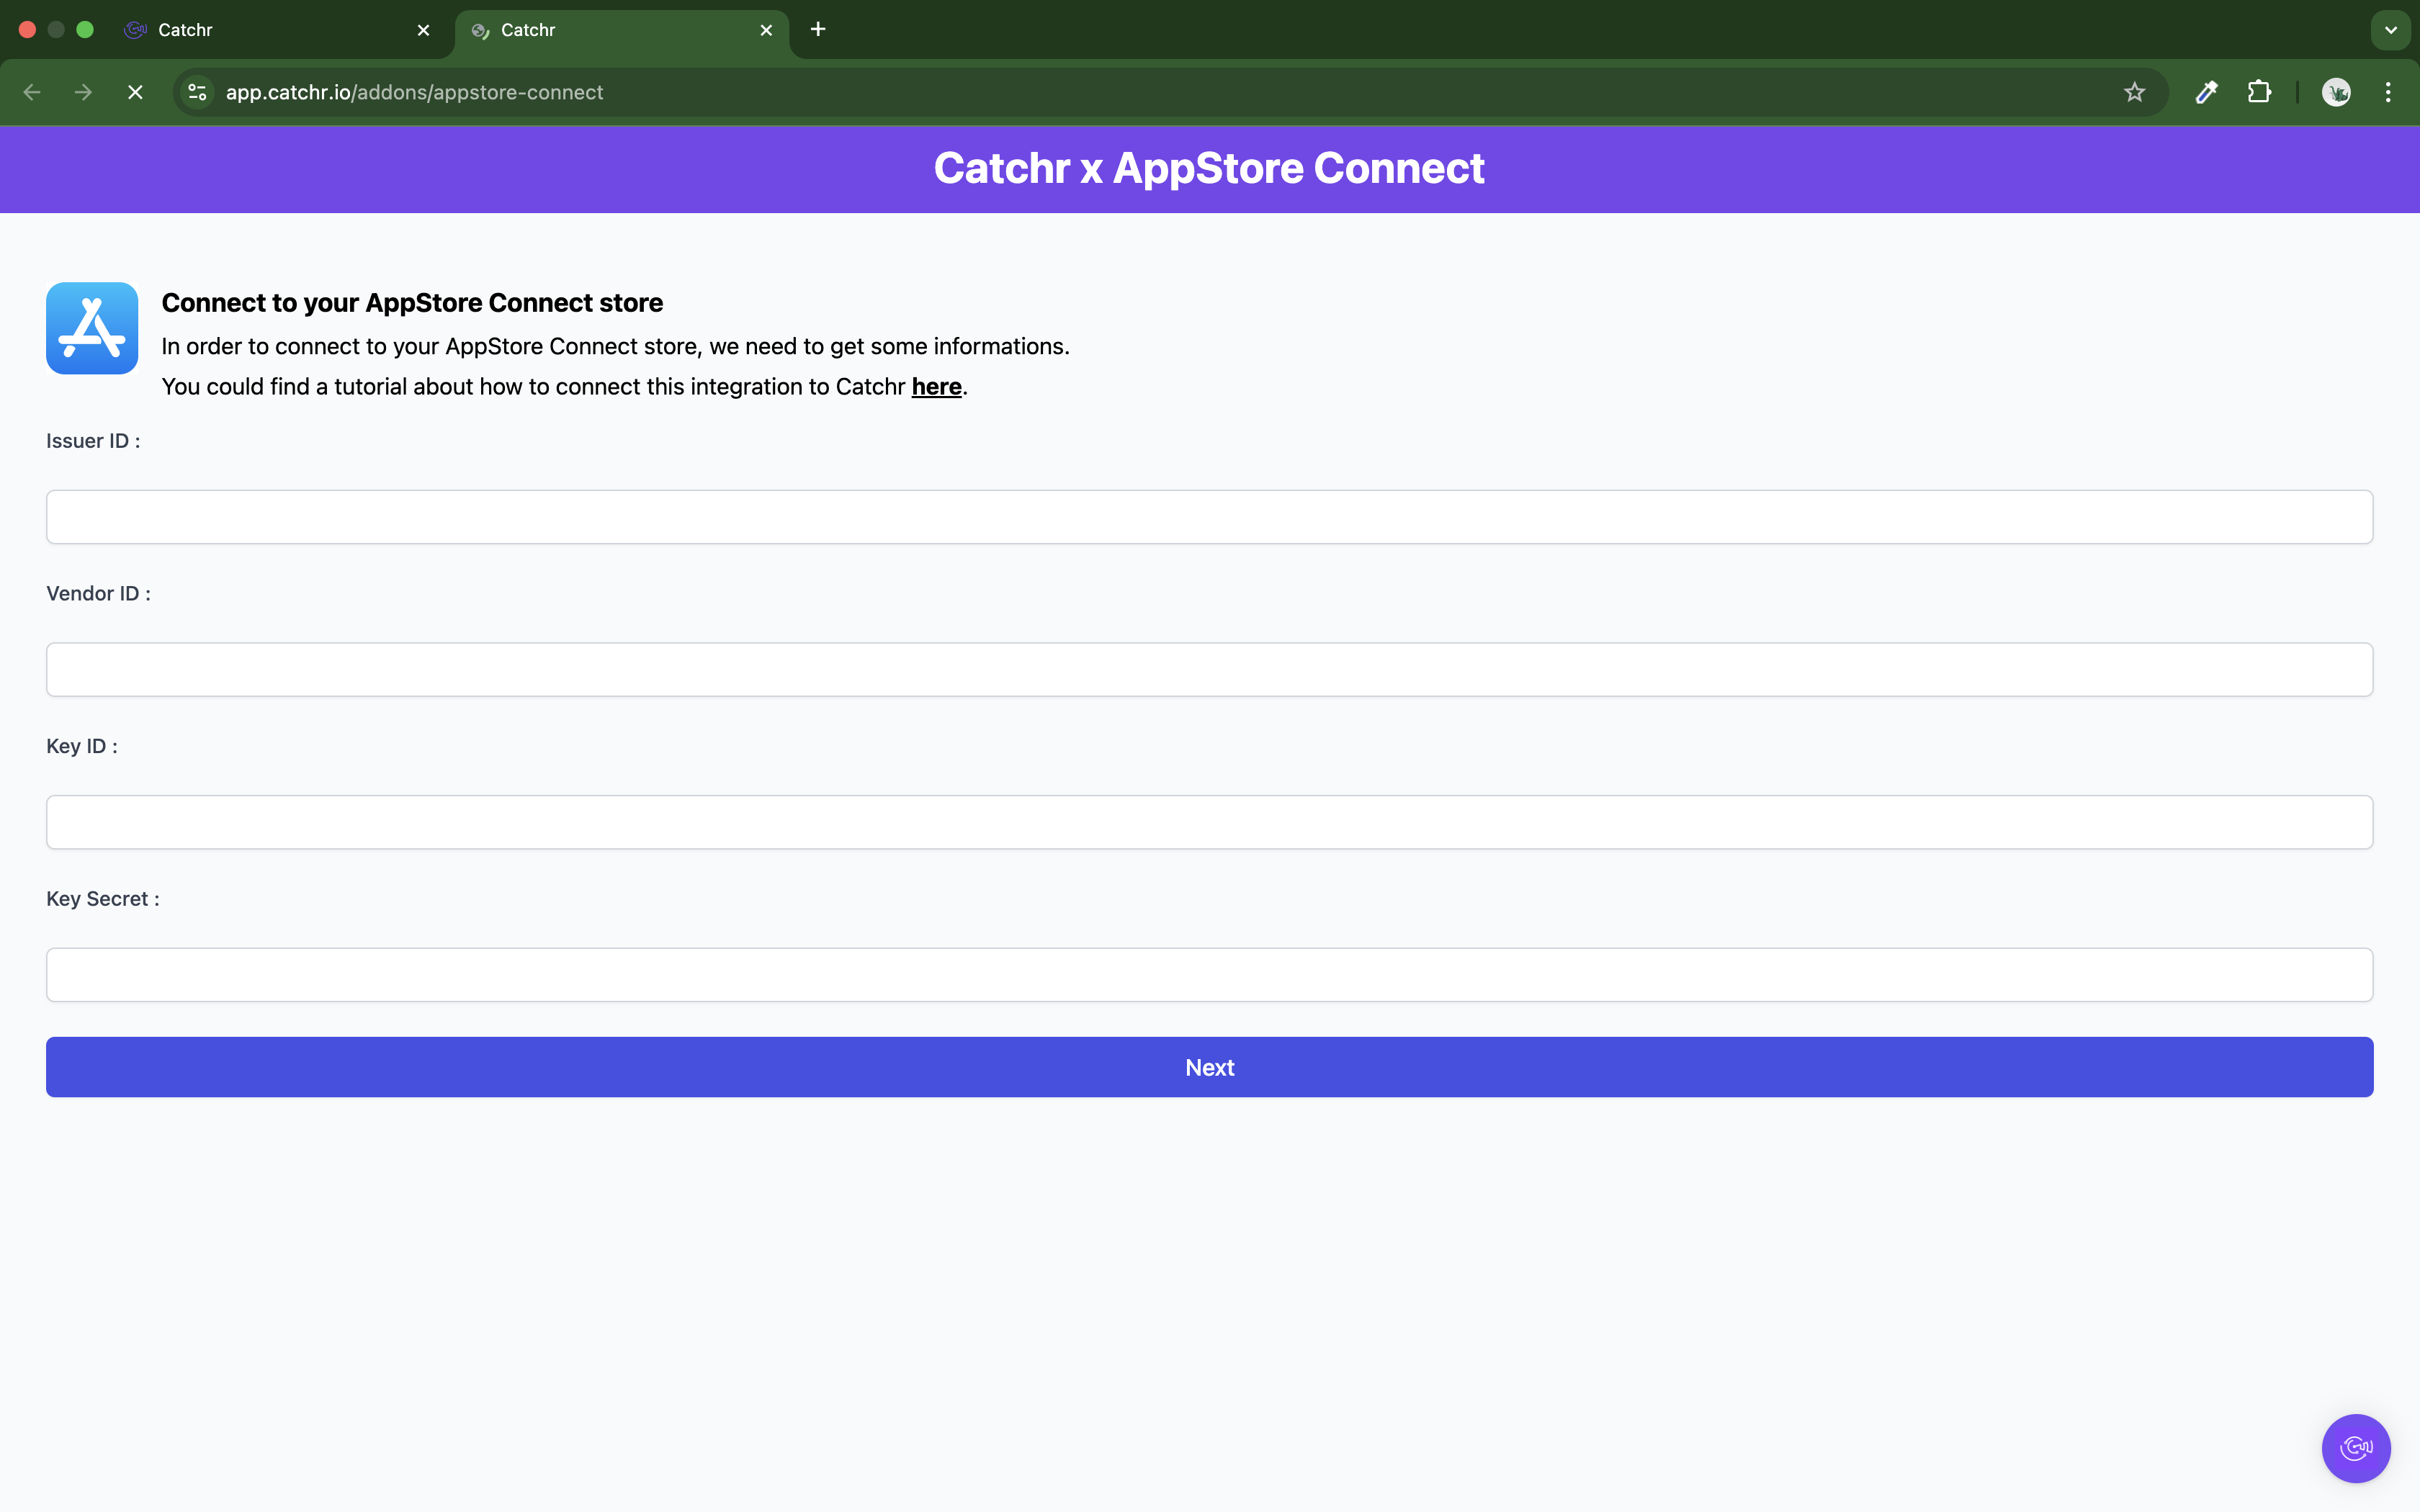
Name your Source on Catchr and click Connect your account (the name is visible in the Source list on Catchr). We advise naming it with App Store Connect - [Catchr username].
You’ll need your Issuer ID, Vendor ID, Key ID, and Key Secret:
The issuer ID is available in the API section of your account.
Follow this link: https://appstoreconnect.apple.com/access/api. Your issuer ID should be visible here, and you can copy it using the shortcut.
Paste it on Catchr.
The Issuer ID will differ for each Developer Account you are a part of.
If the issuer ID is absent, contact your Team agent and ask him to activate the feature.
Your vendor ID is a unique ID representing a payment account in Apple's System. You need the admin permissions on the account to access it.
You can view your vendor number at any time through App Store Connect.
From the homepage, click Payments and Financial Reports.
Your Vendor Number appears under your Legal Entity Name in the top left corner.
Paste it on Catchr.
Go to Users and Access > Integrations on App Store Connect.
Click on the "+" sign to generate an API Key (if you cannot access this page, you do not have the correct level of access. You must be at least Admin or Account Holder. In that case, contact the owner to get the correct level of access).
Name your API Key.
Set the access level to Admin to access all metrics.
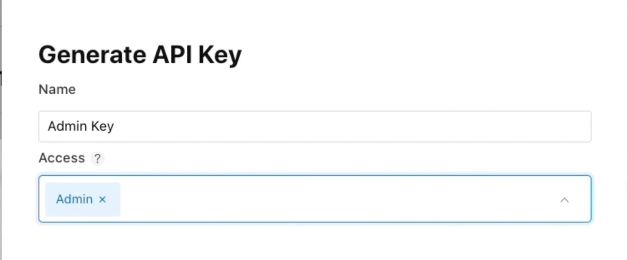
You can now copy the Key ID.
To obtain the Key Secret, click "Download API Key" and open the downloaded file. It will look like this:
-----BEGIN PRIVATE KEY-----
AAAAAAAAAAAAAAAAAAAAAAAAAAAA
BBBBBBBBBBBBBBBBBBBBBBBBBBBB
CCCCCCCCCCCCCCCCCCCCCCCCCCCC
-----END PRIVATE KEY-----
Copy and reformat the text part, it should look like this:
AAAAAAAAAAAAAAAAAAAAAAAAAAAABBBBBBBBBBBBBBBBBBBBBBBBBBBBCCCCCCCCCCCCCCCCCCCCCCCCCCCC
You can then copy it into the Key Secret on Catchr.
Your account will now appear in the Accounts list under the source you've just created.
 An inactive account will still appear in the destination setup screens. You can activate it manually, but it will also be automatically activated as soon as it's used in a query. If your Catchr Source contains many accounts, you don't need to activate them manually; Catchr will automatically activate them when used.
You can now send data from your available accounts to one of Catchr's supported destinations, such as databases or visualization tools like Looker Studio, Google Sheets, Excel, Power BI, or Tableau.
 Need help setting up a destination? Check out our dedicated tutorials:

