Connecting your Klaviyo account to Catchr allows you to centralize your email data and automate your reporting workflows. Here are three simple steps to do it.
Required:
You must have one of these roles to connect your Klaviyo account to Catchr:
Admin
Owner
Manager
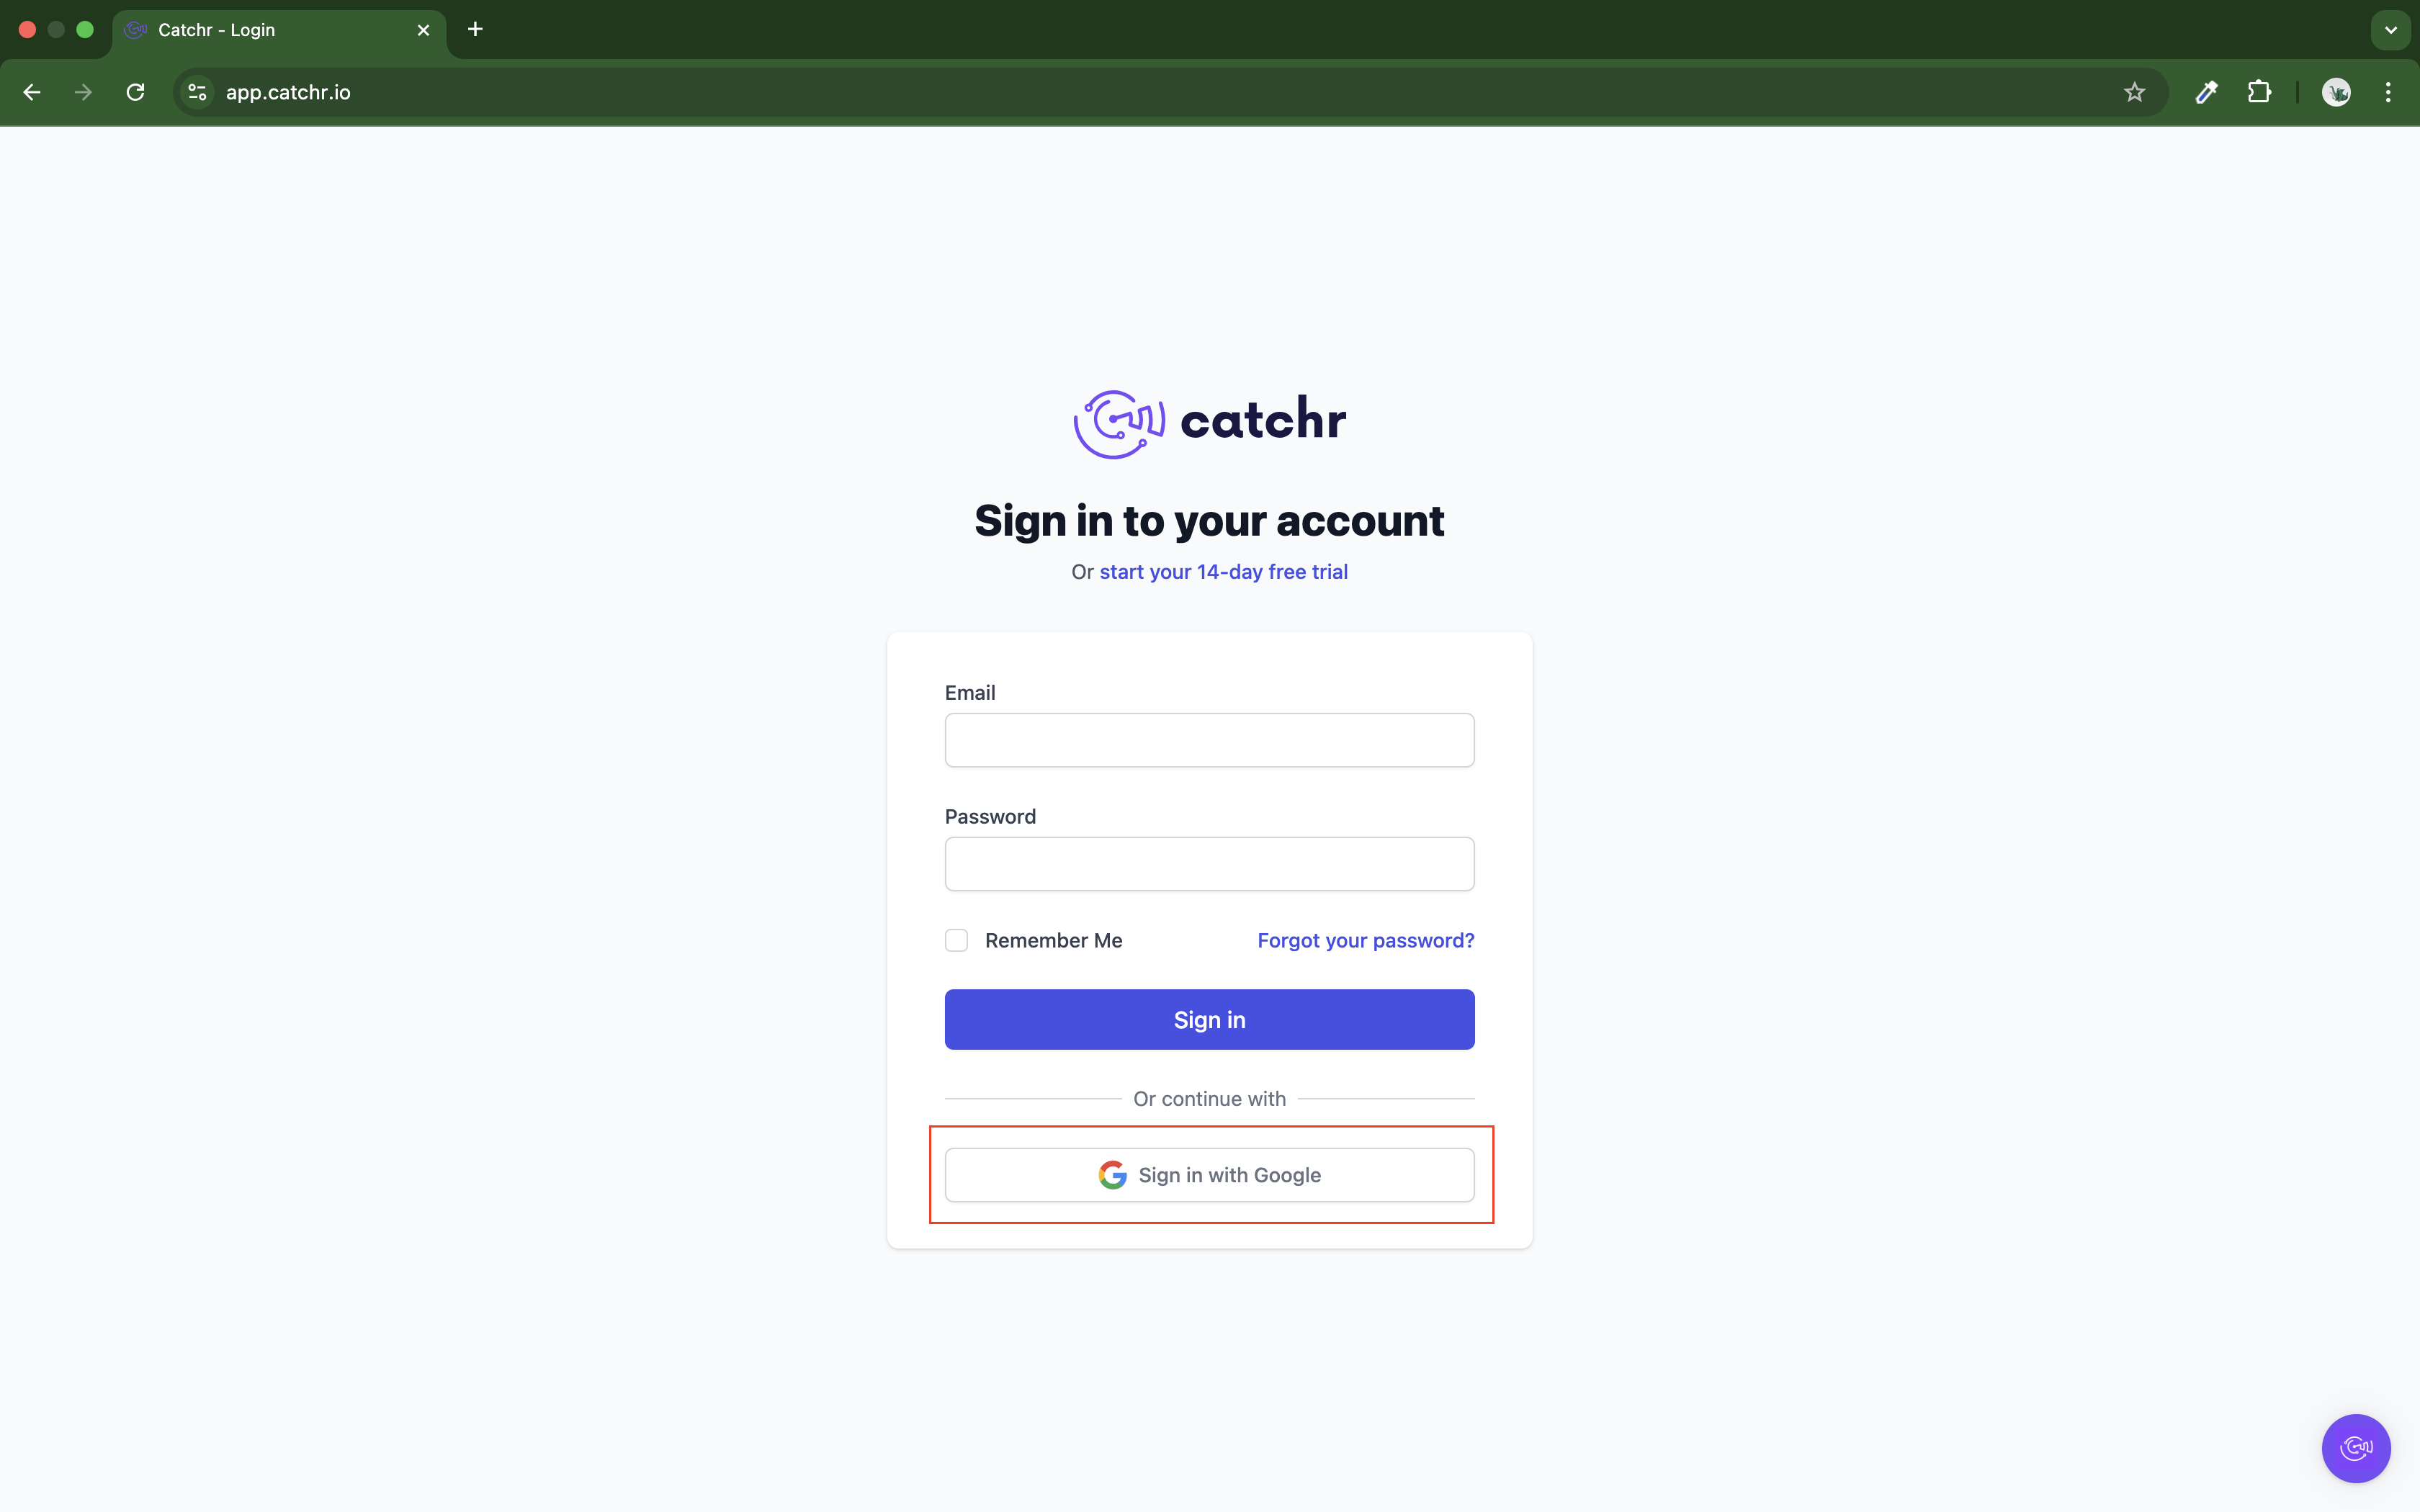
Go to app.catchr.io and log in using your Google account.
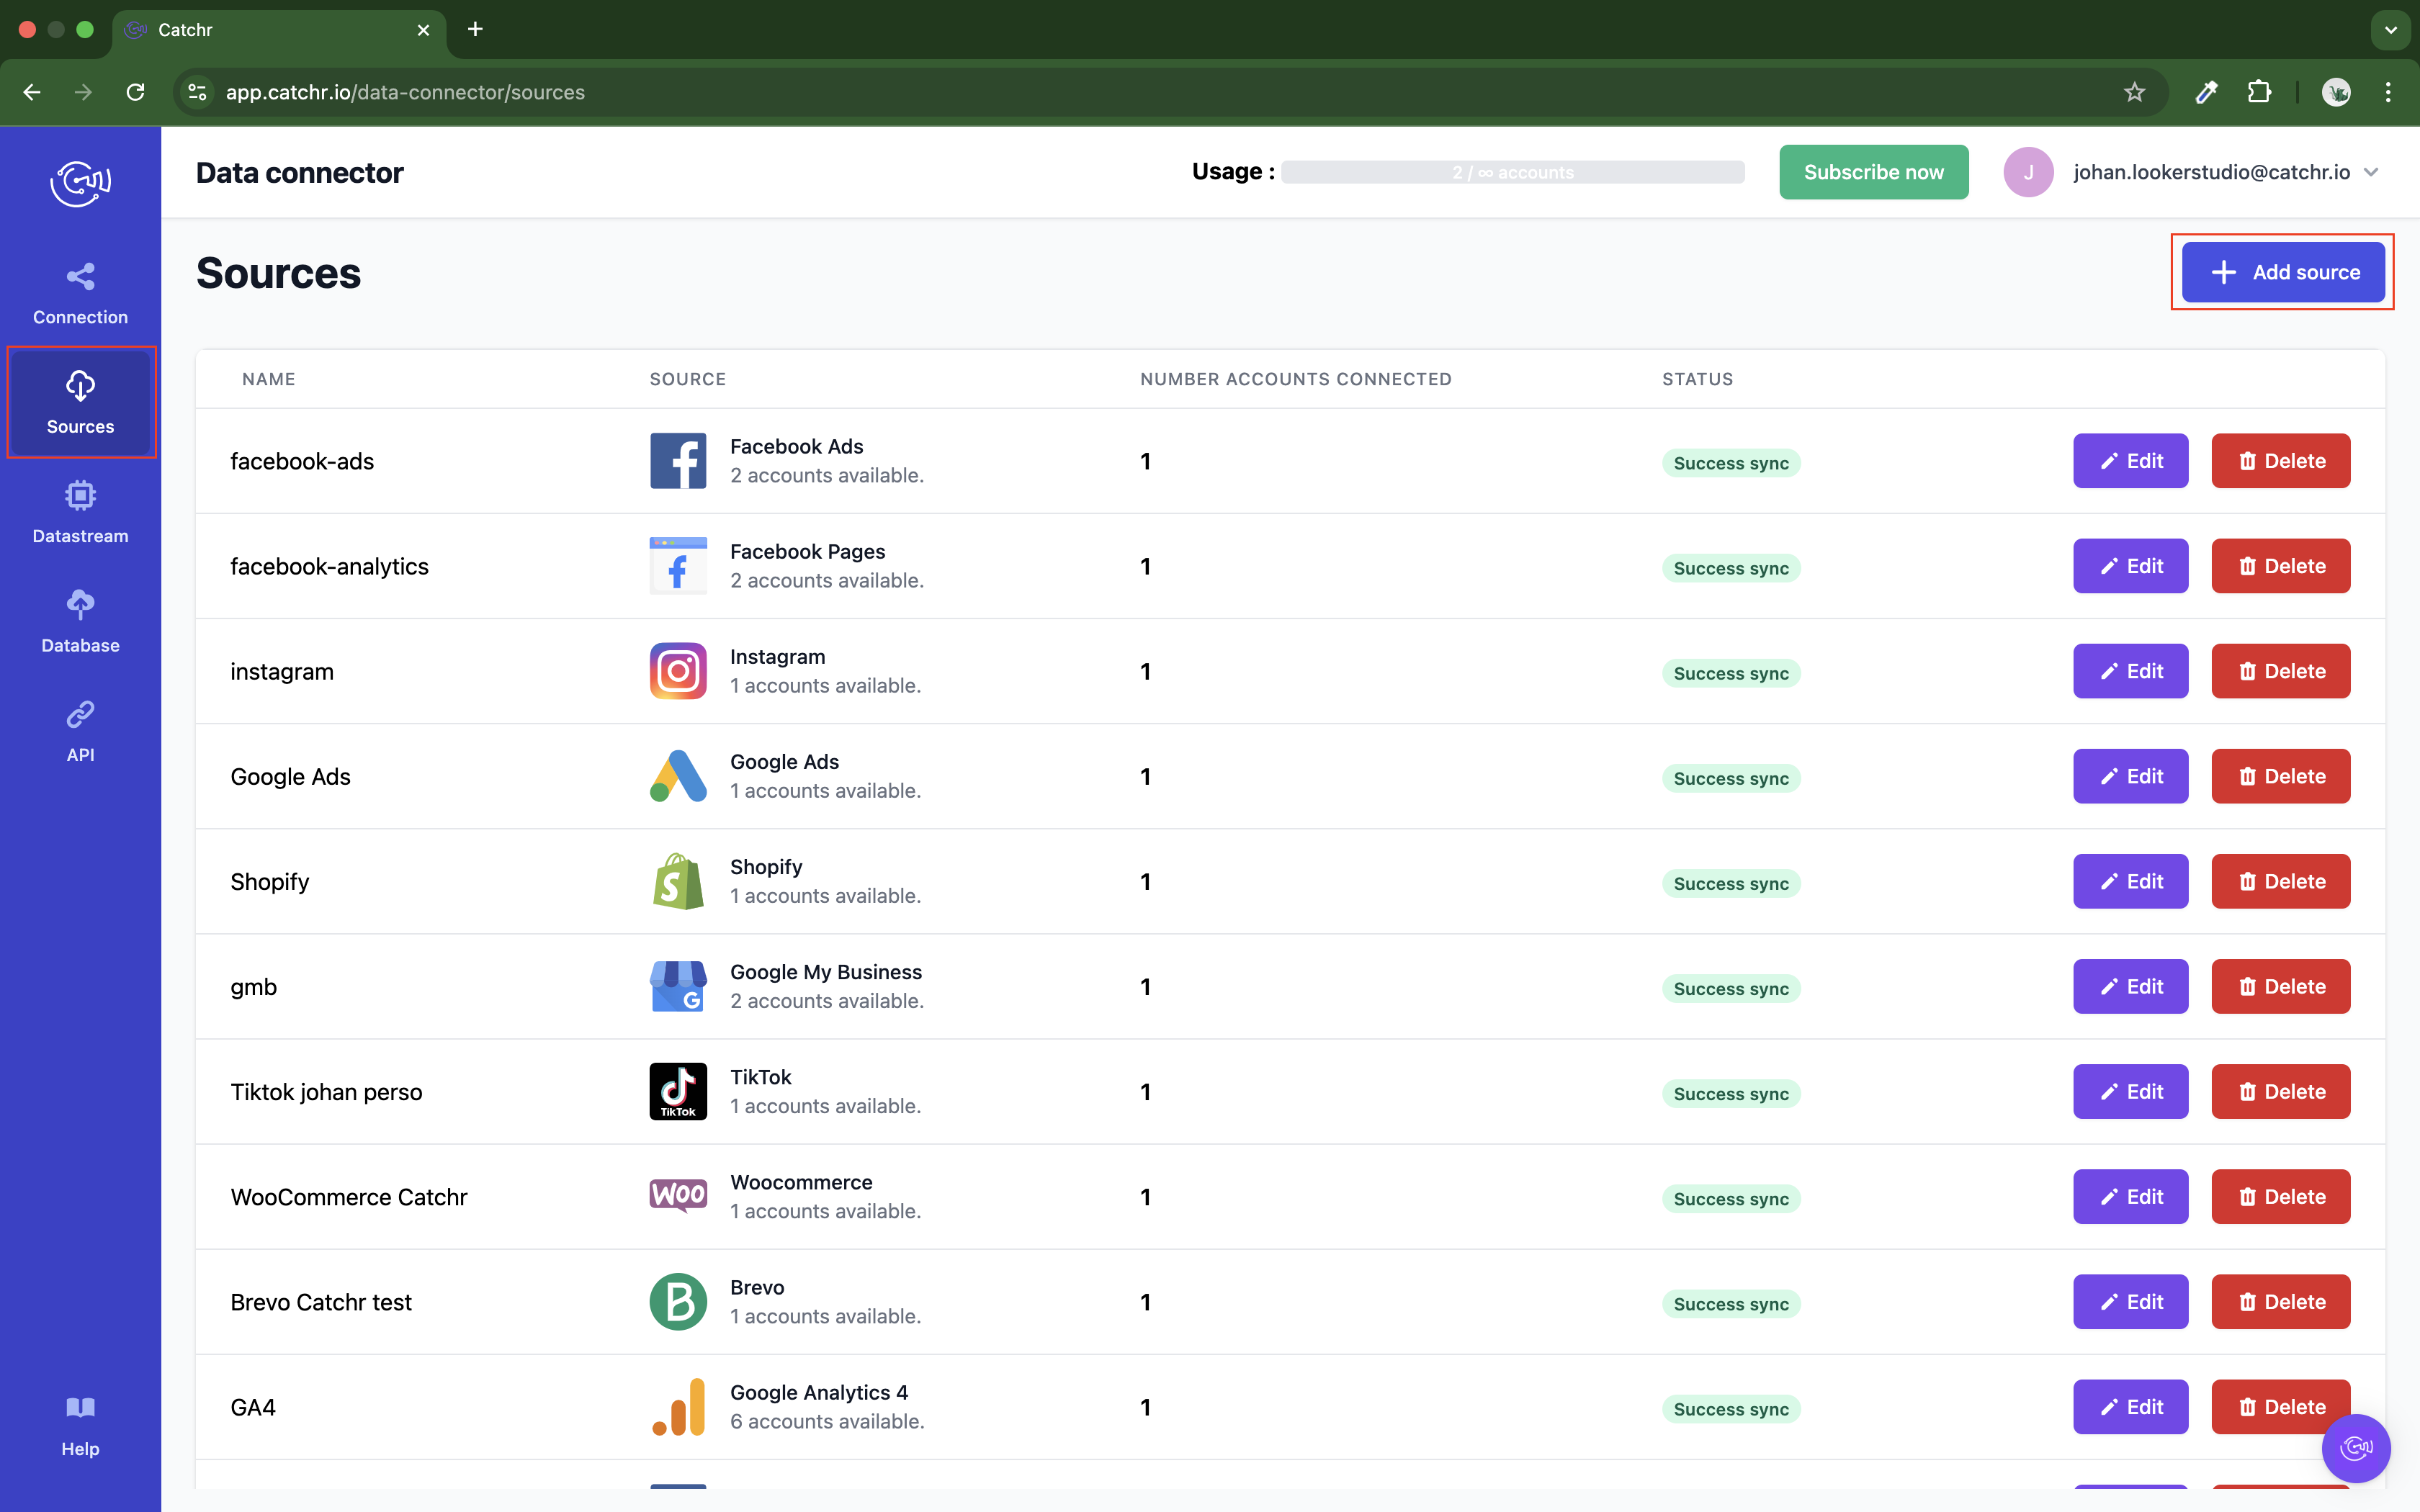
In the left-hand menu, click on Sources.
Click + Add source at the top right of the page.
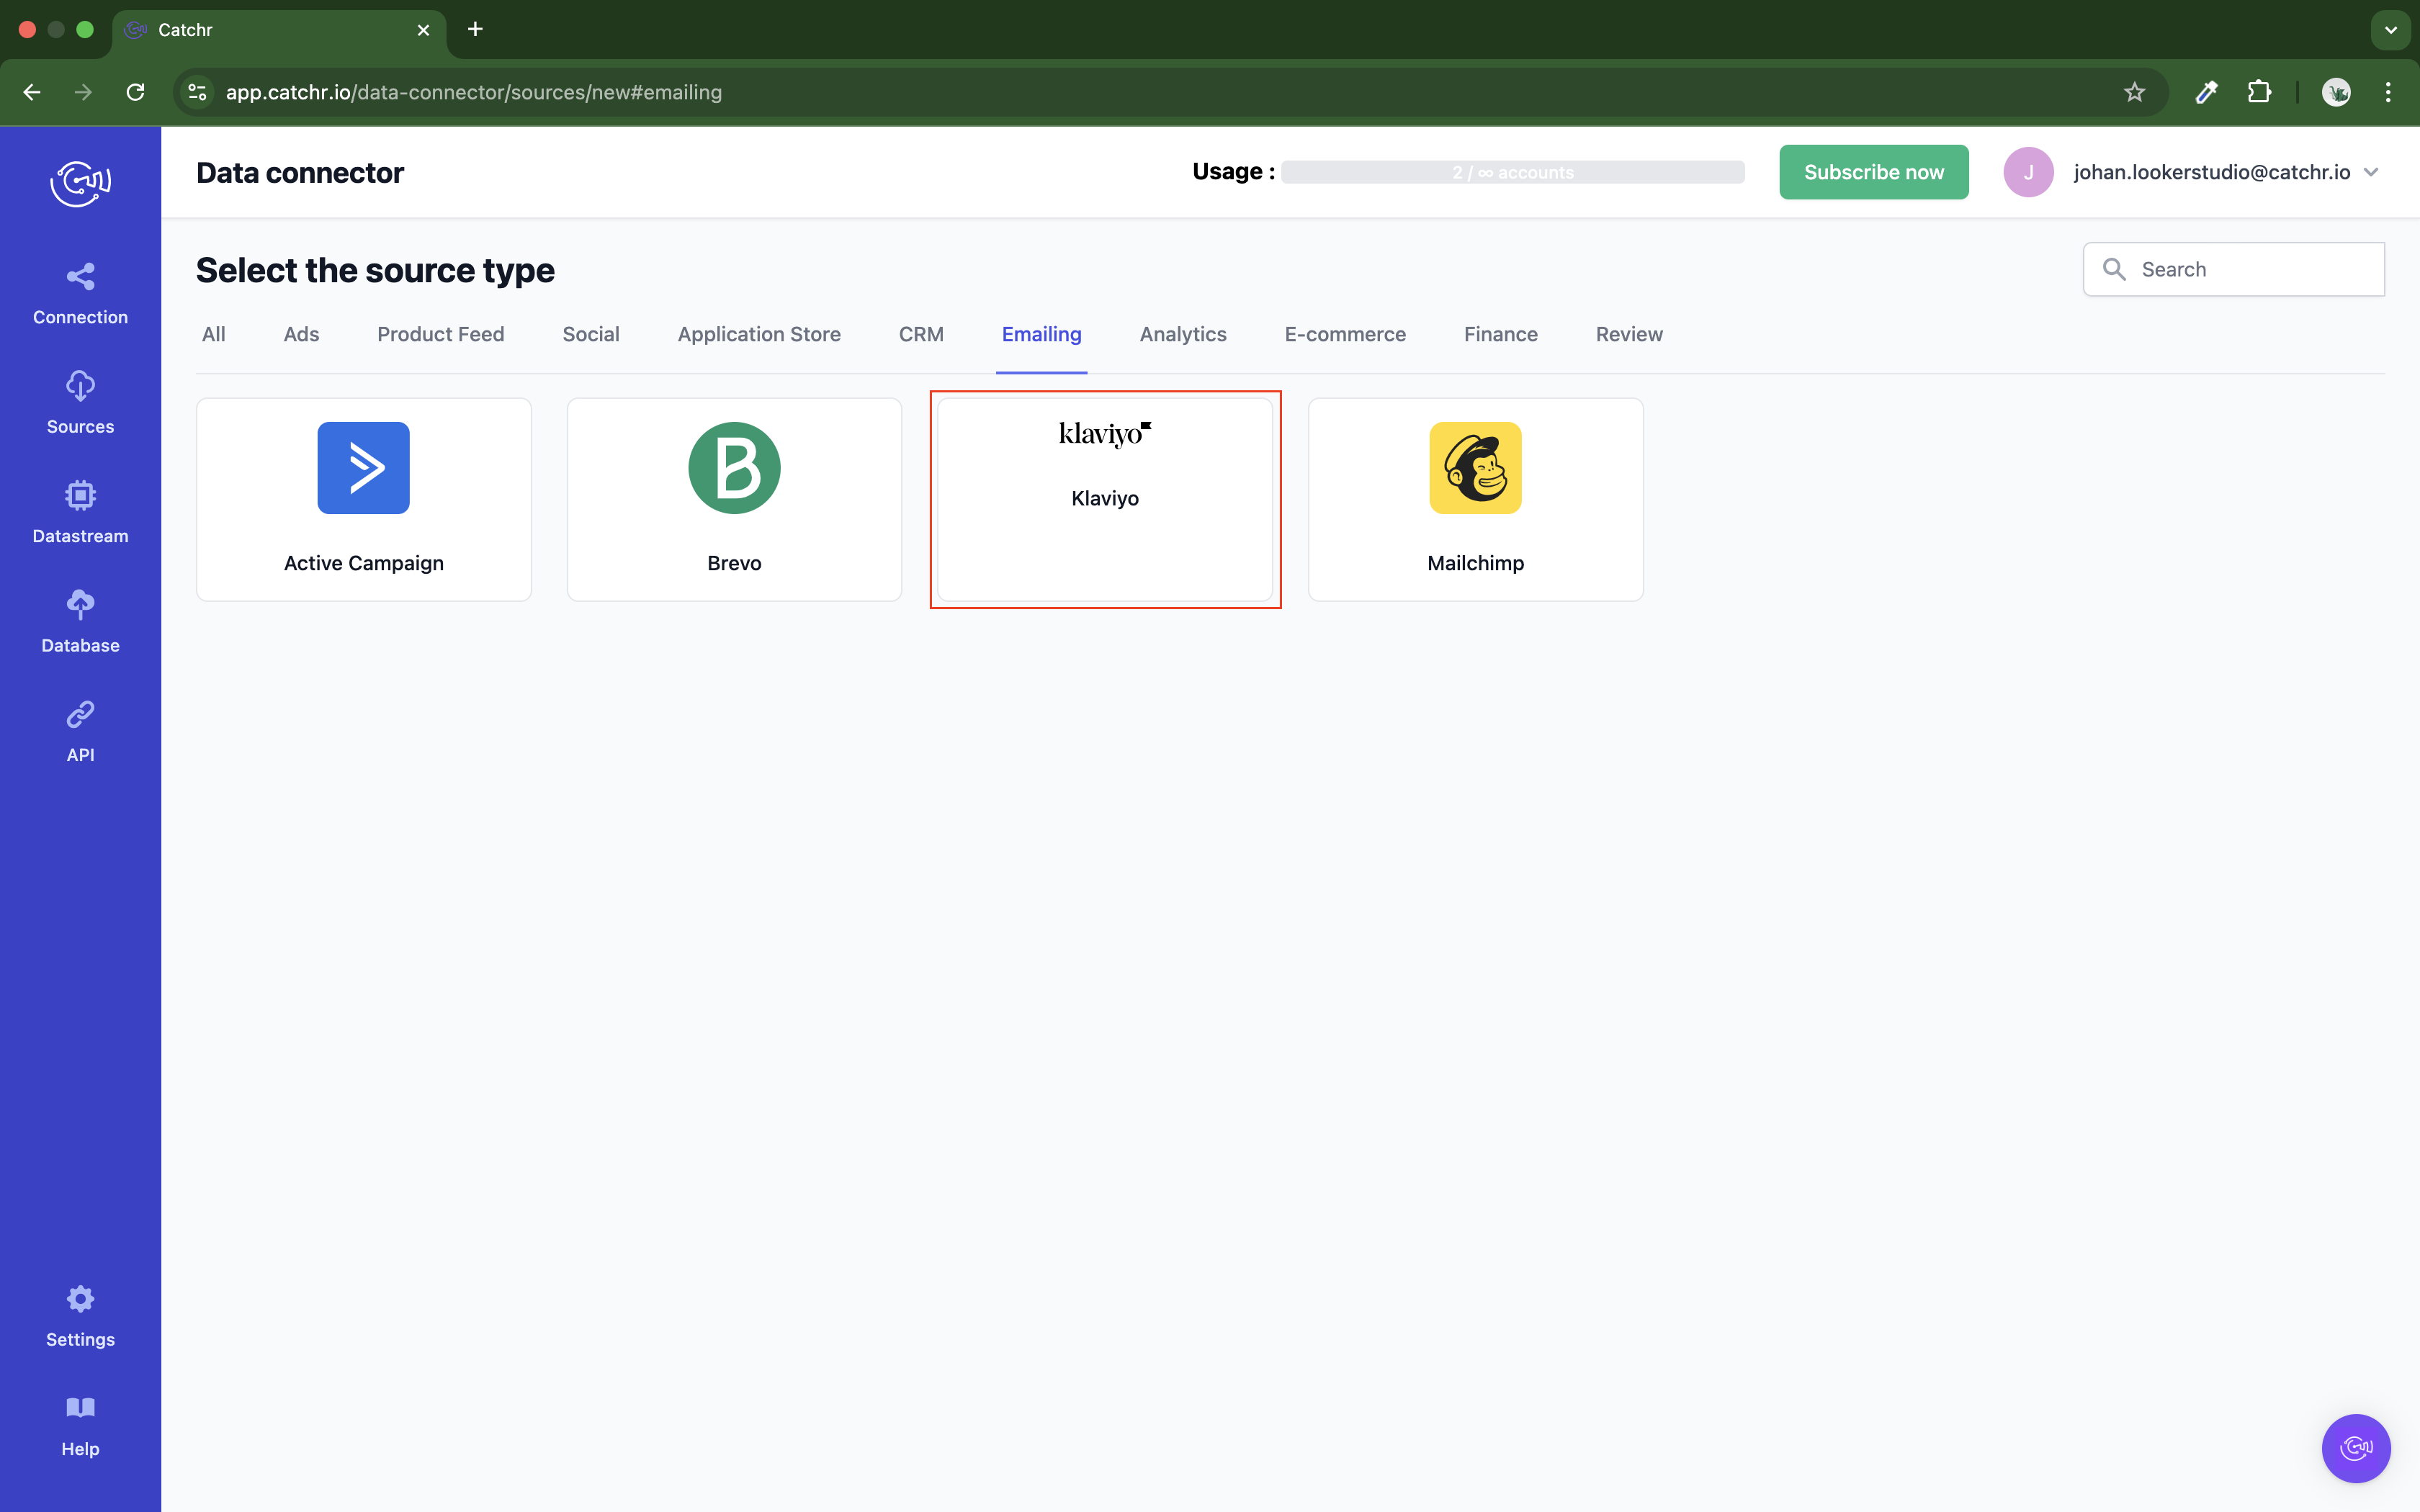
From the list of platforms, select Klaviyo (available in the Email section)
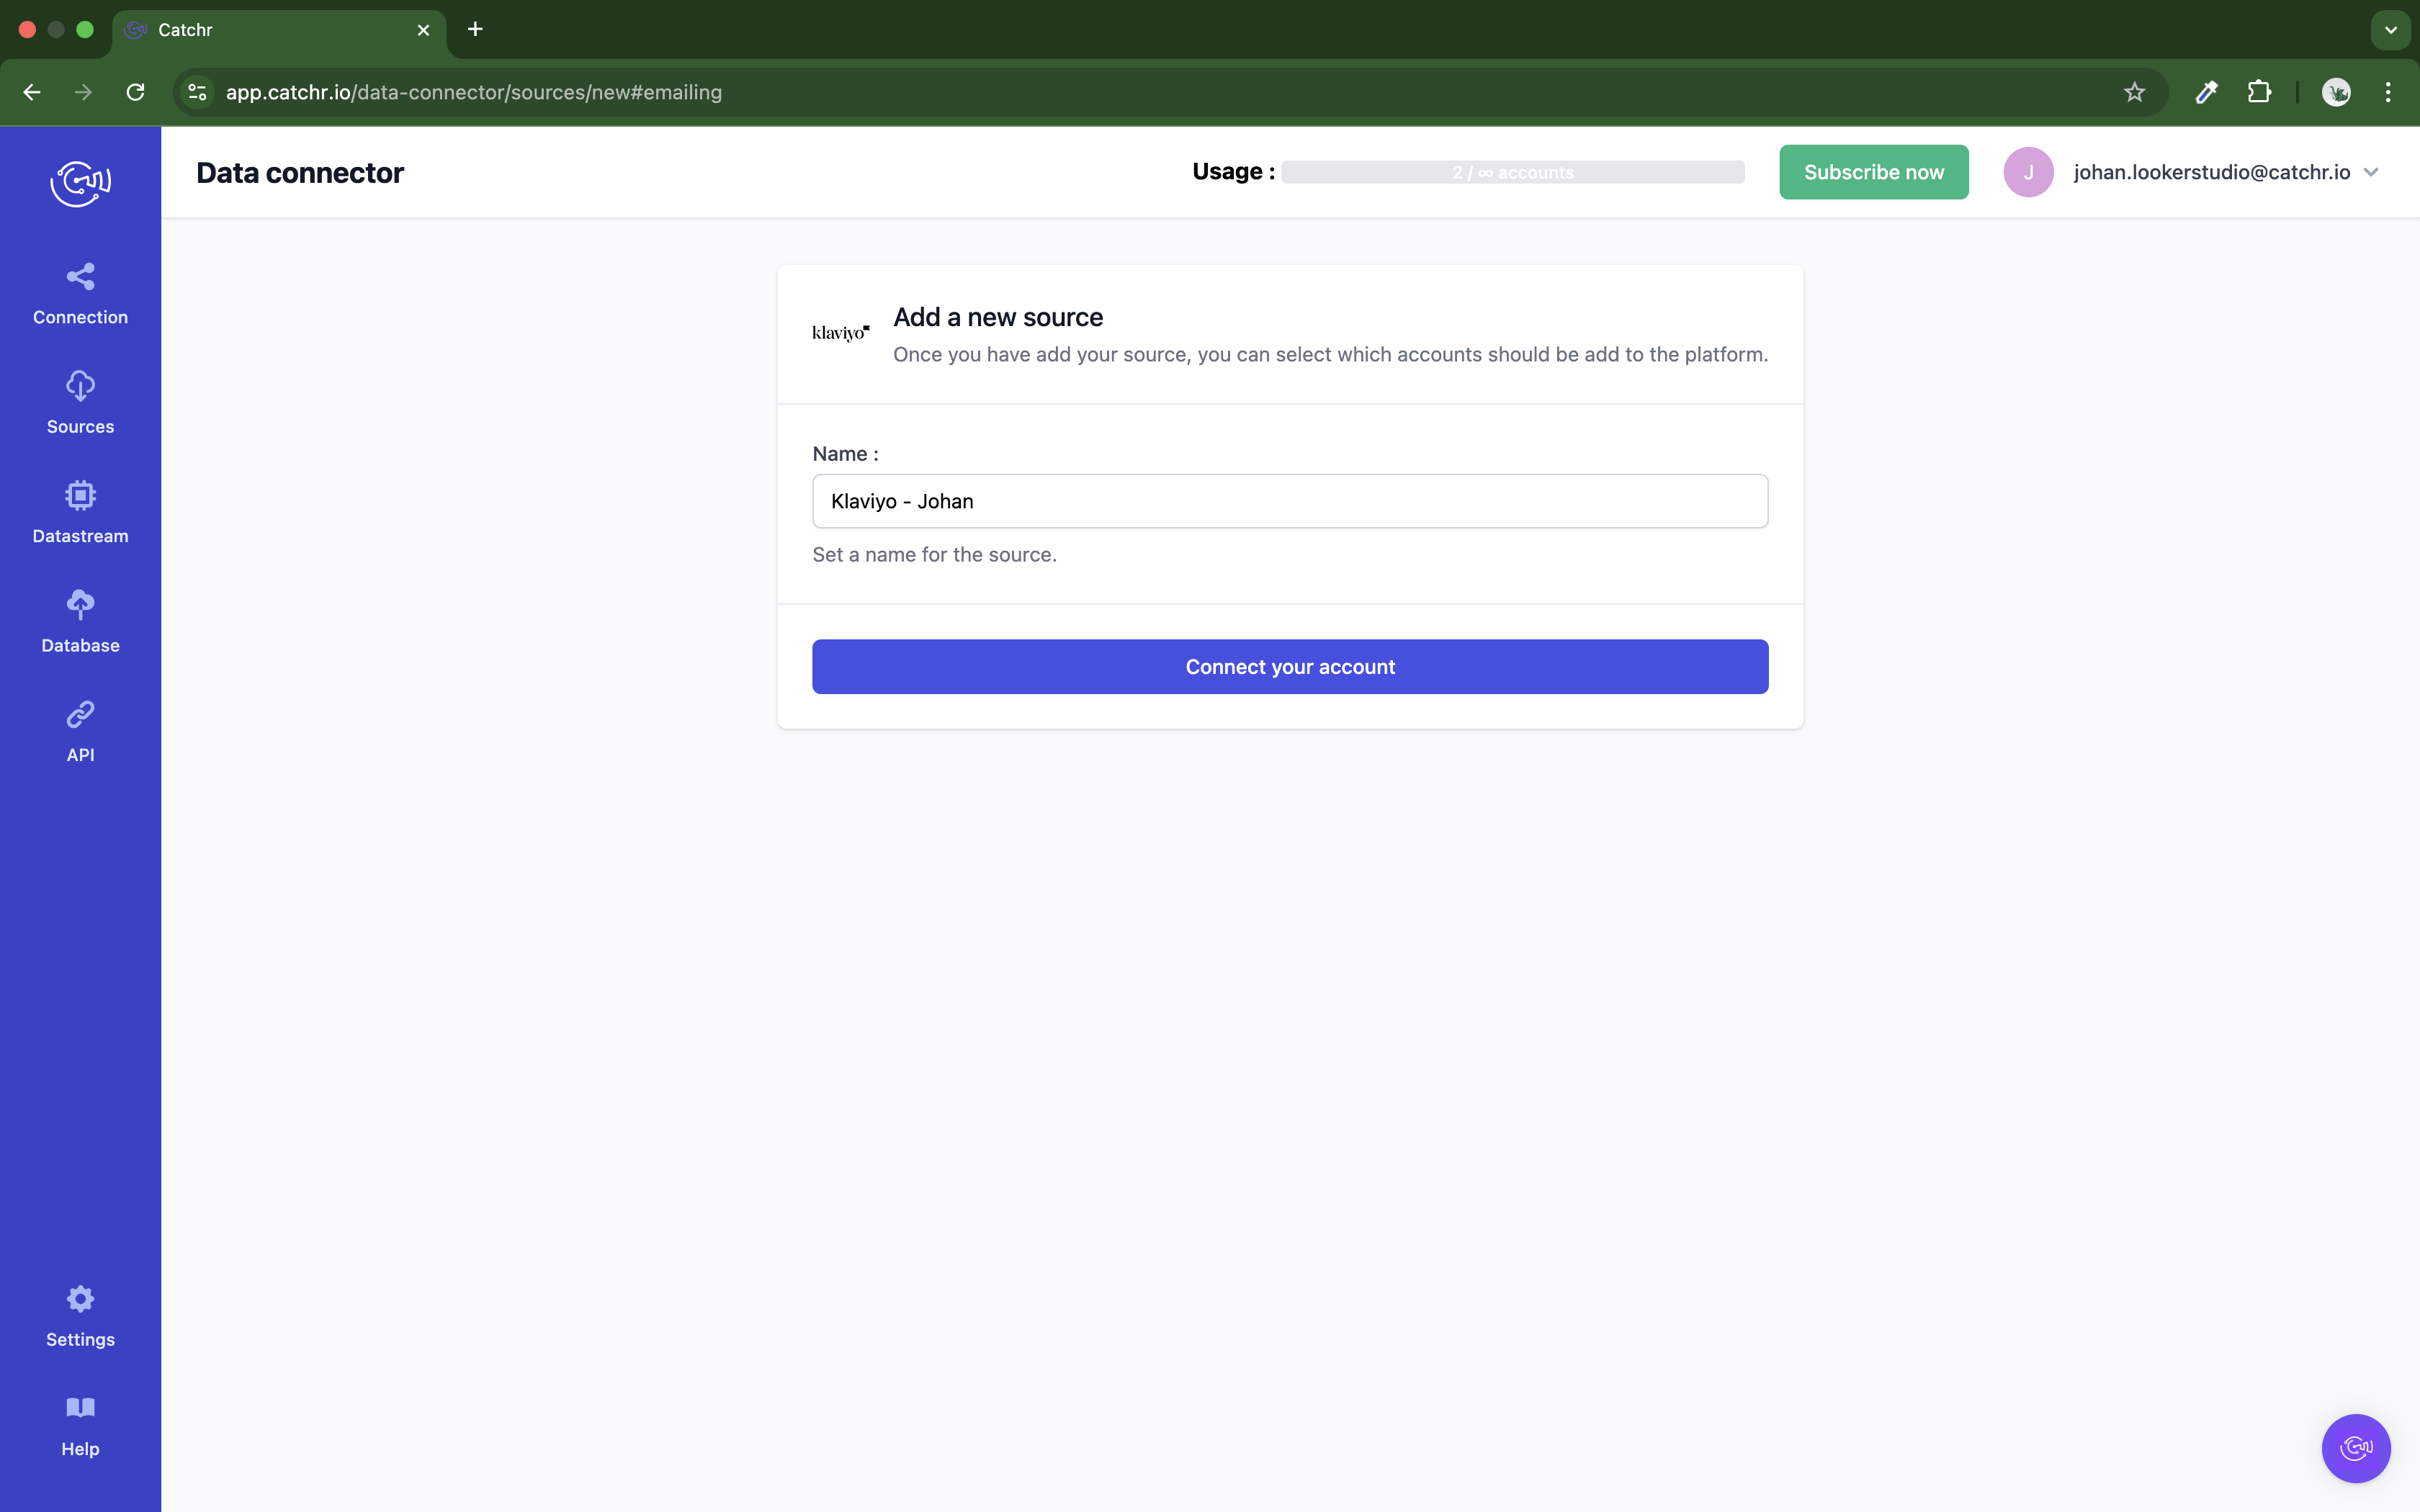
Name your Source on Catchr and click Connect your account (the name is visible in the Source list on Catchr). We advise naming it with Klaviyo - [Catchr username].
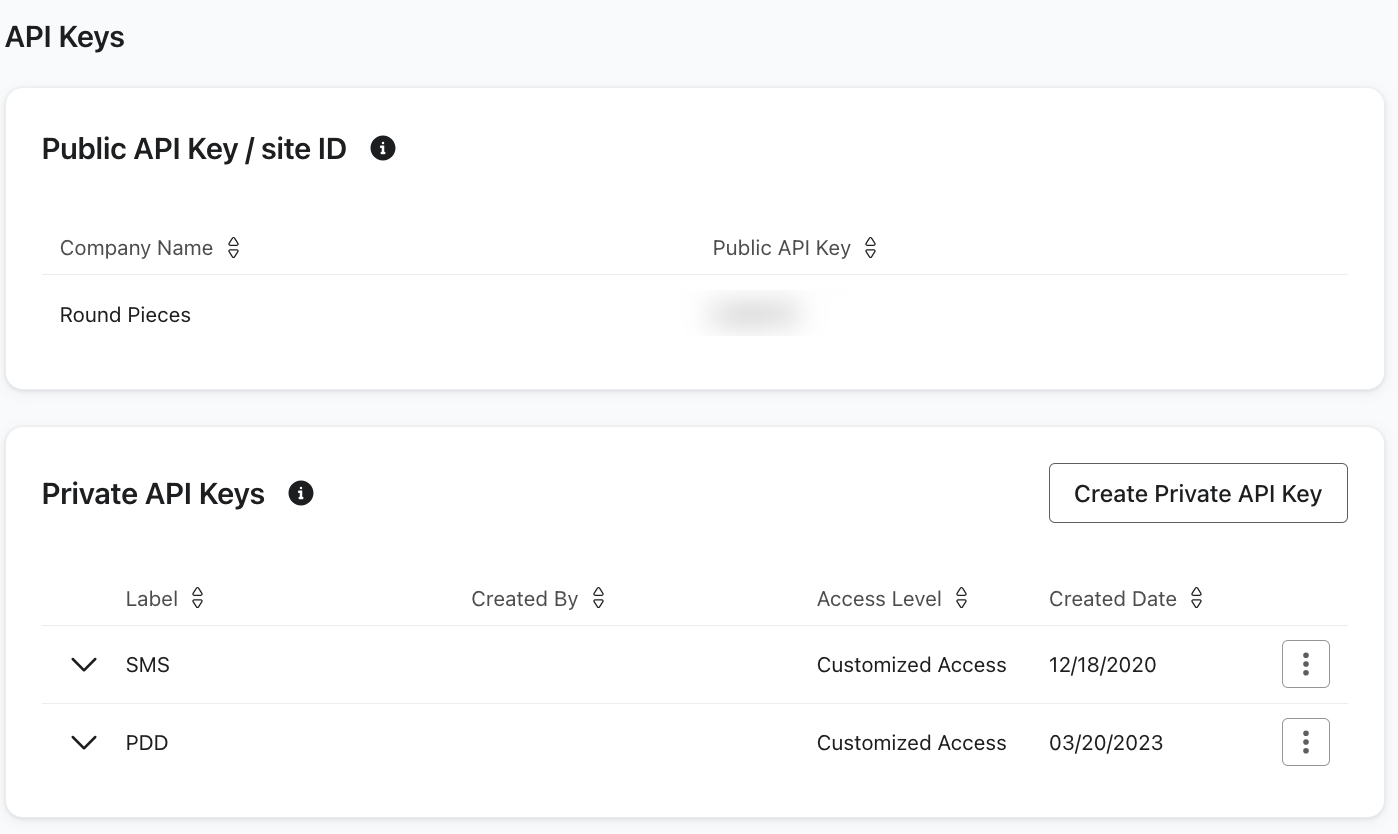
Find your Klaviyo Private Key:
Click your organization name in the bottom left.
Navigate to Settings.
Click API keys and Create Private API Key
Name the API key.
Choose the scope “Read-only”:
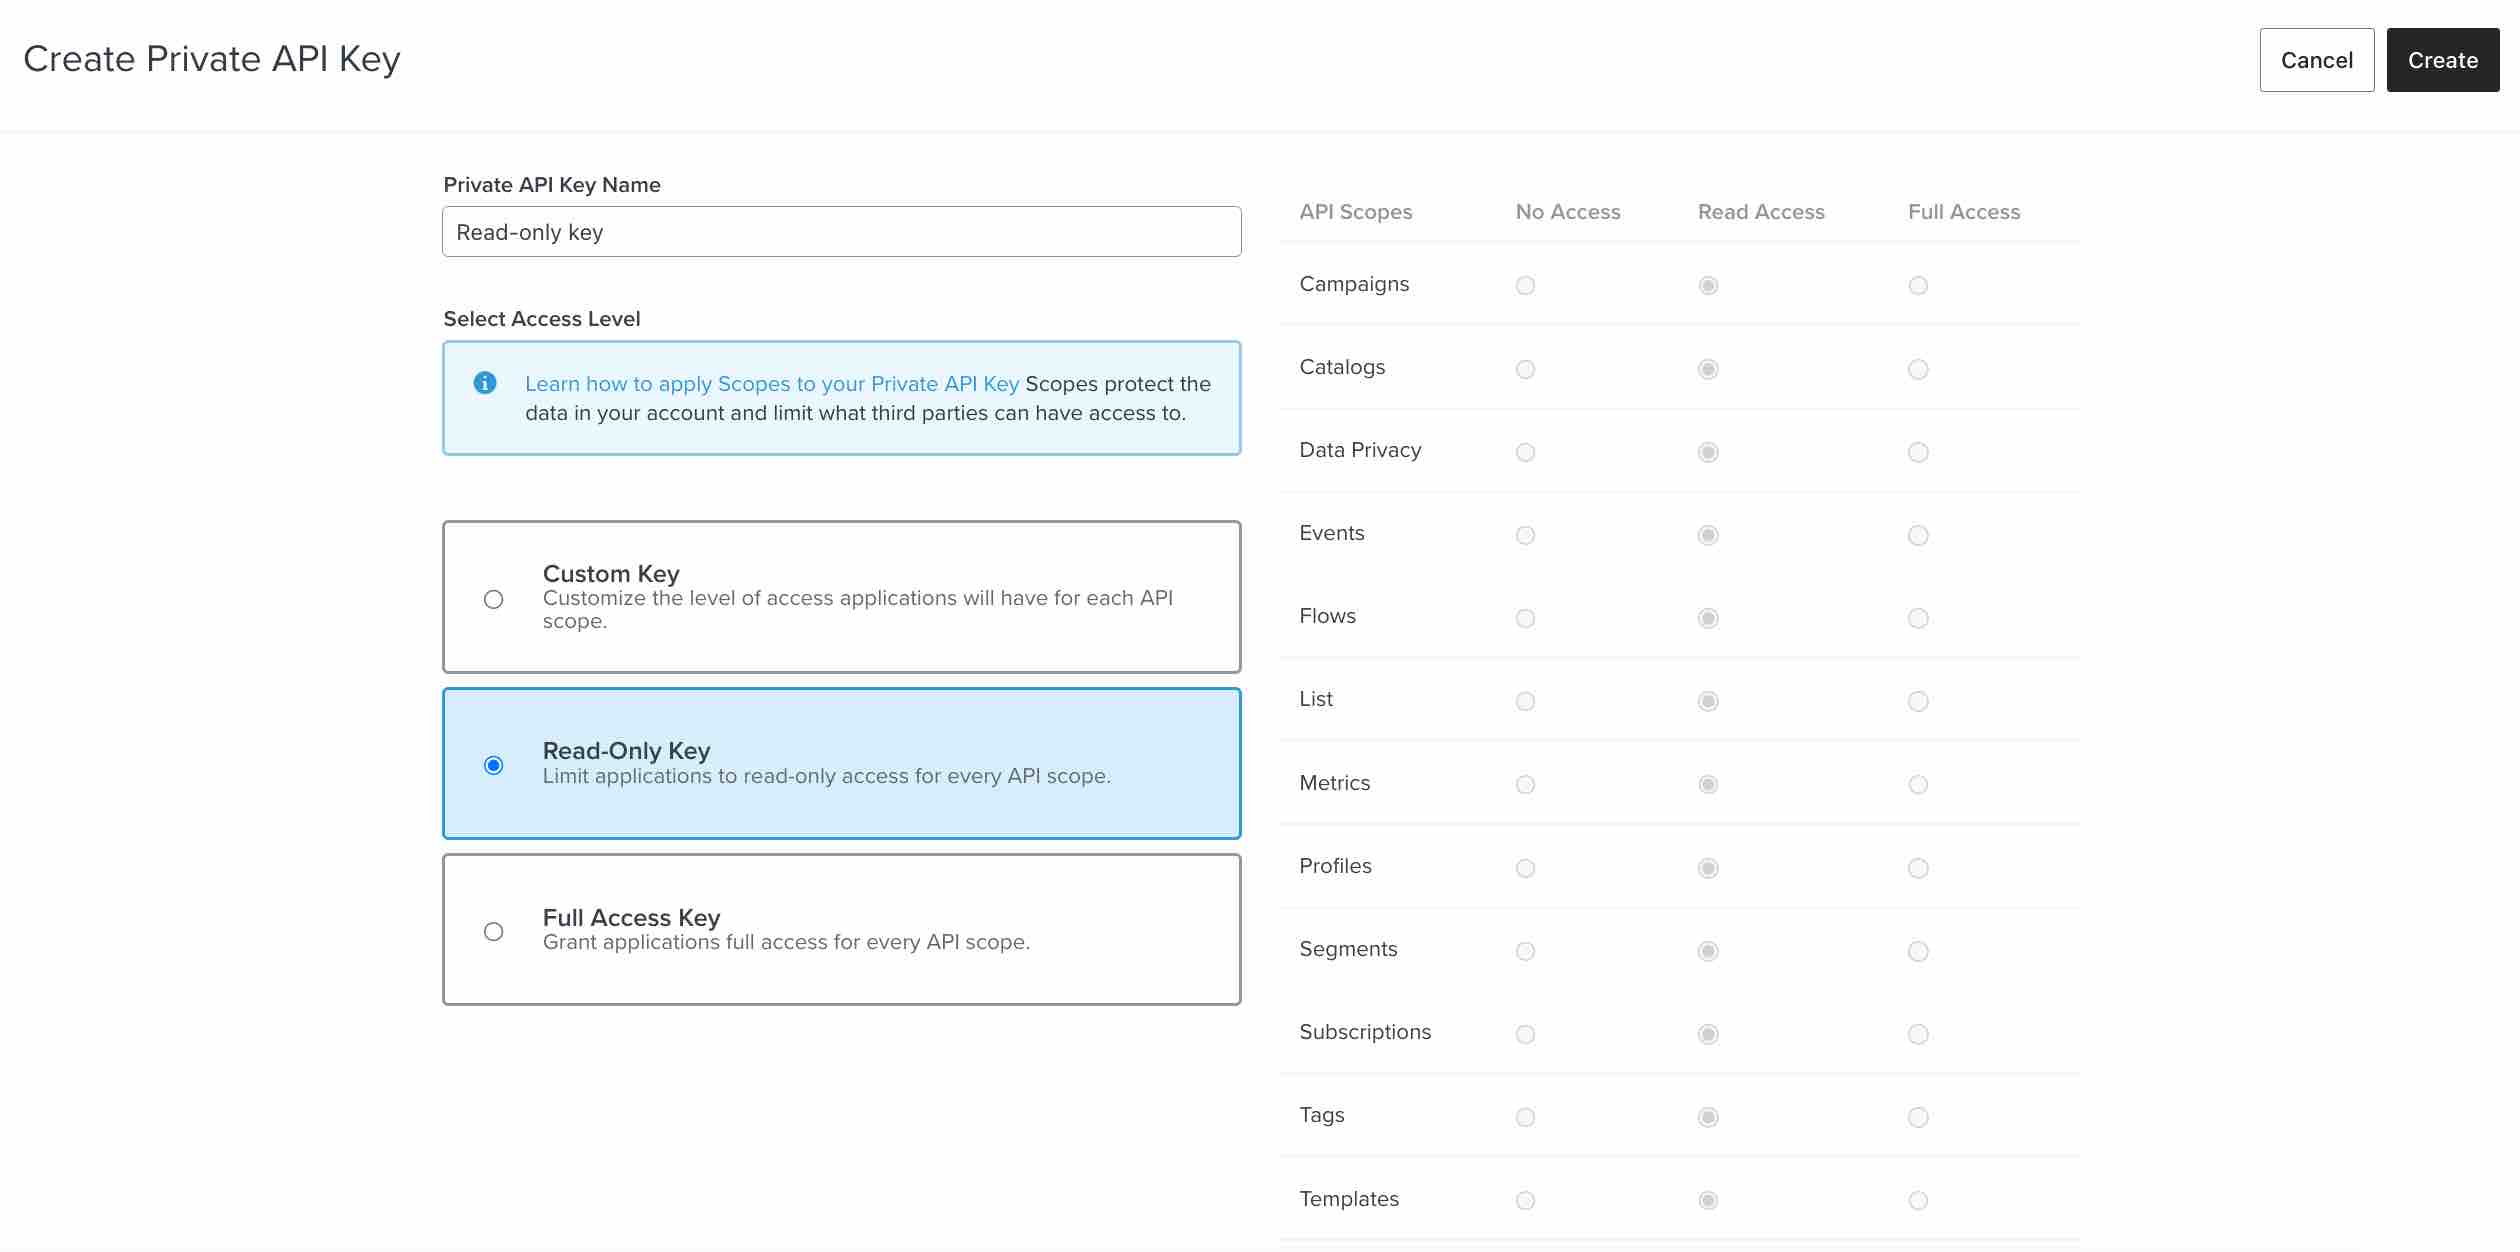
Select Create and Copy the Private Key.
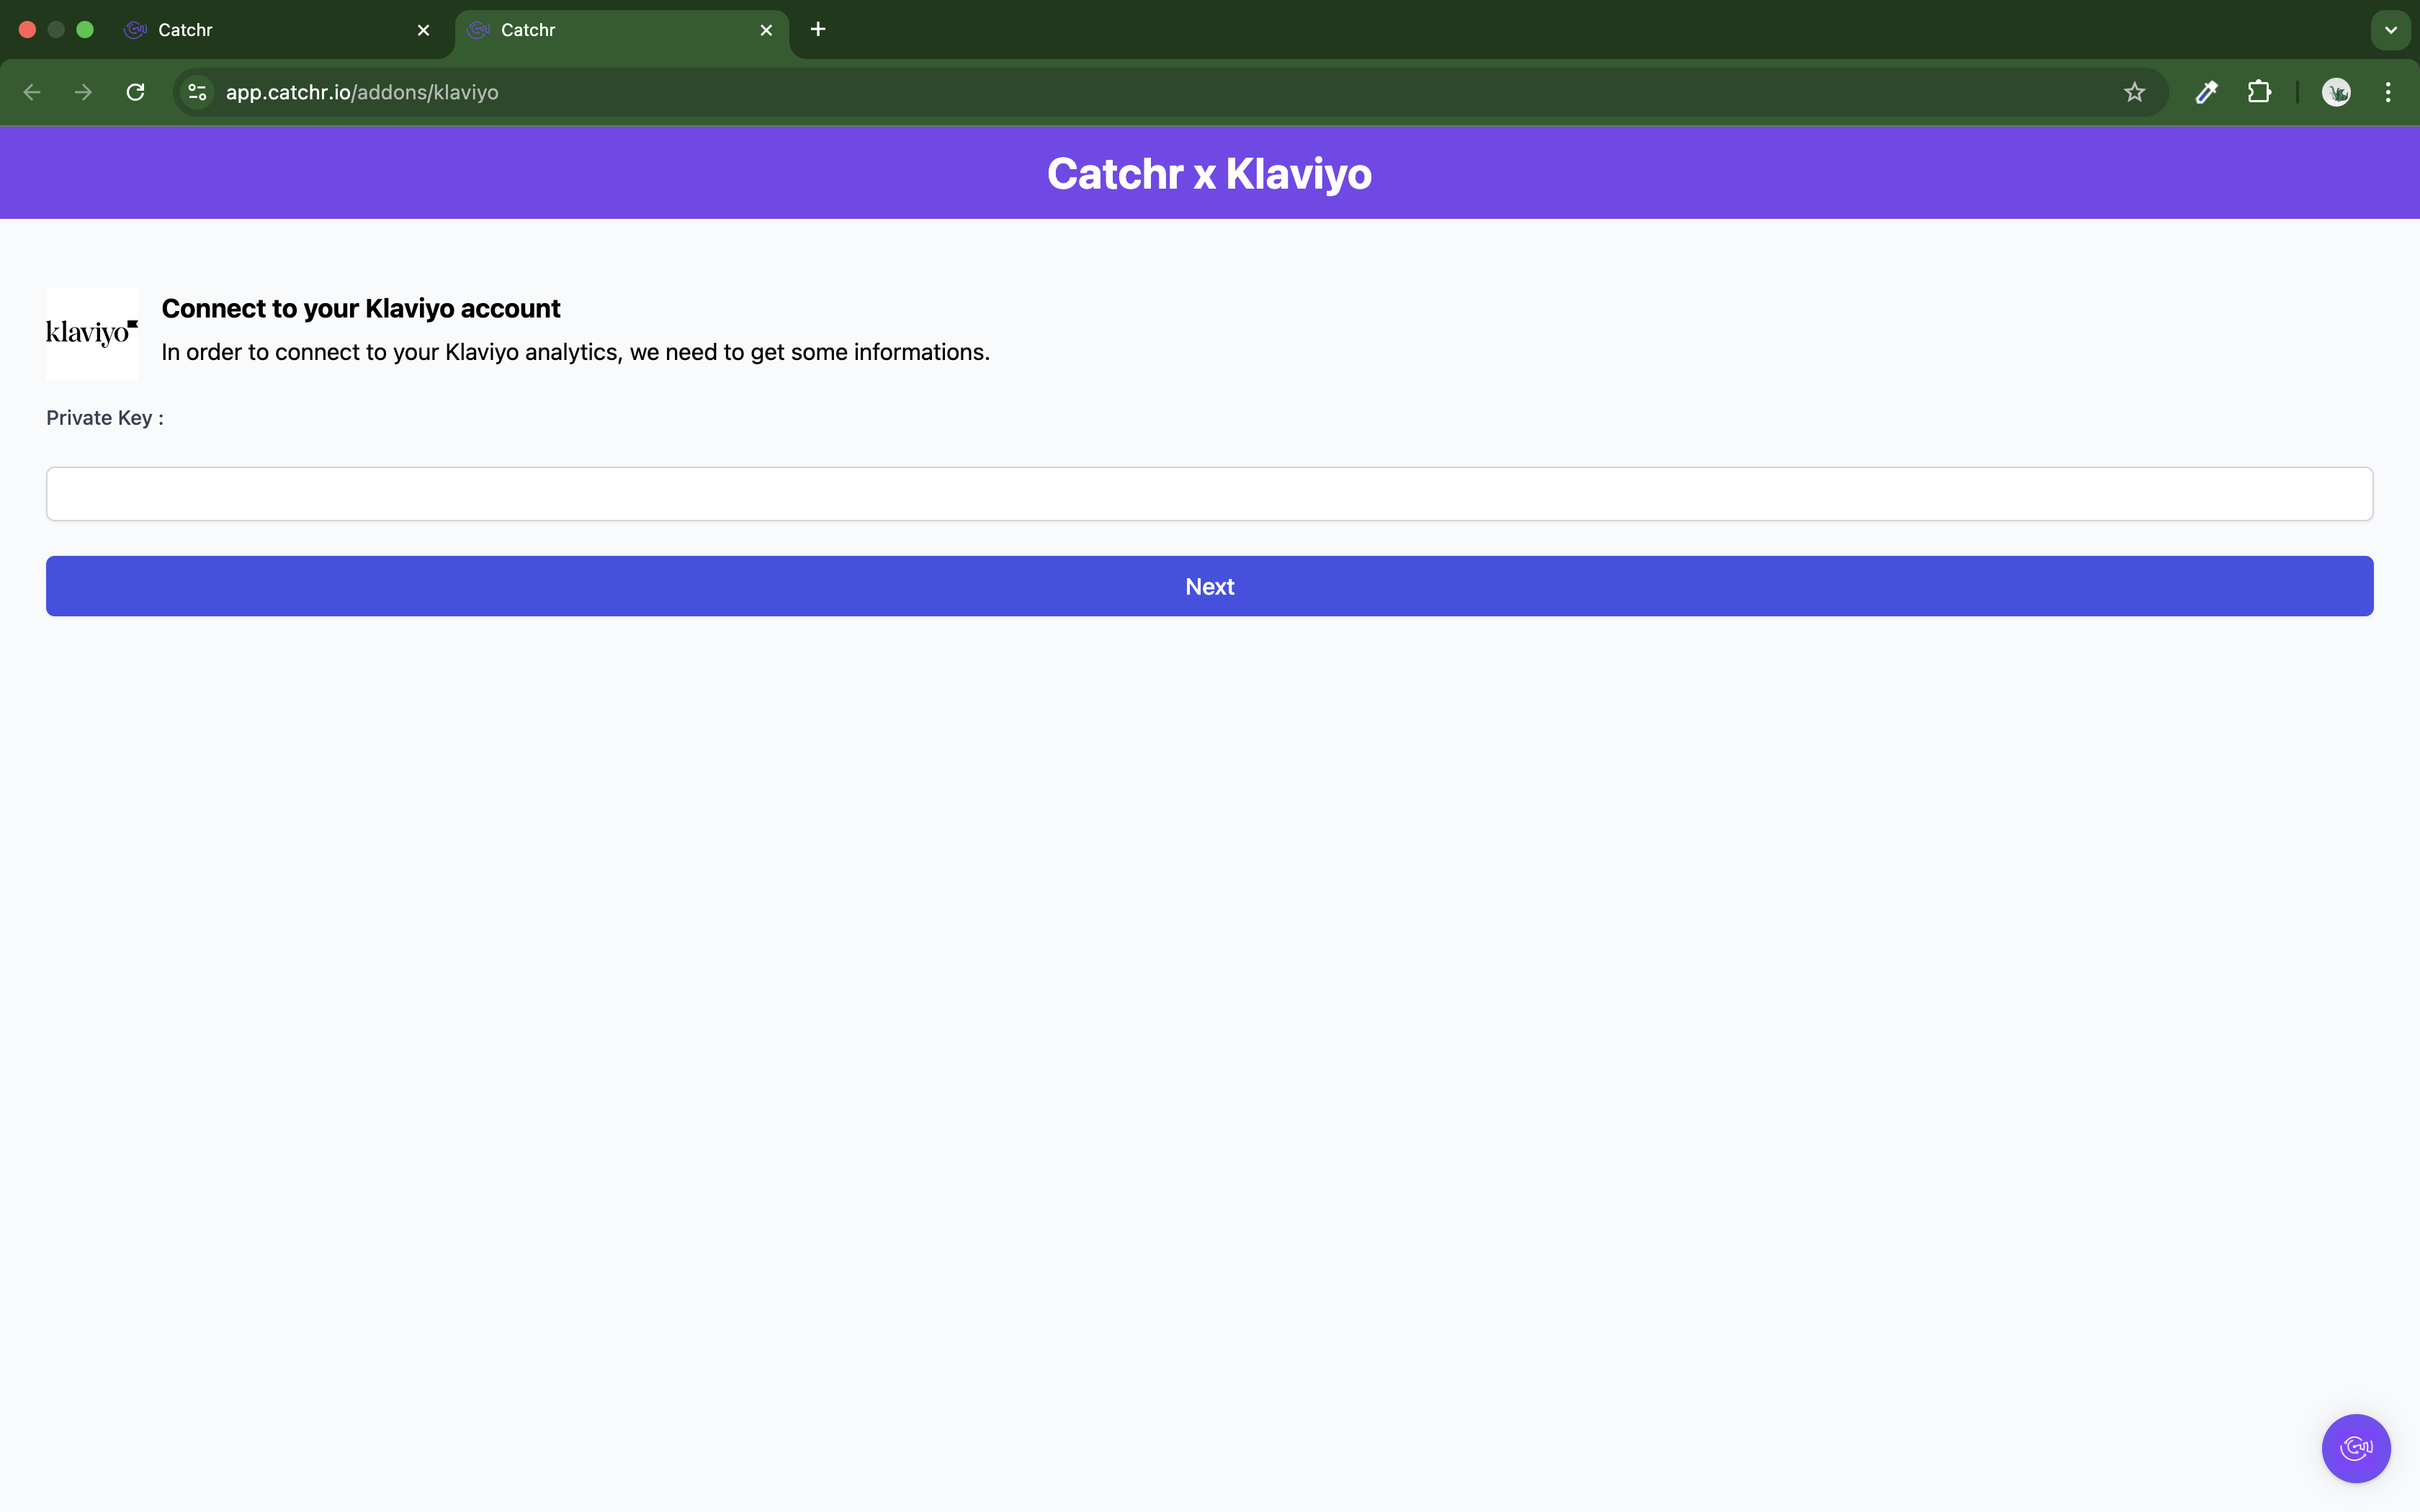
Fianlly paste it on Catchr and click Next:
Your account will now appear in the Accounts list under the source you've just created.
 An inactive account will still appear in the destination setup screens. You can activate it manually, but it will also be automatically activated as soon as it's used in a query. If your Catchr Source contains many accounts, you don't need to activate them manually; Catchr will automatically activate them when they are used.
You can now send data from your available accounts to one of Catchr's supported destinations, such as databases or visualization tools like Looker Studio, Google Sheets, Excel, Power BI, or Tableau.
 Need help setting up a destination? Check out our dedicated tutorials:

