The First Step is to add a Source on Catchr (if you already have a Source on Catchr, you can skip this part).
Log in to app.catchr.io using the Sign in with Google button (it will also create your account if it is the first time you connect).
Go to :
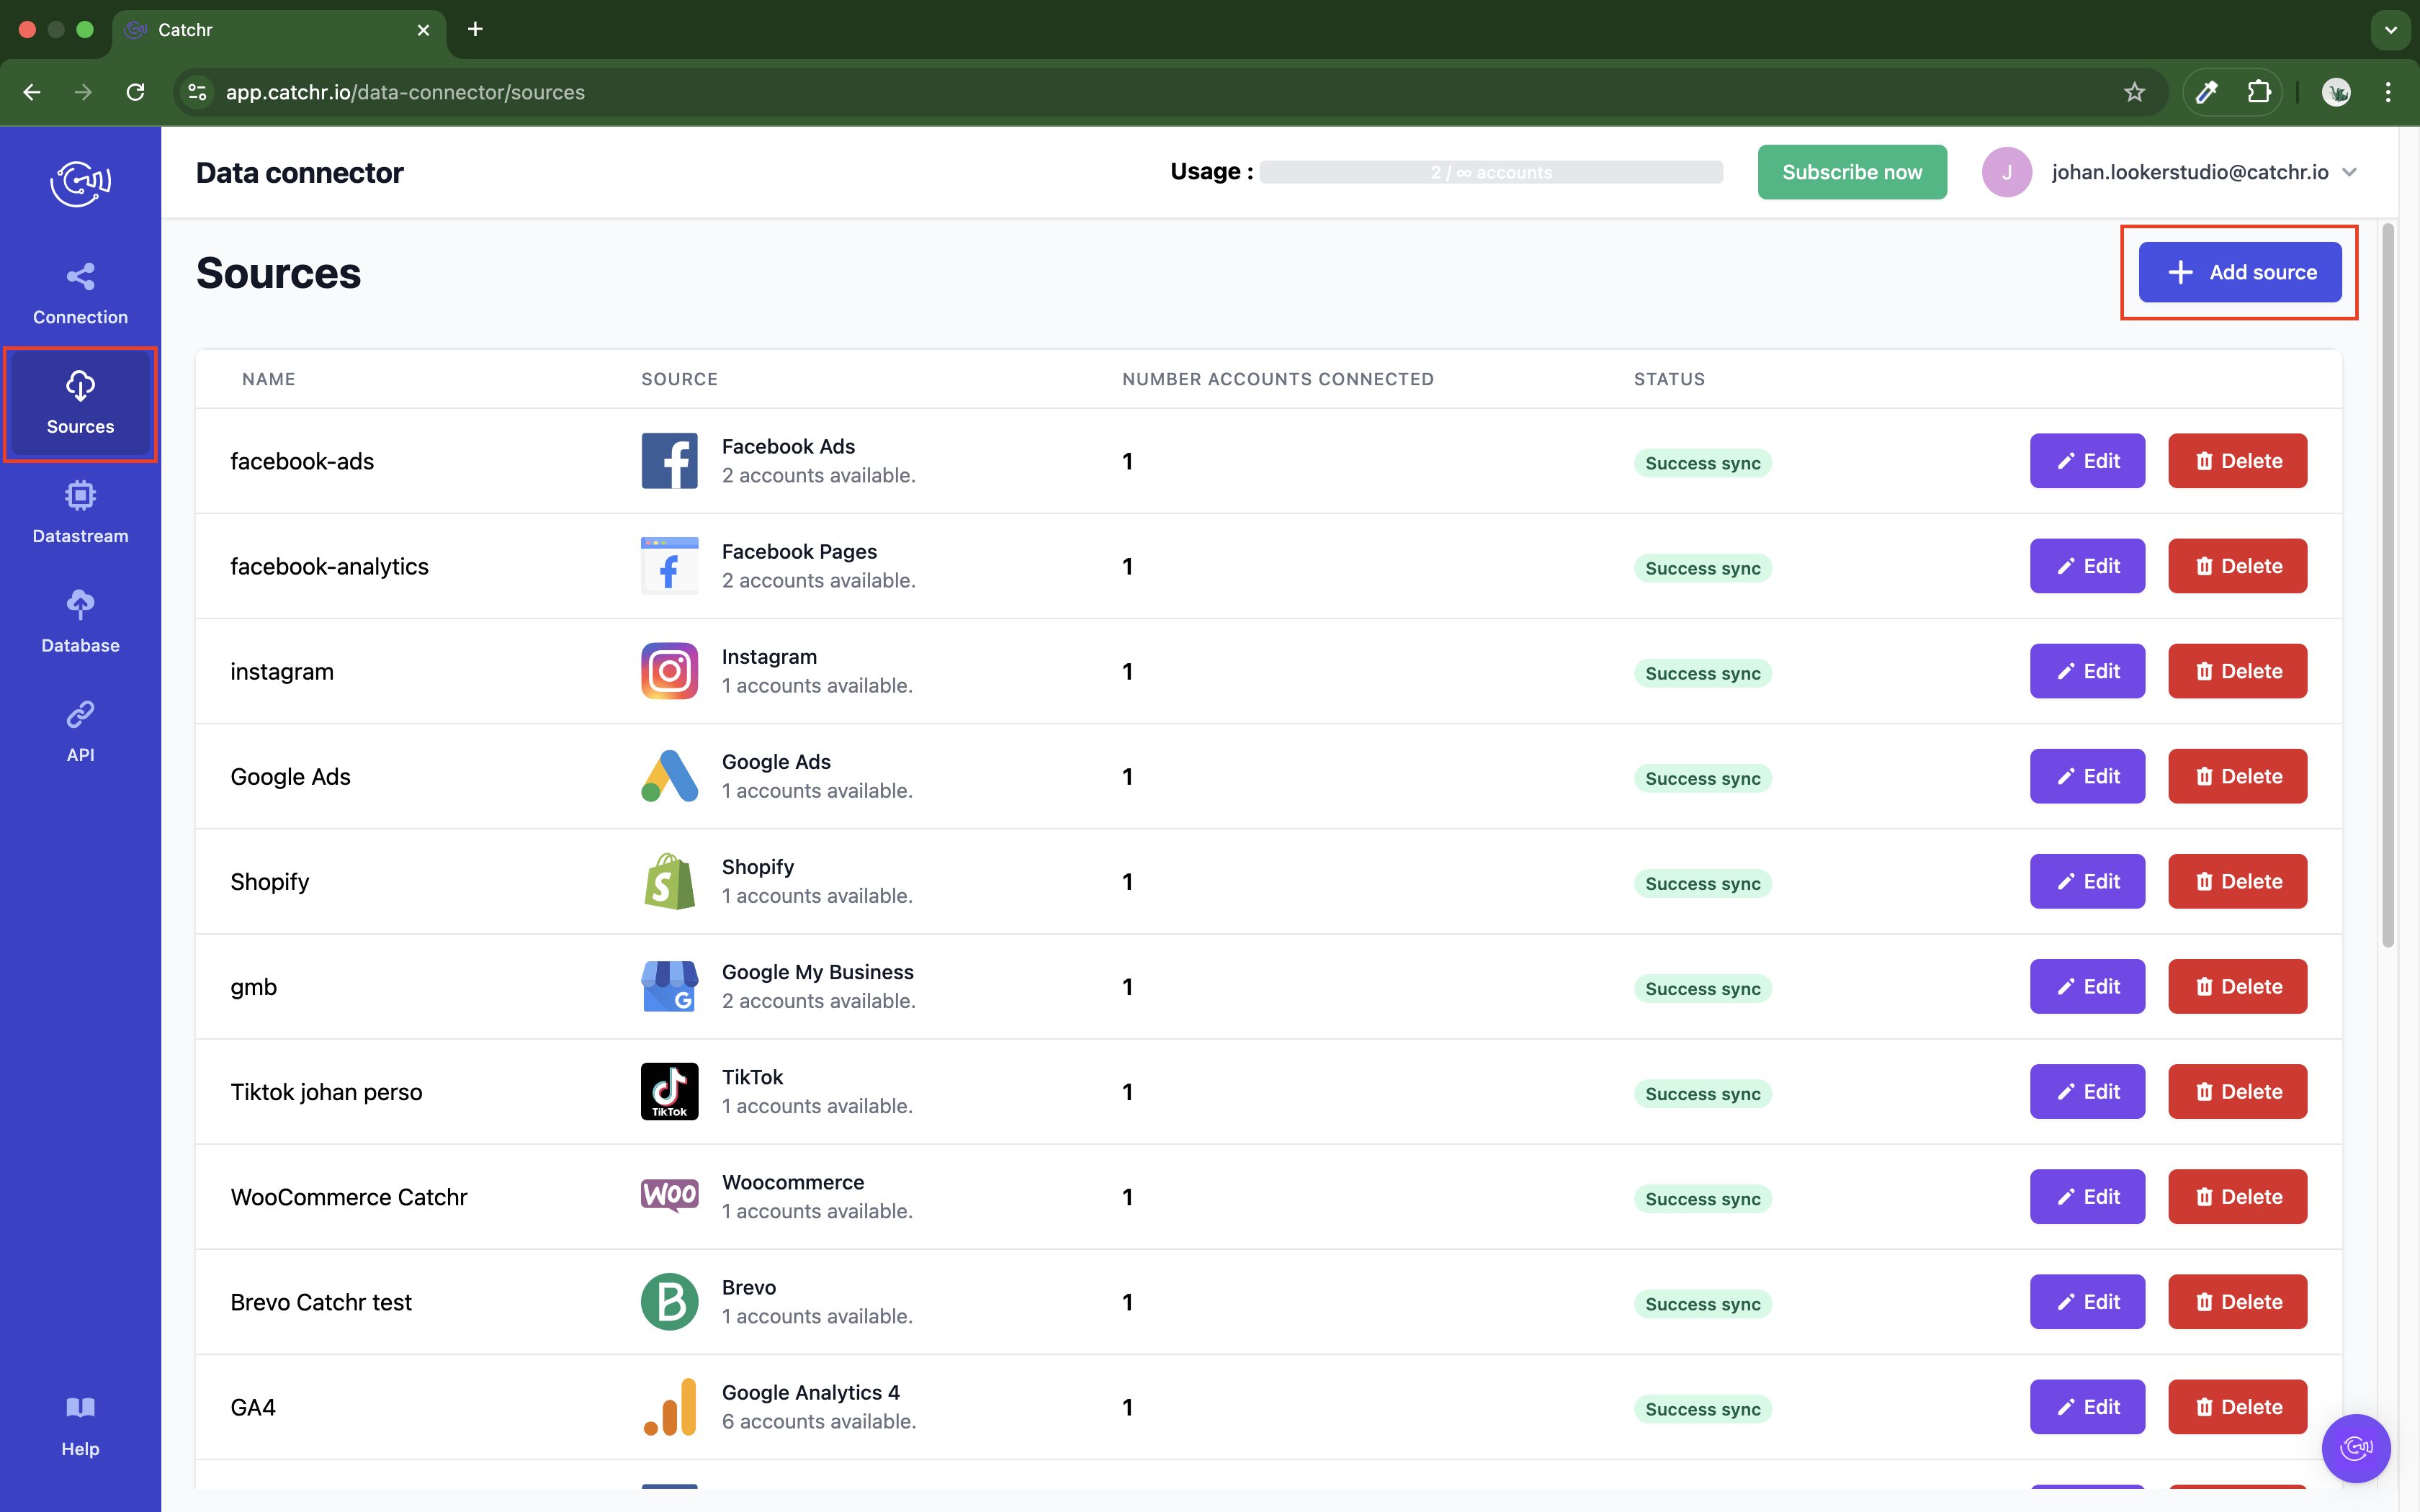
Source
Add a new Source
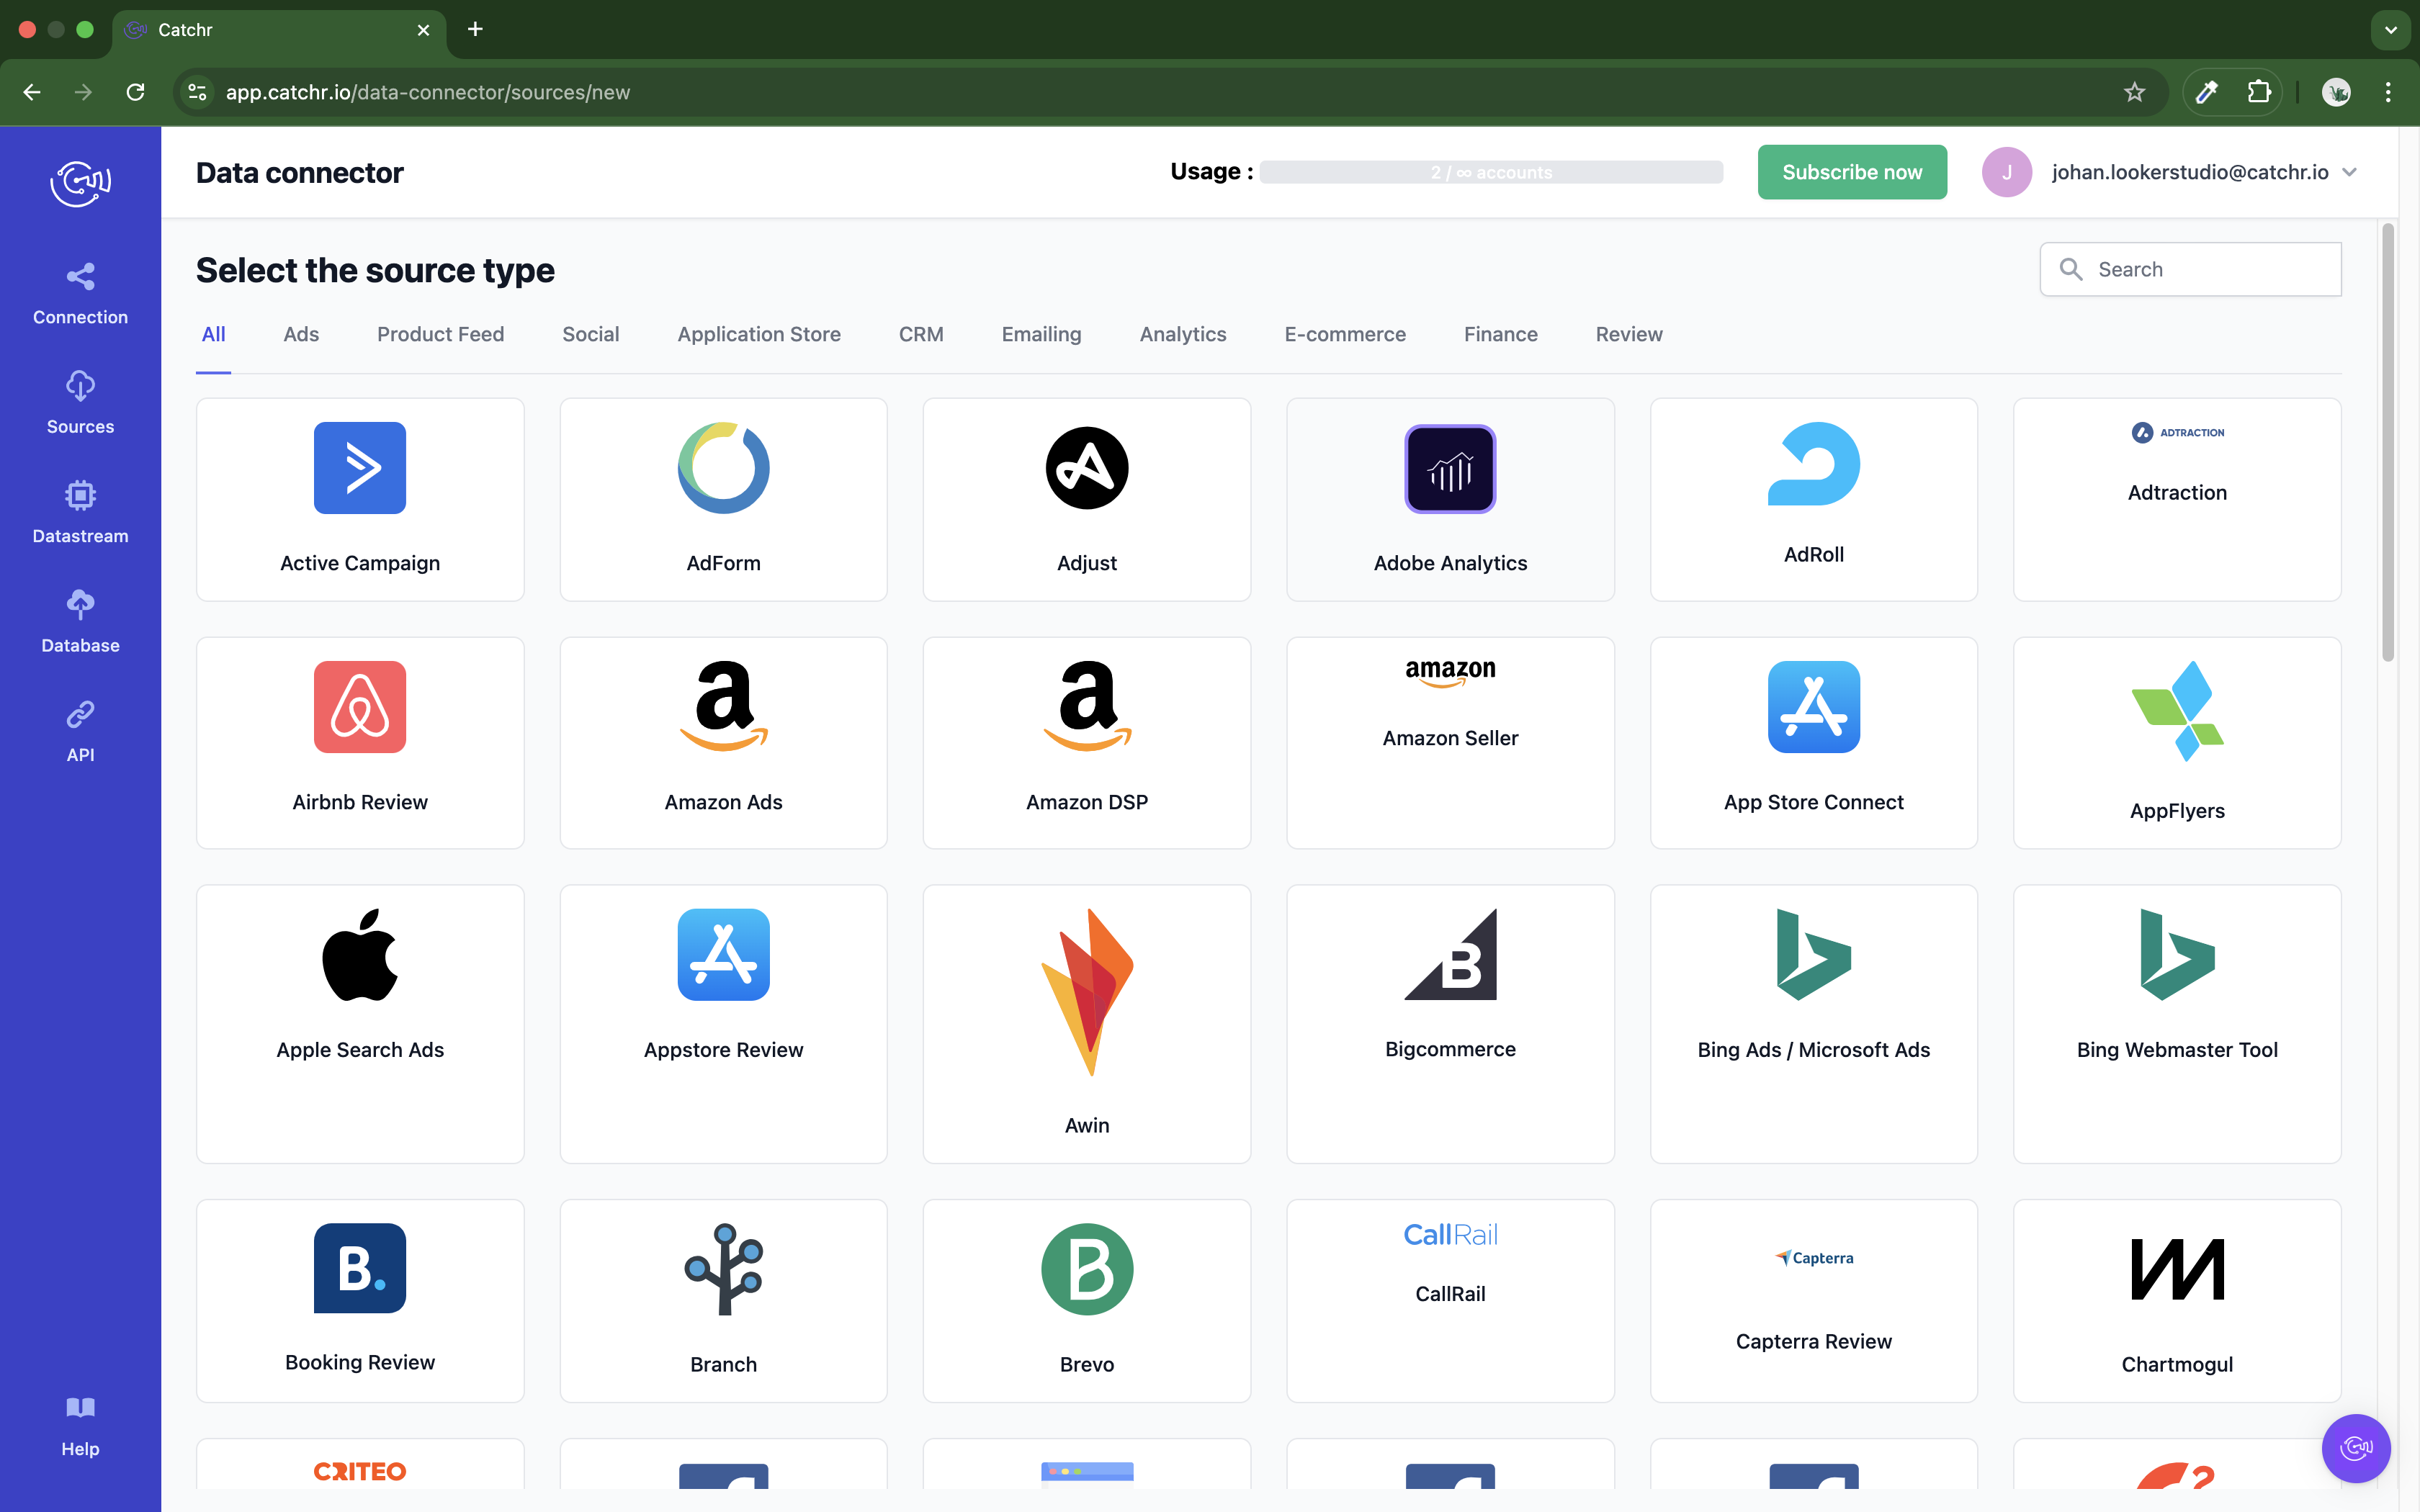
Select the platform you want to use.
Follow the steps to connect your platform.
Each platform as its way to connect an account to Catchr (e.g., logging in to the platform account, generating an API Key or an access token).
Once an account is visible, the page look like this:
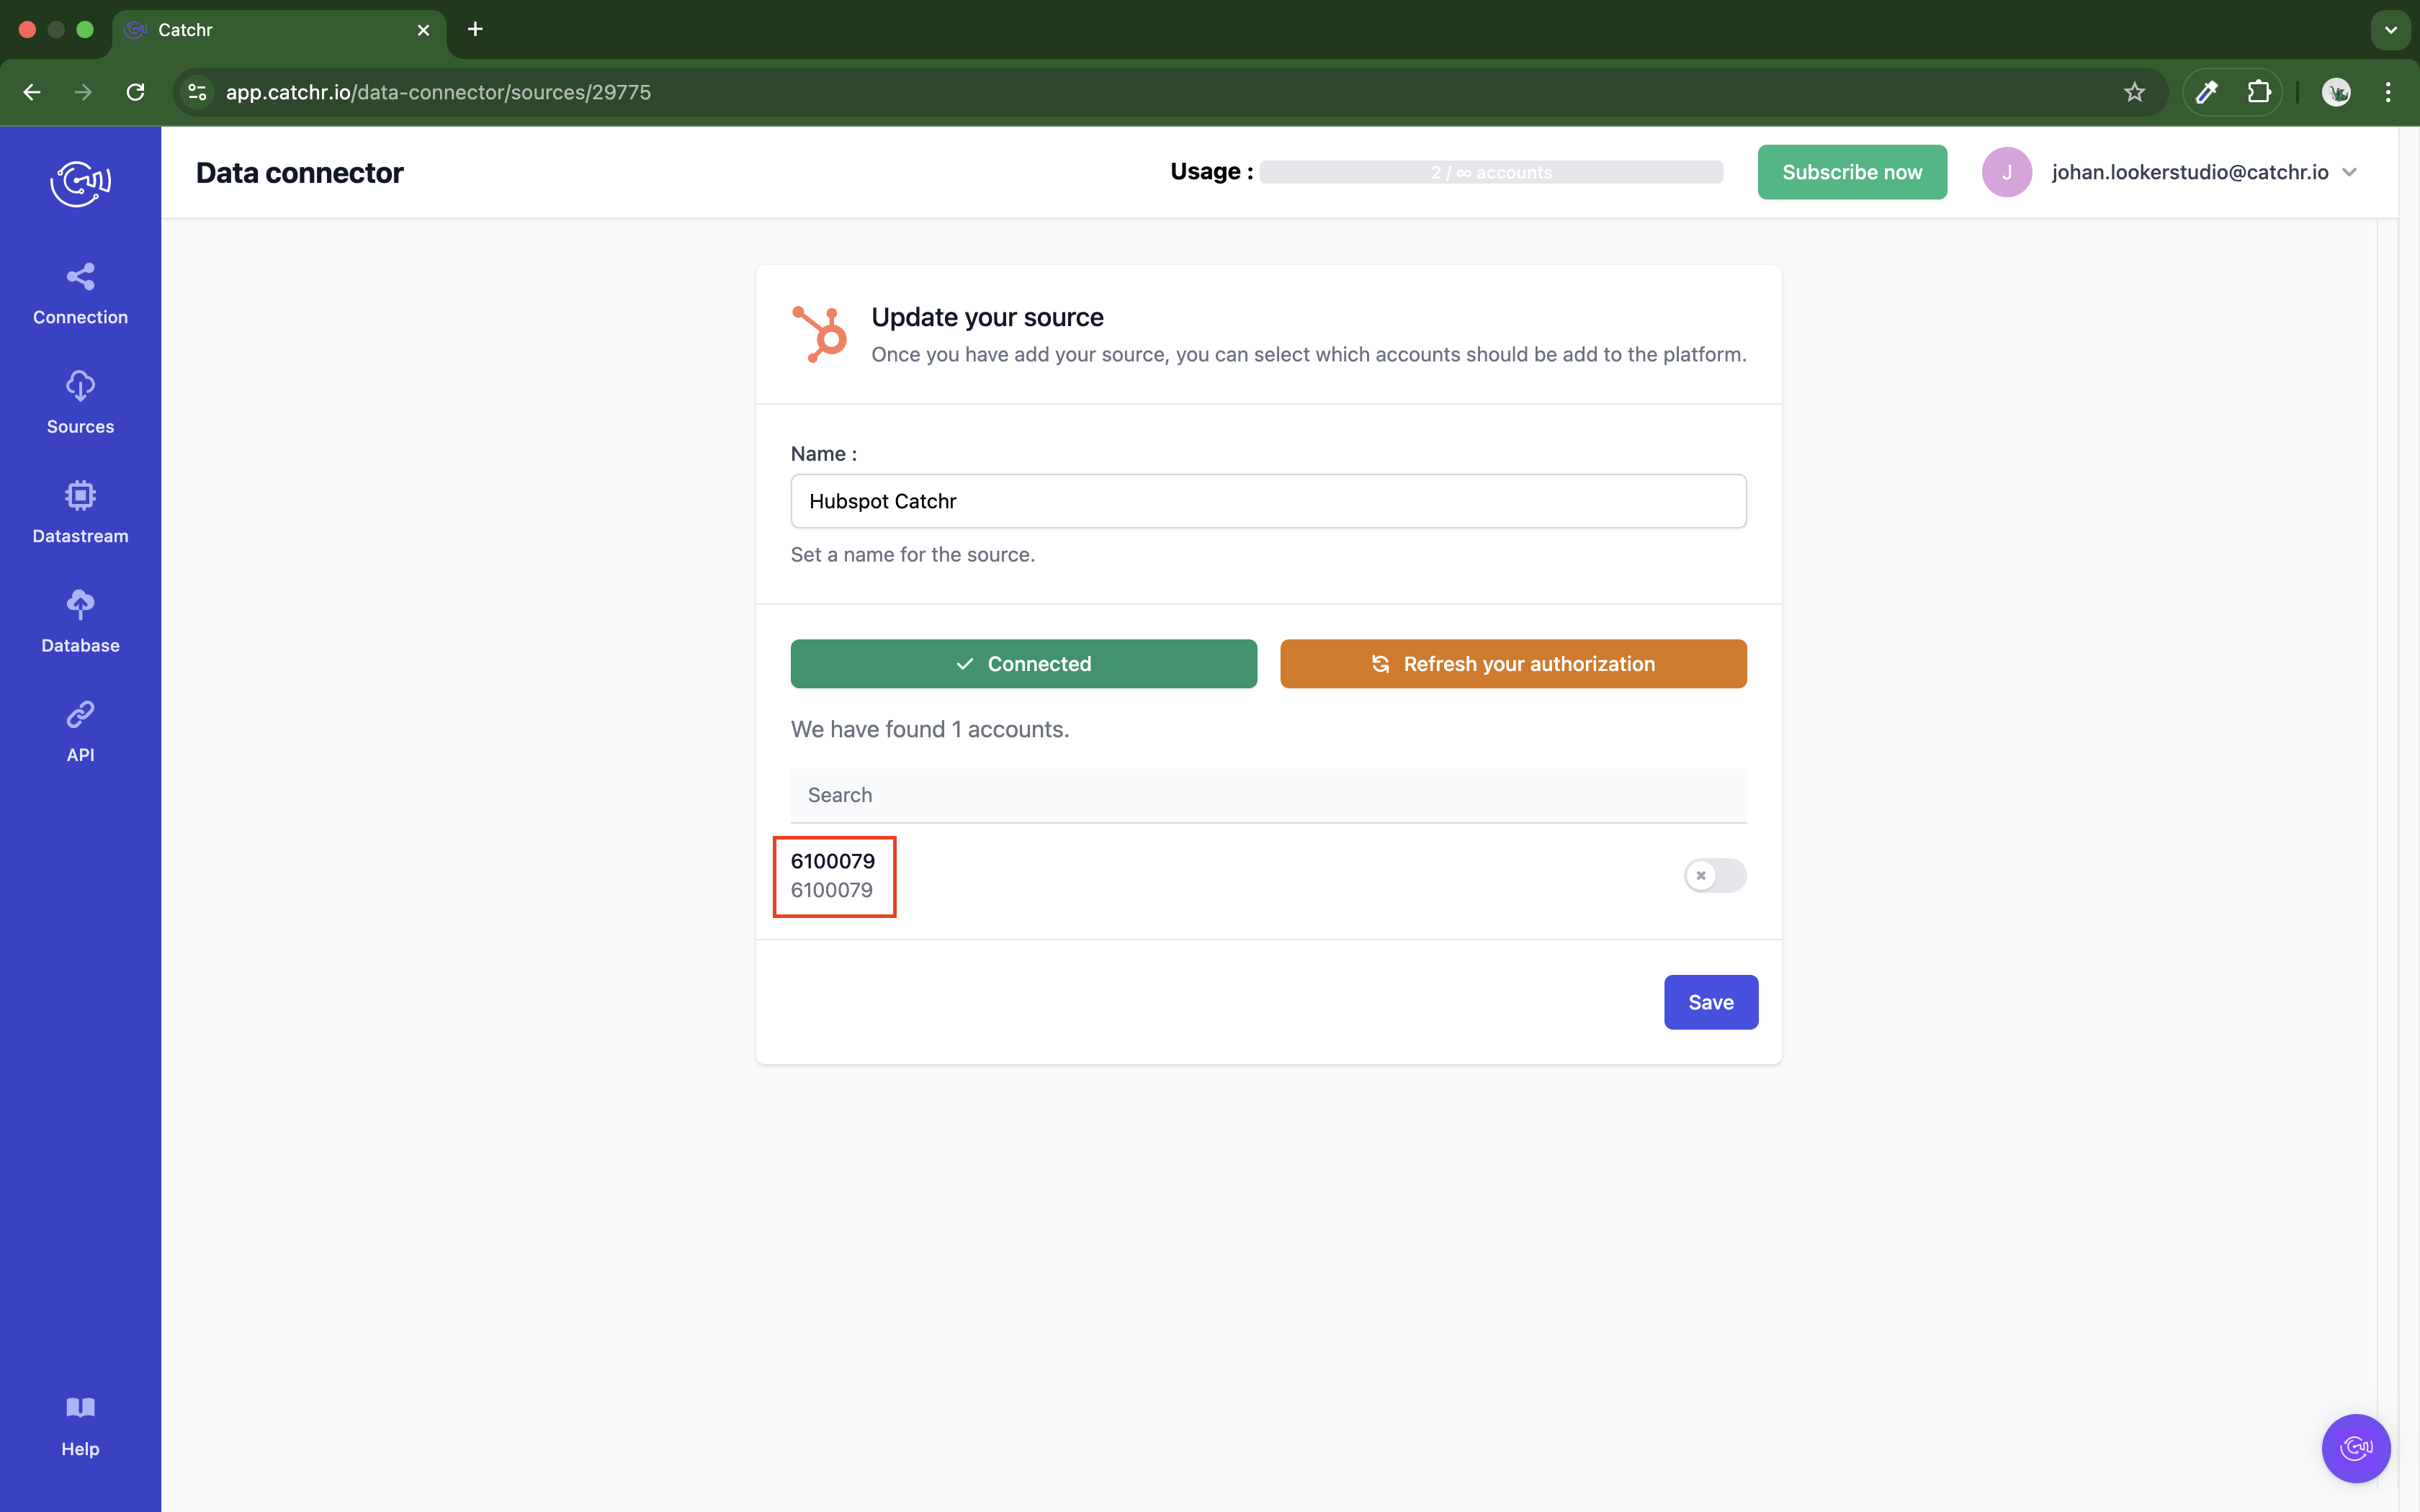
You can activate the account, or let Catchr do it for you, once a first call is made from a destination. If you have multiple accounts, you do not have to activate them all.
The second step to using our Google Sheets add-on is to install it on Google Sheets. It will then appear in the Extension Tab.
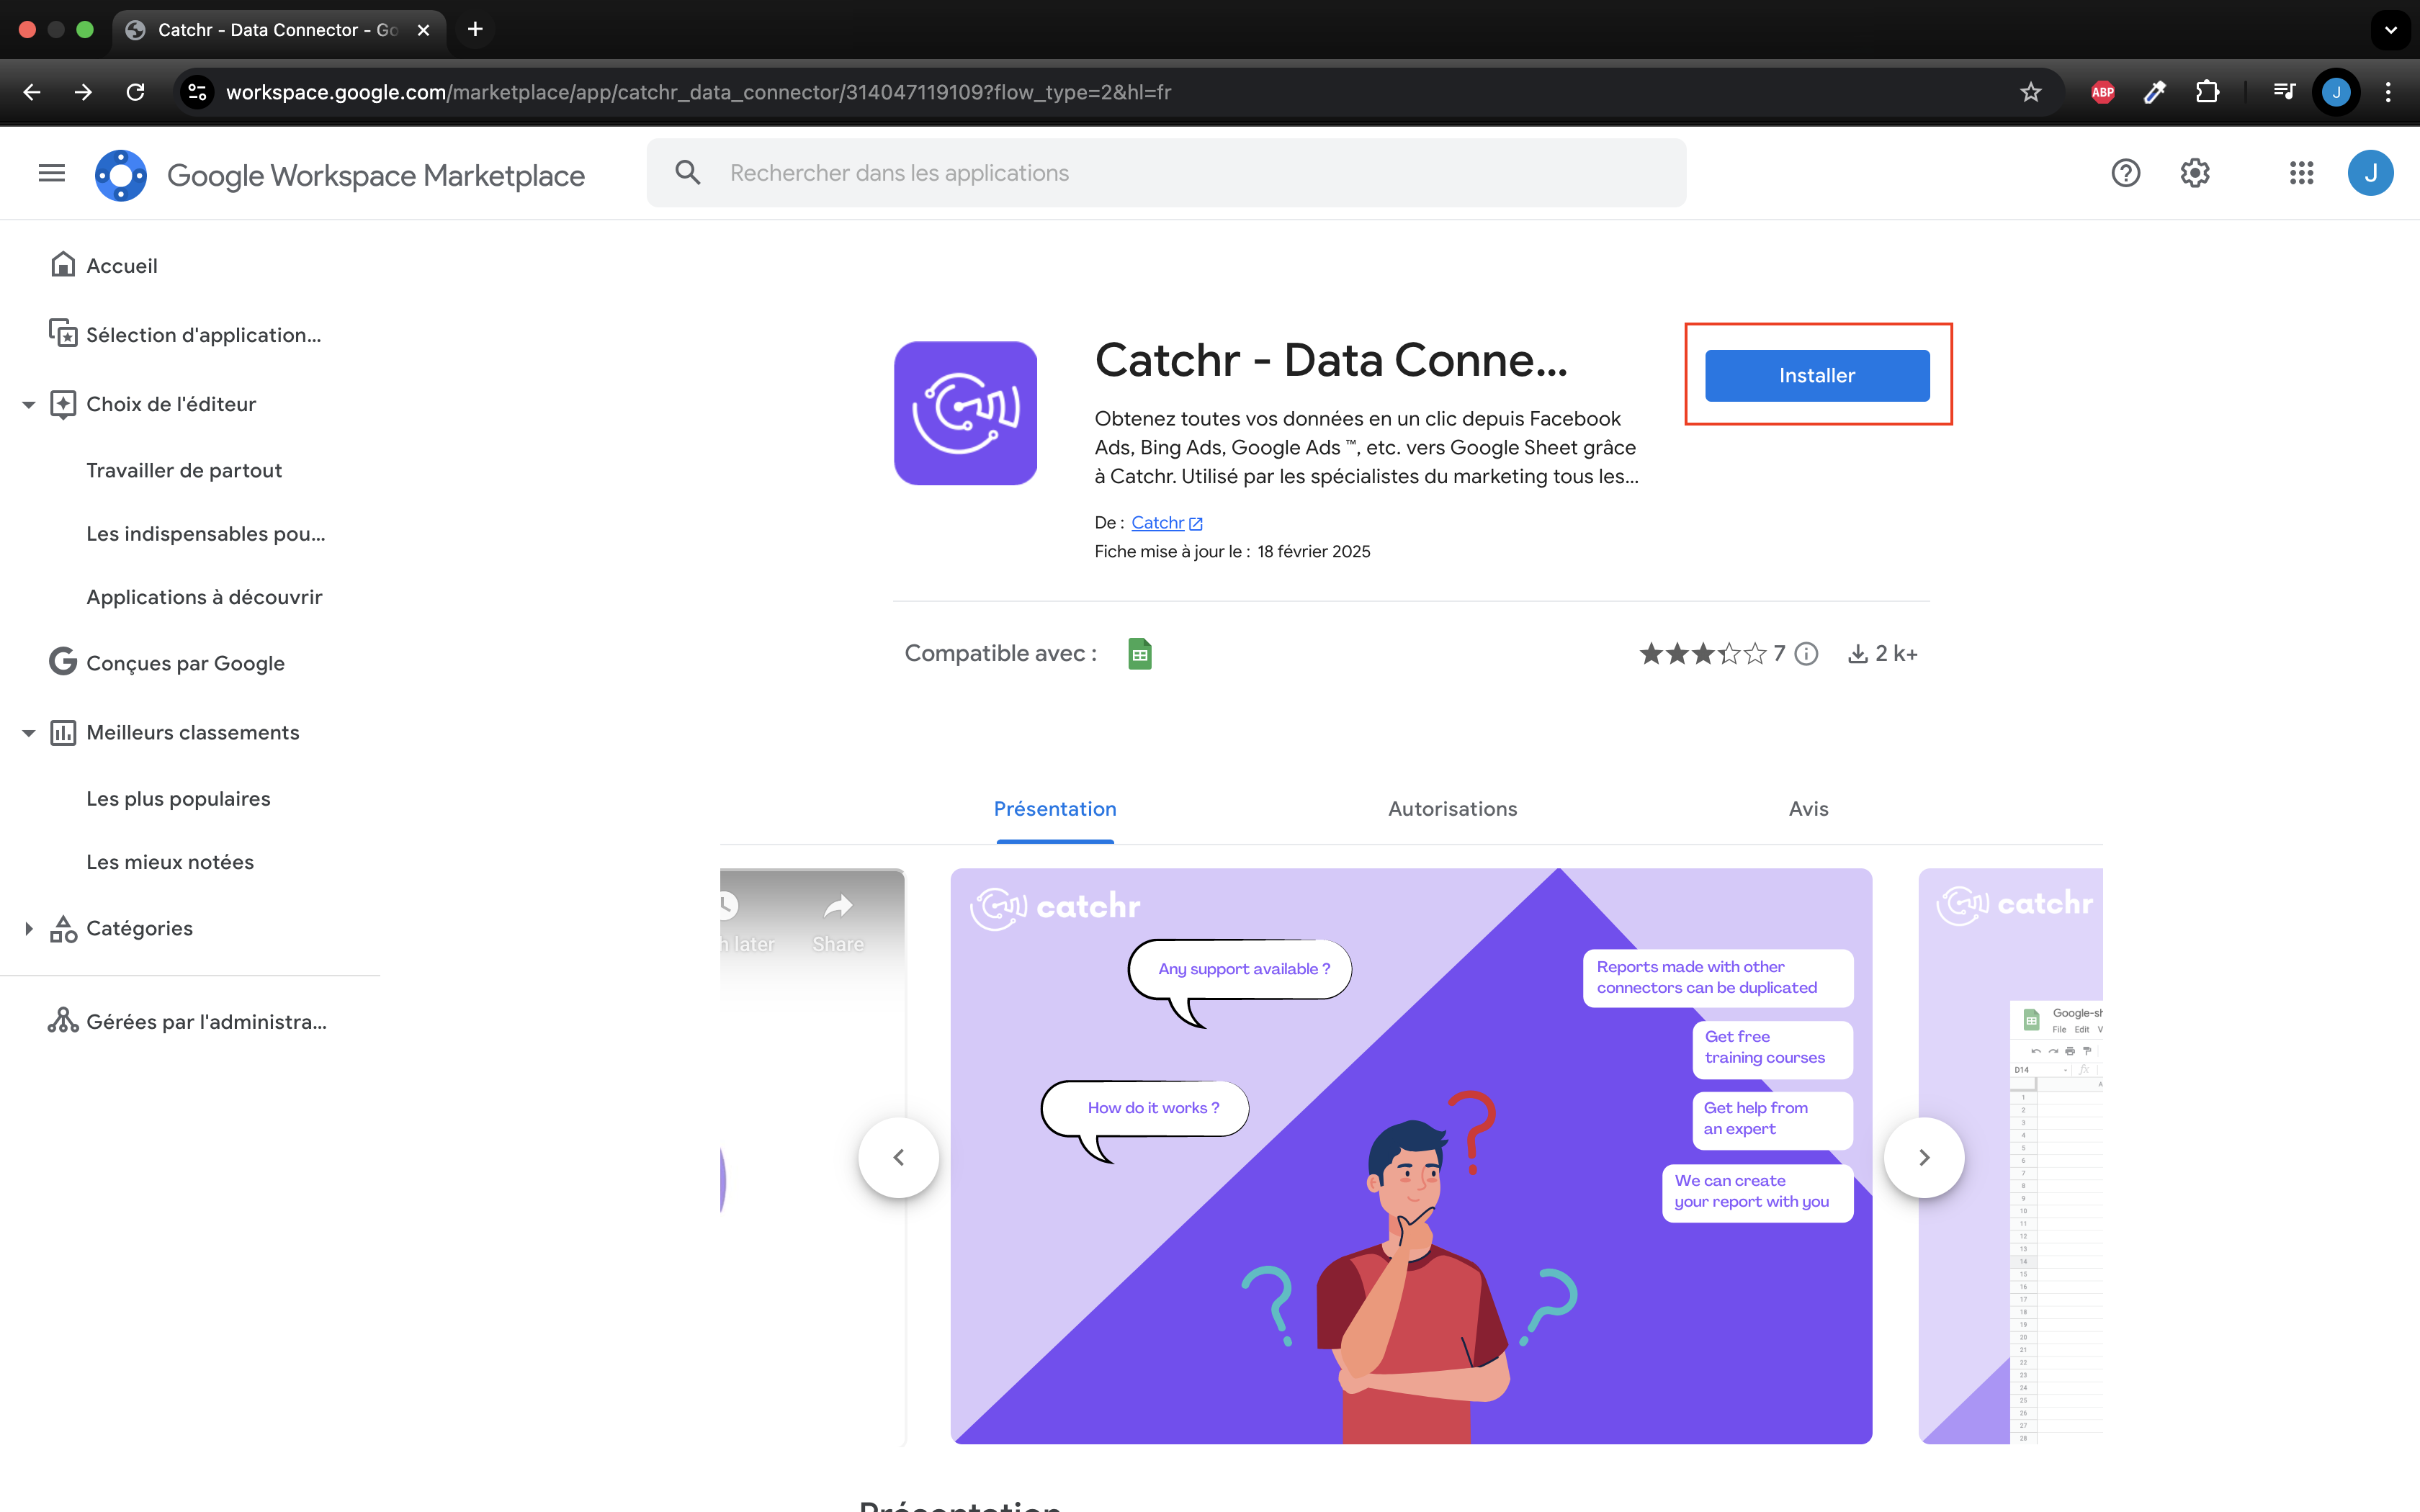
Follow this link, and click Install.
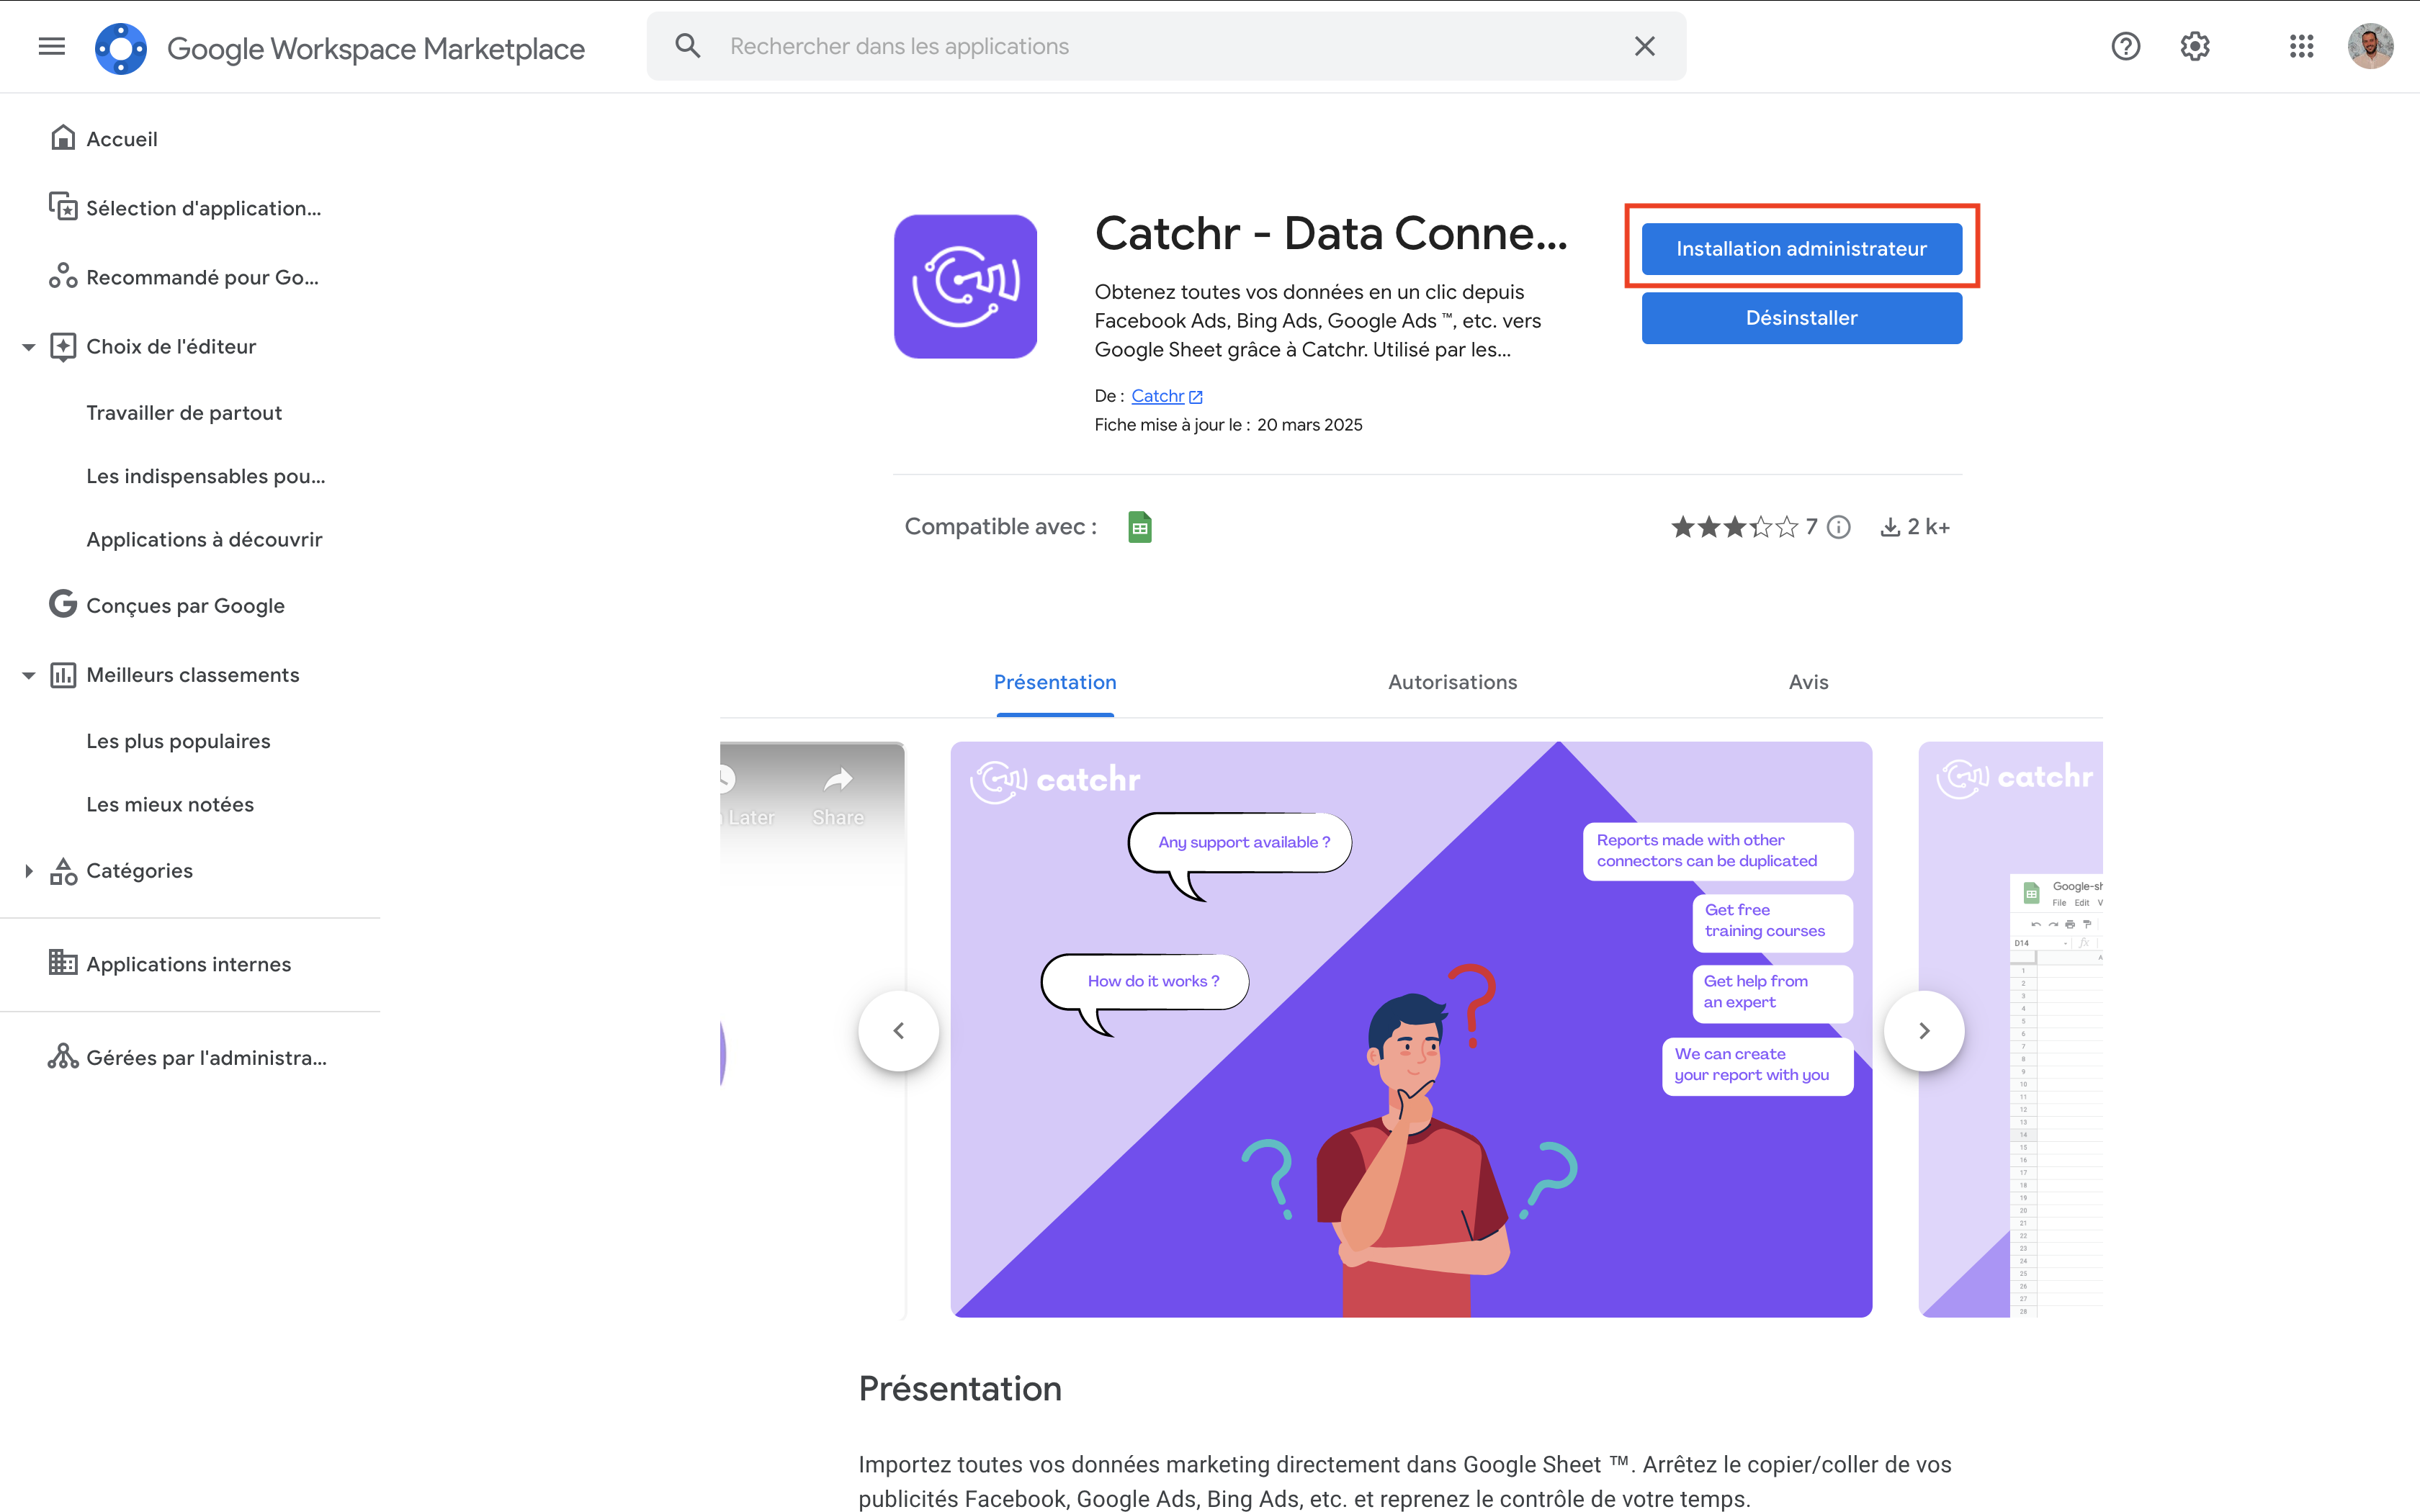
If you are a Google Account Administrator, you can also choose Admin Install, which will give all the Google accounts you manage access to the extension.
You can then go to Google Sheets and start creating your request.
Open a new Google Sheets, wait a few seconds for all the menus to load, and click on Extensions -> Catchr — Data Connector -> Launch.
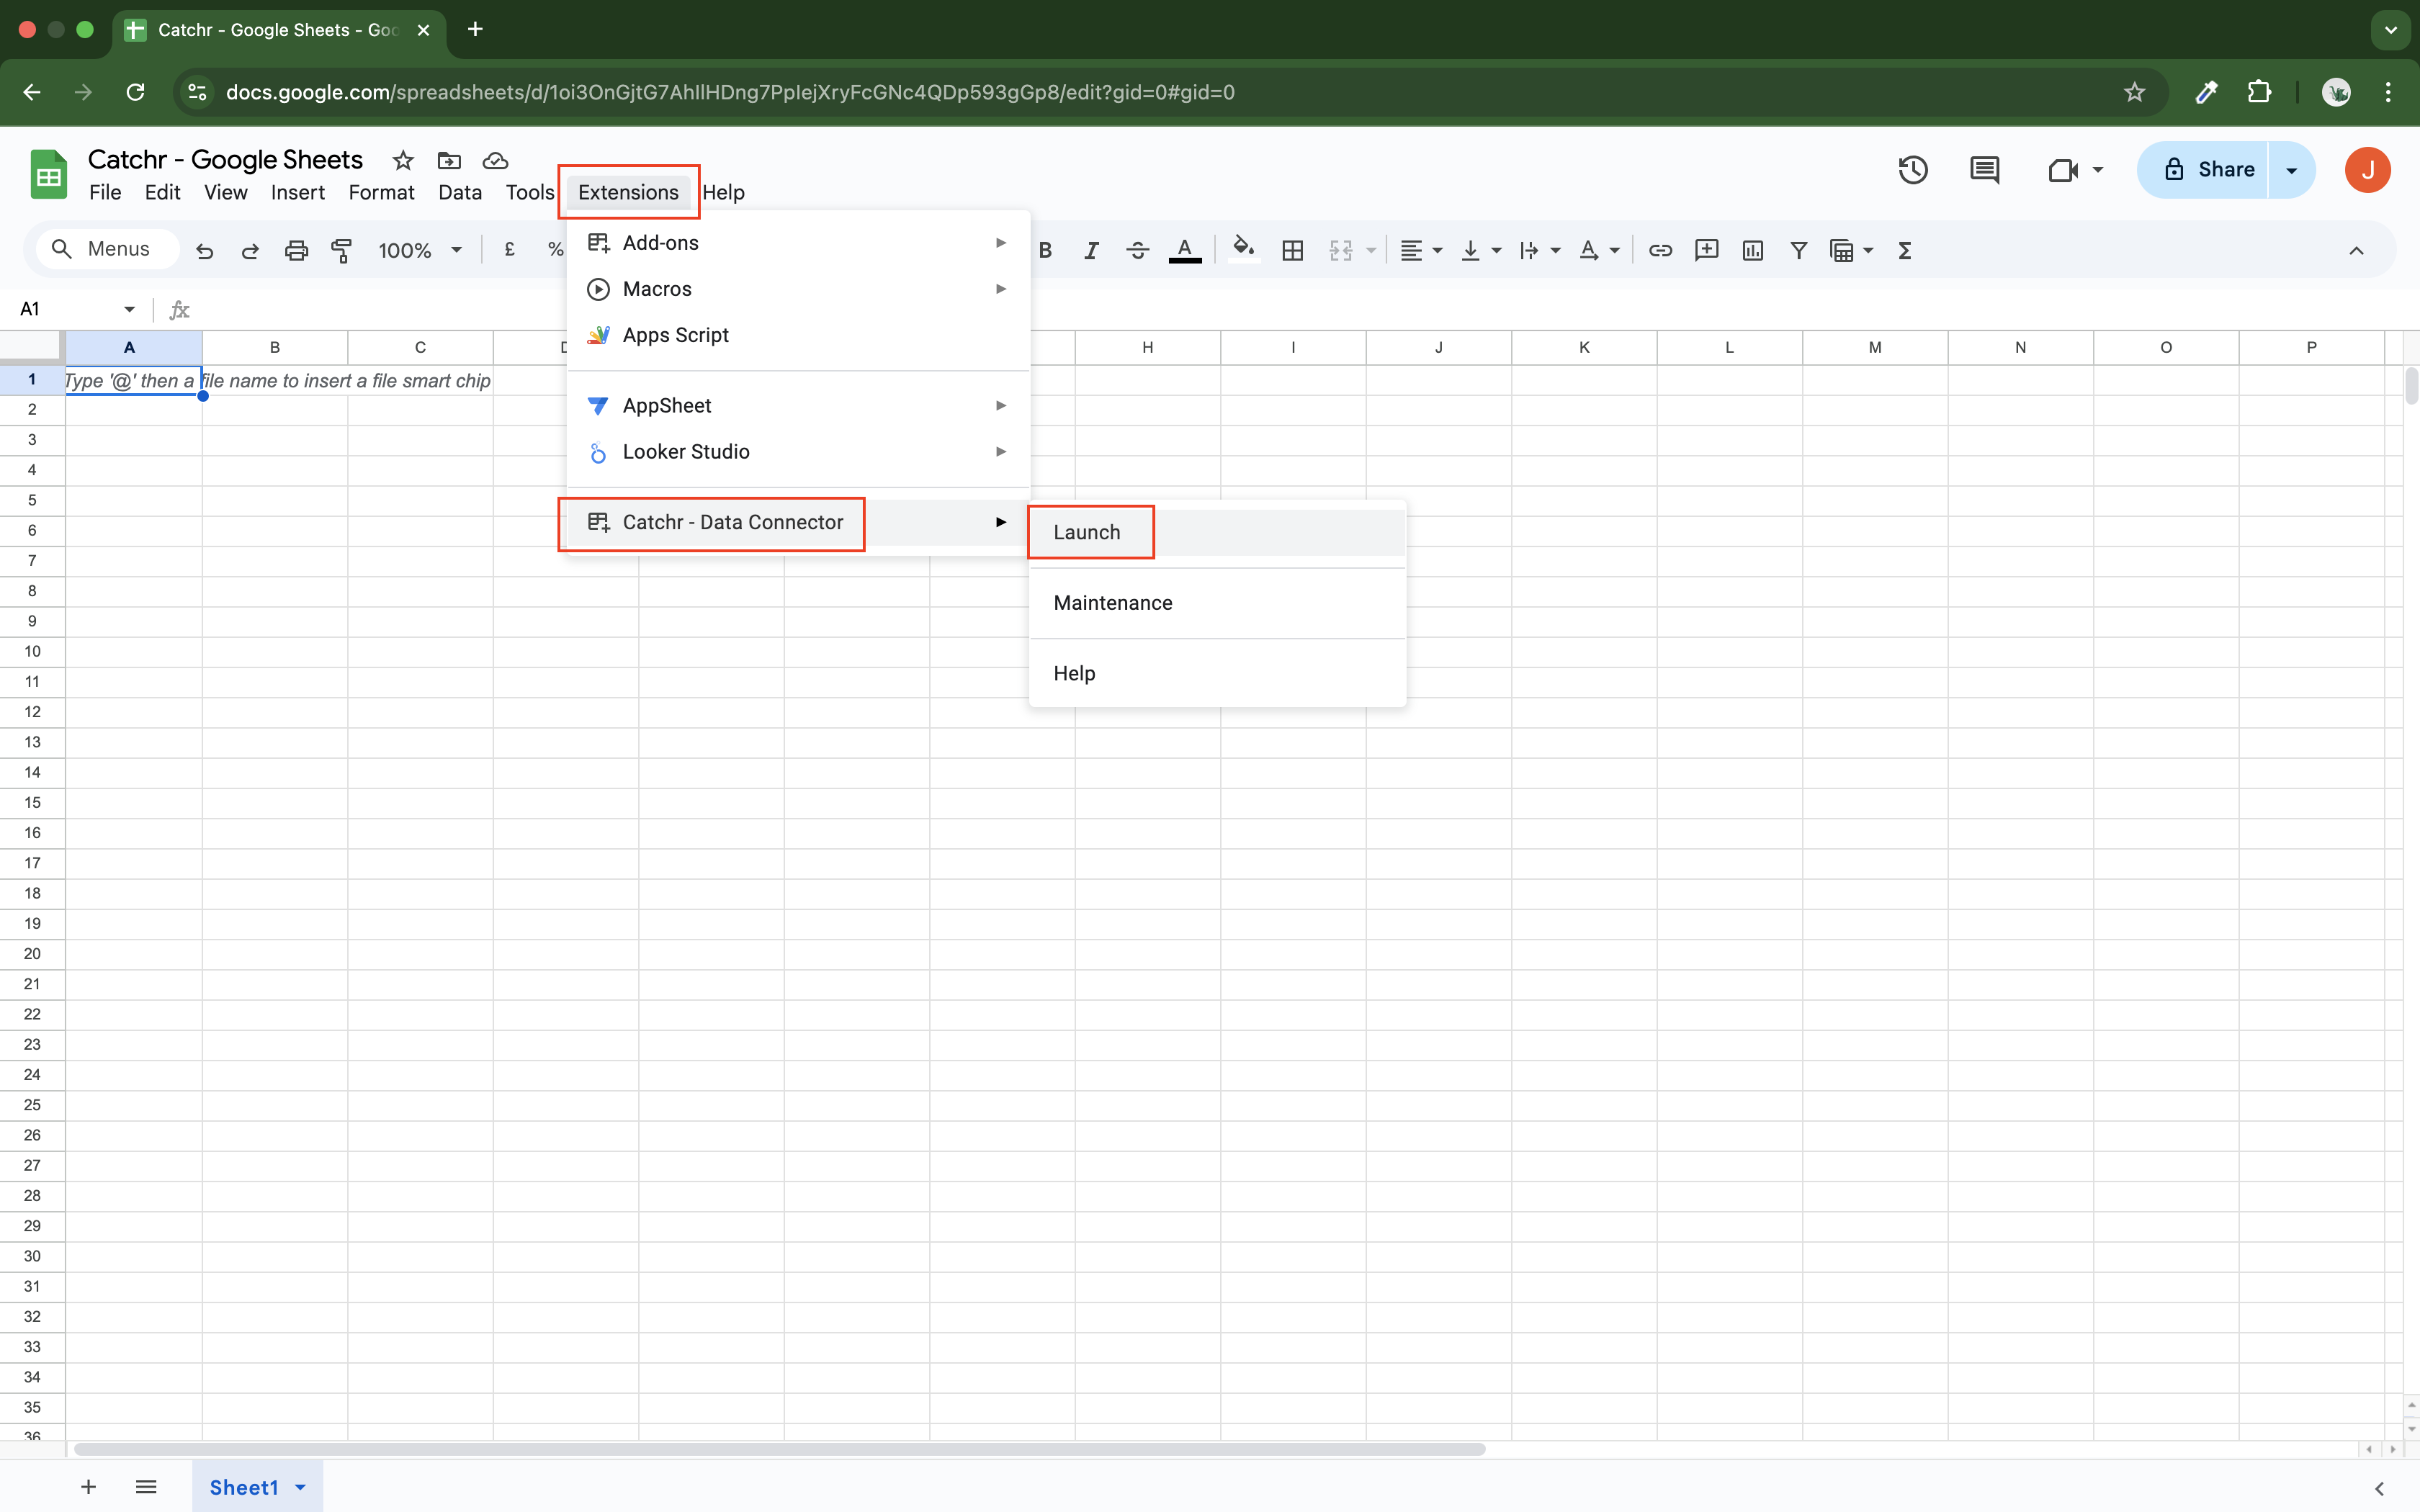
If the menu is not initially available, close the extension tab, wait a few seconds, and reopen it.
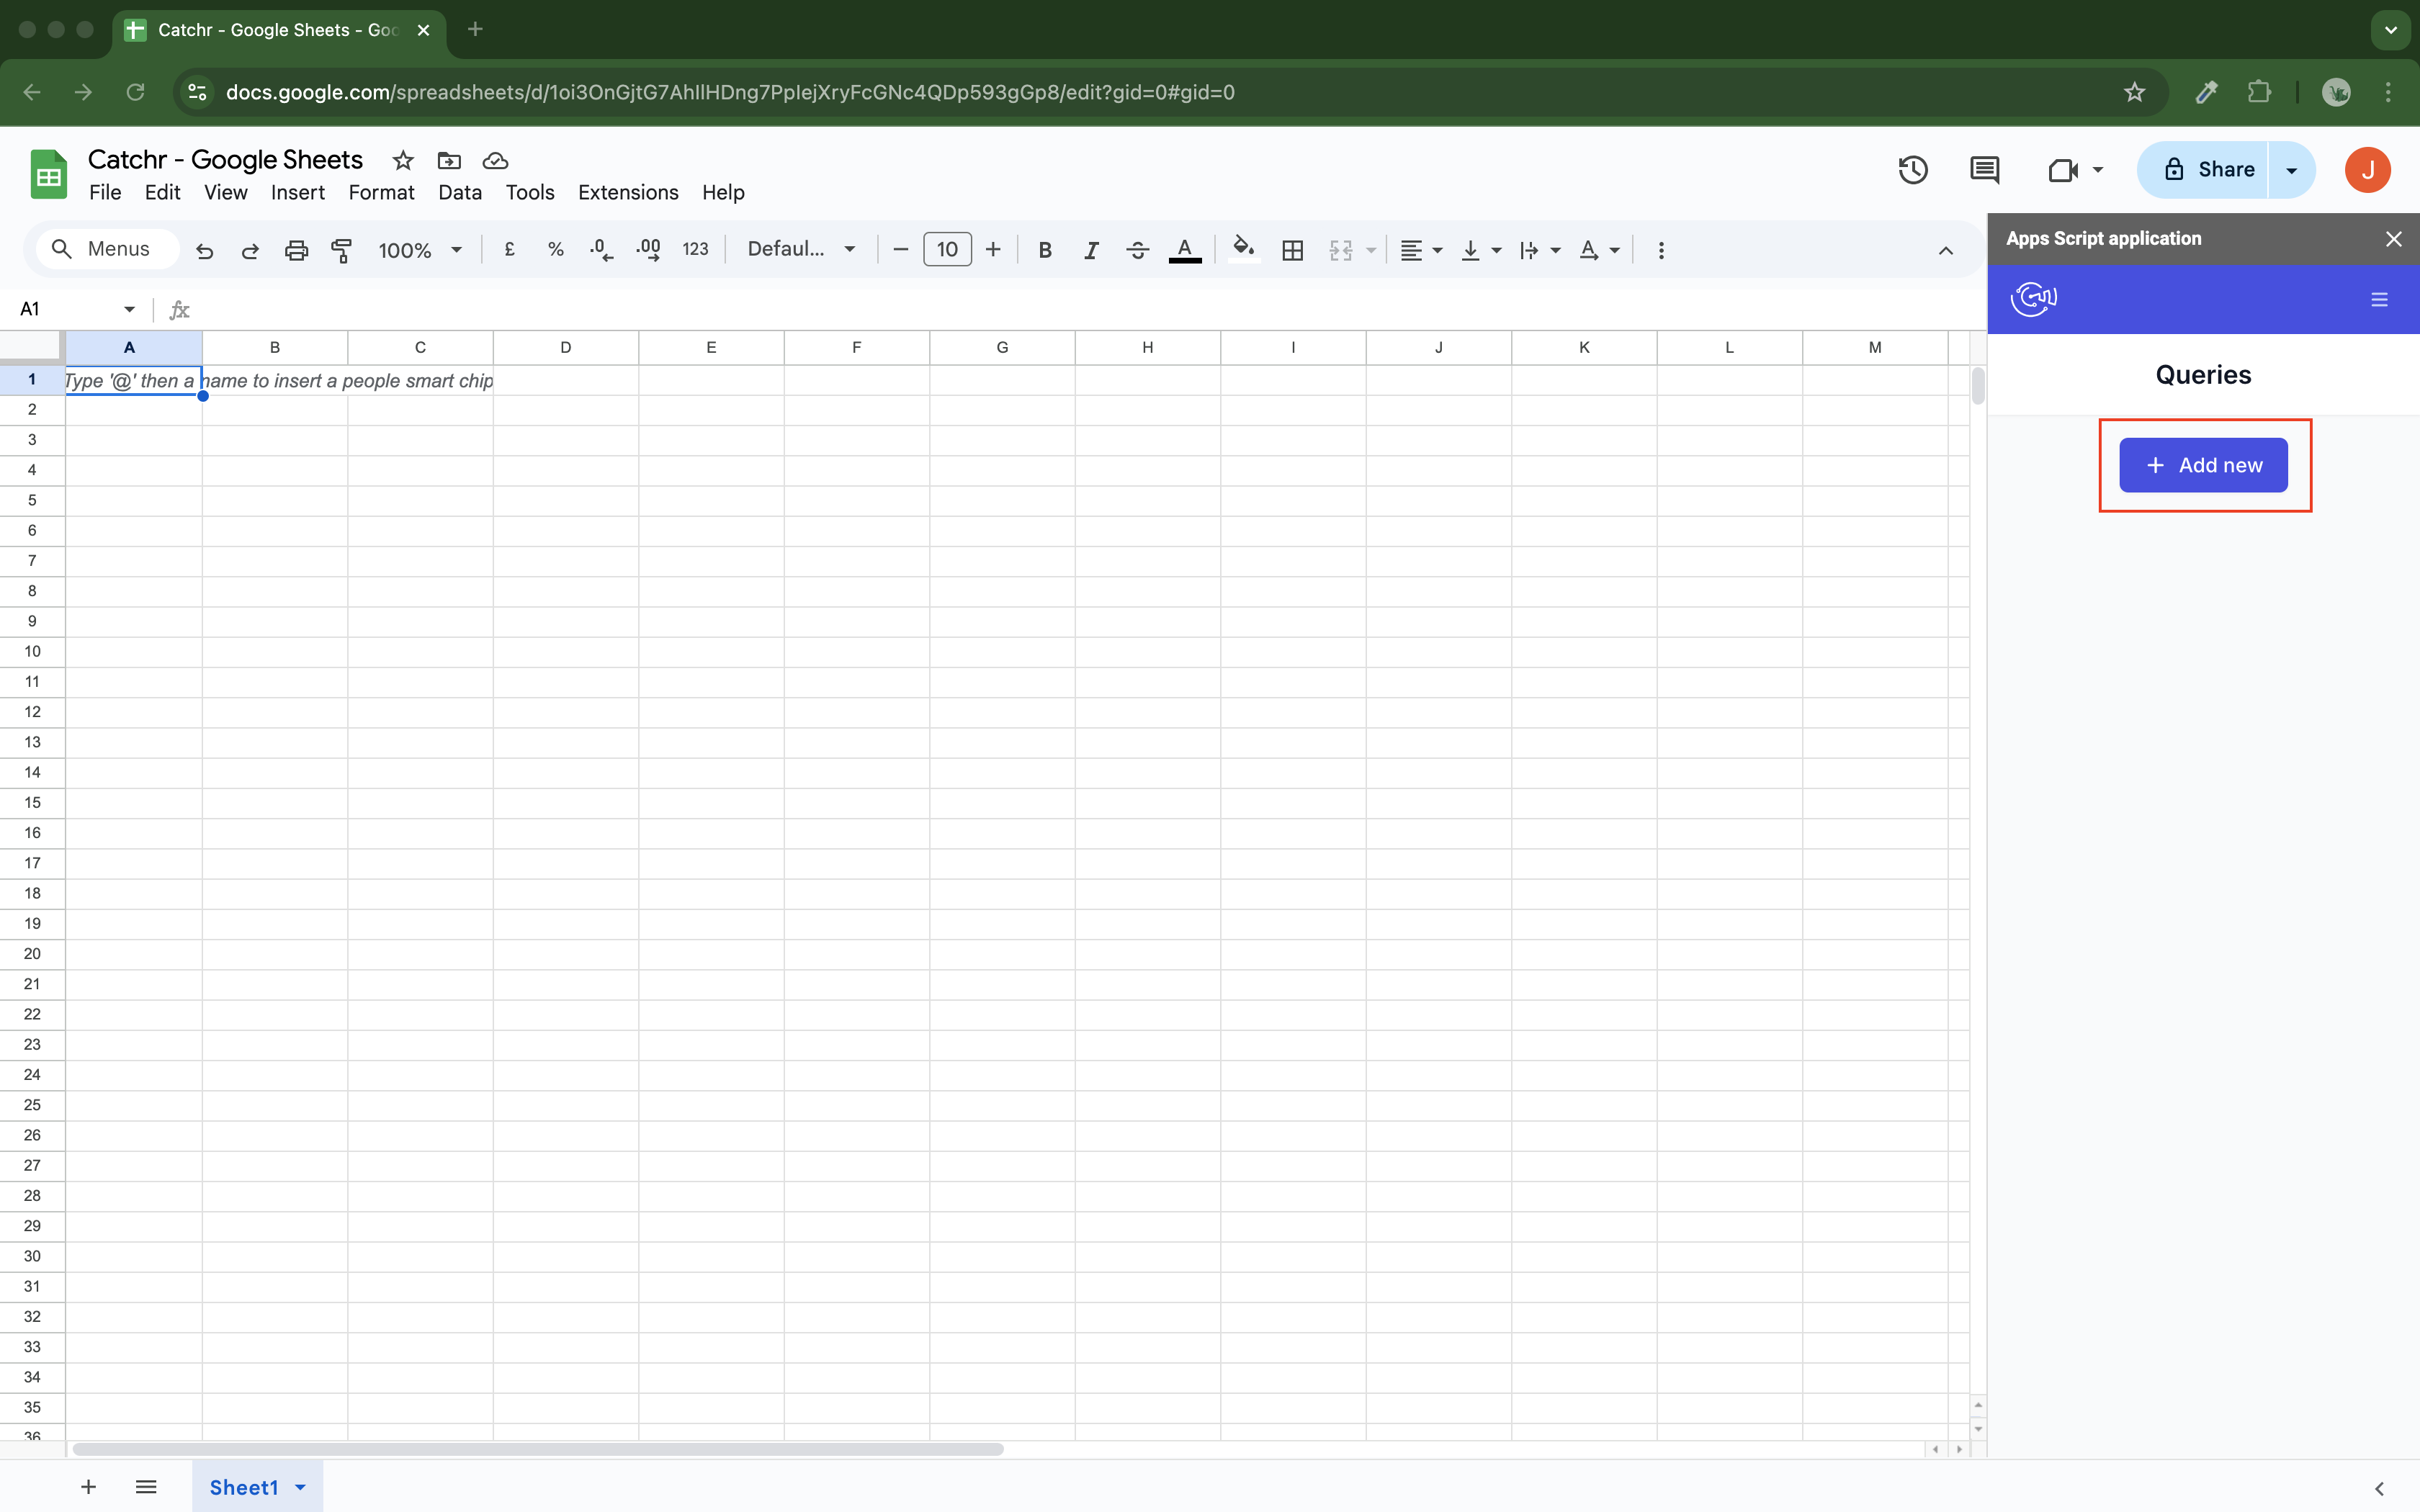
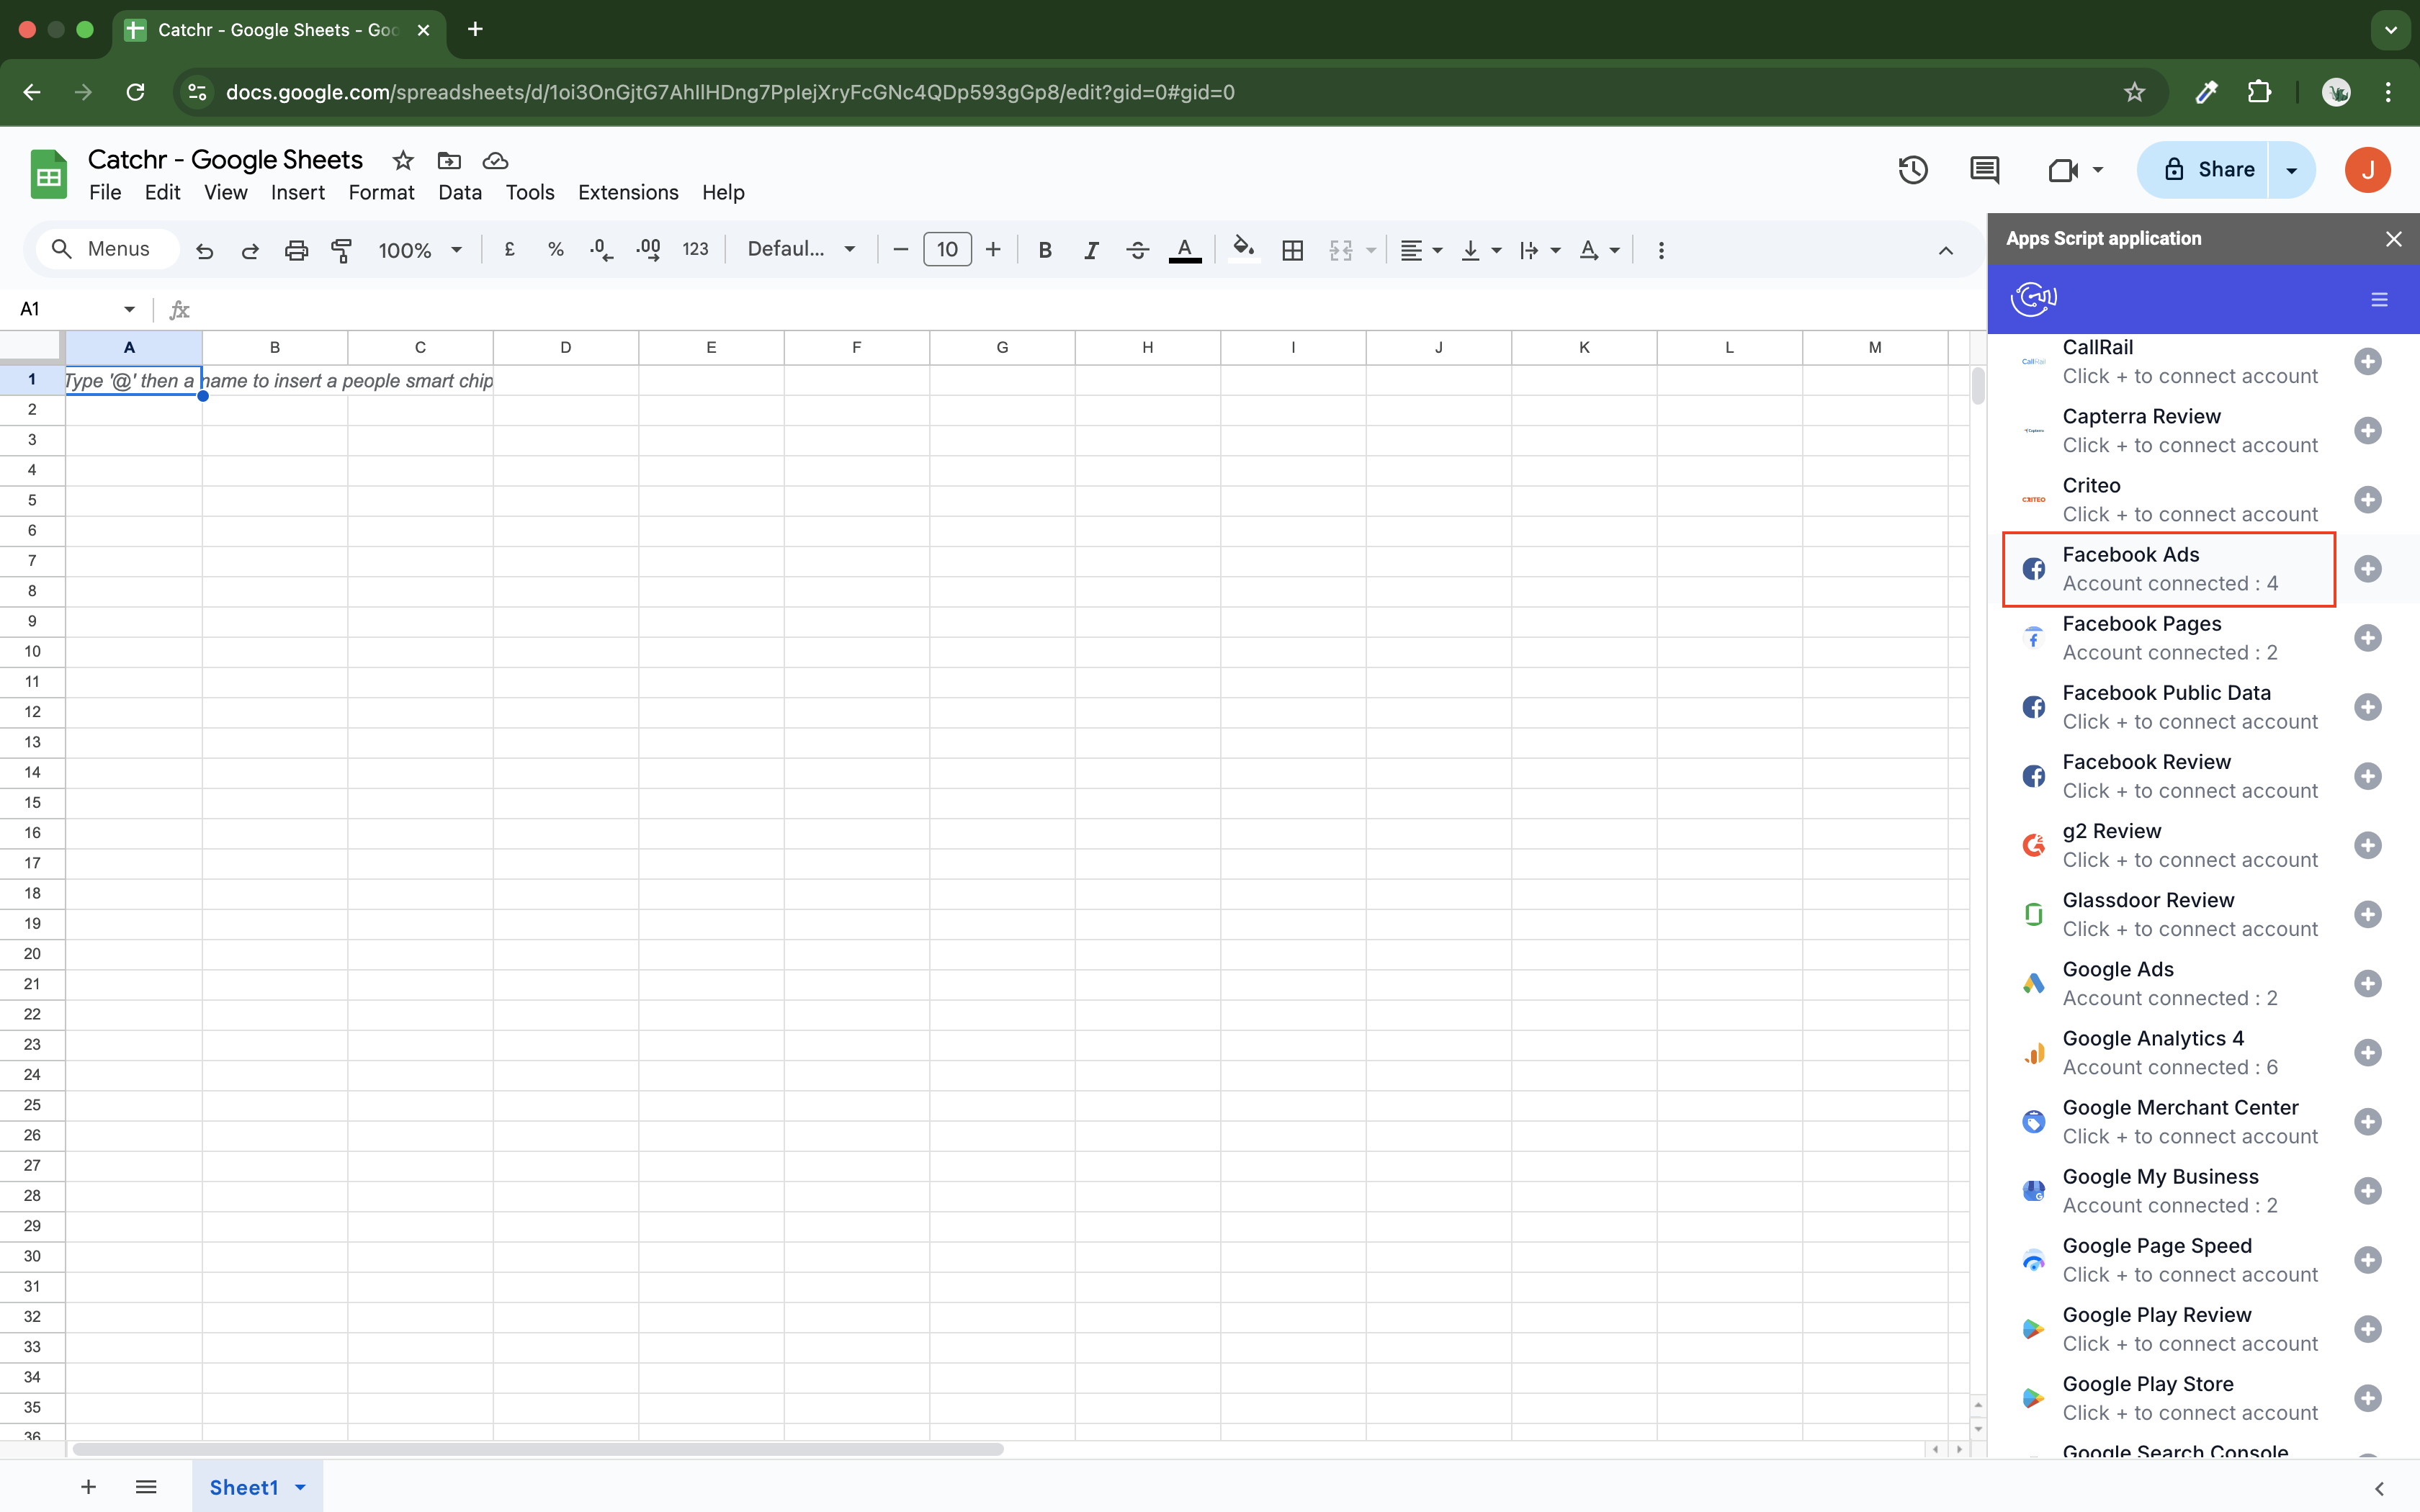
Click on + Add new to start creating a new request.
Select your platform (click on its name). You can also click on the + to be redirected to Catchr and add a new Source (if you do so, quit and launch the add-on to see your new platform).
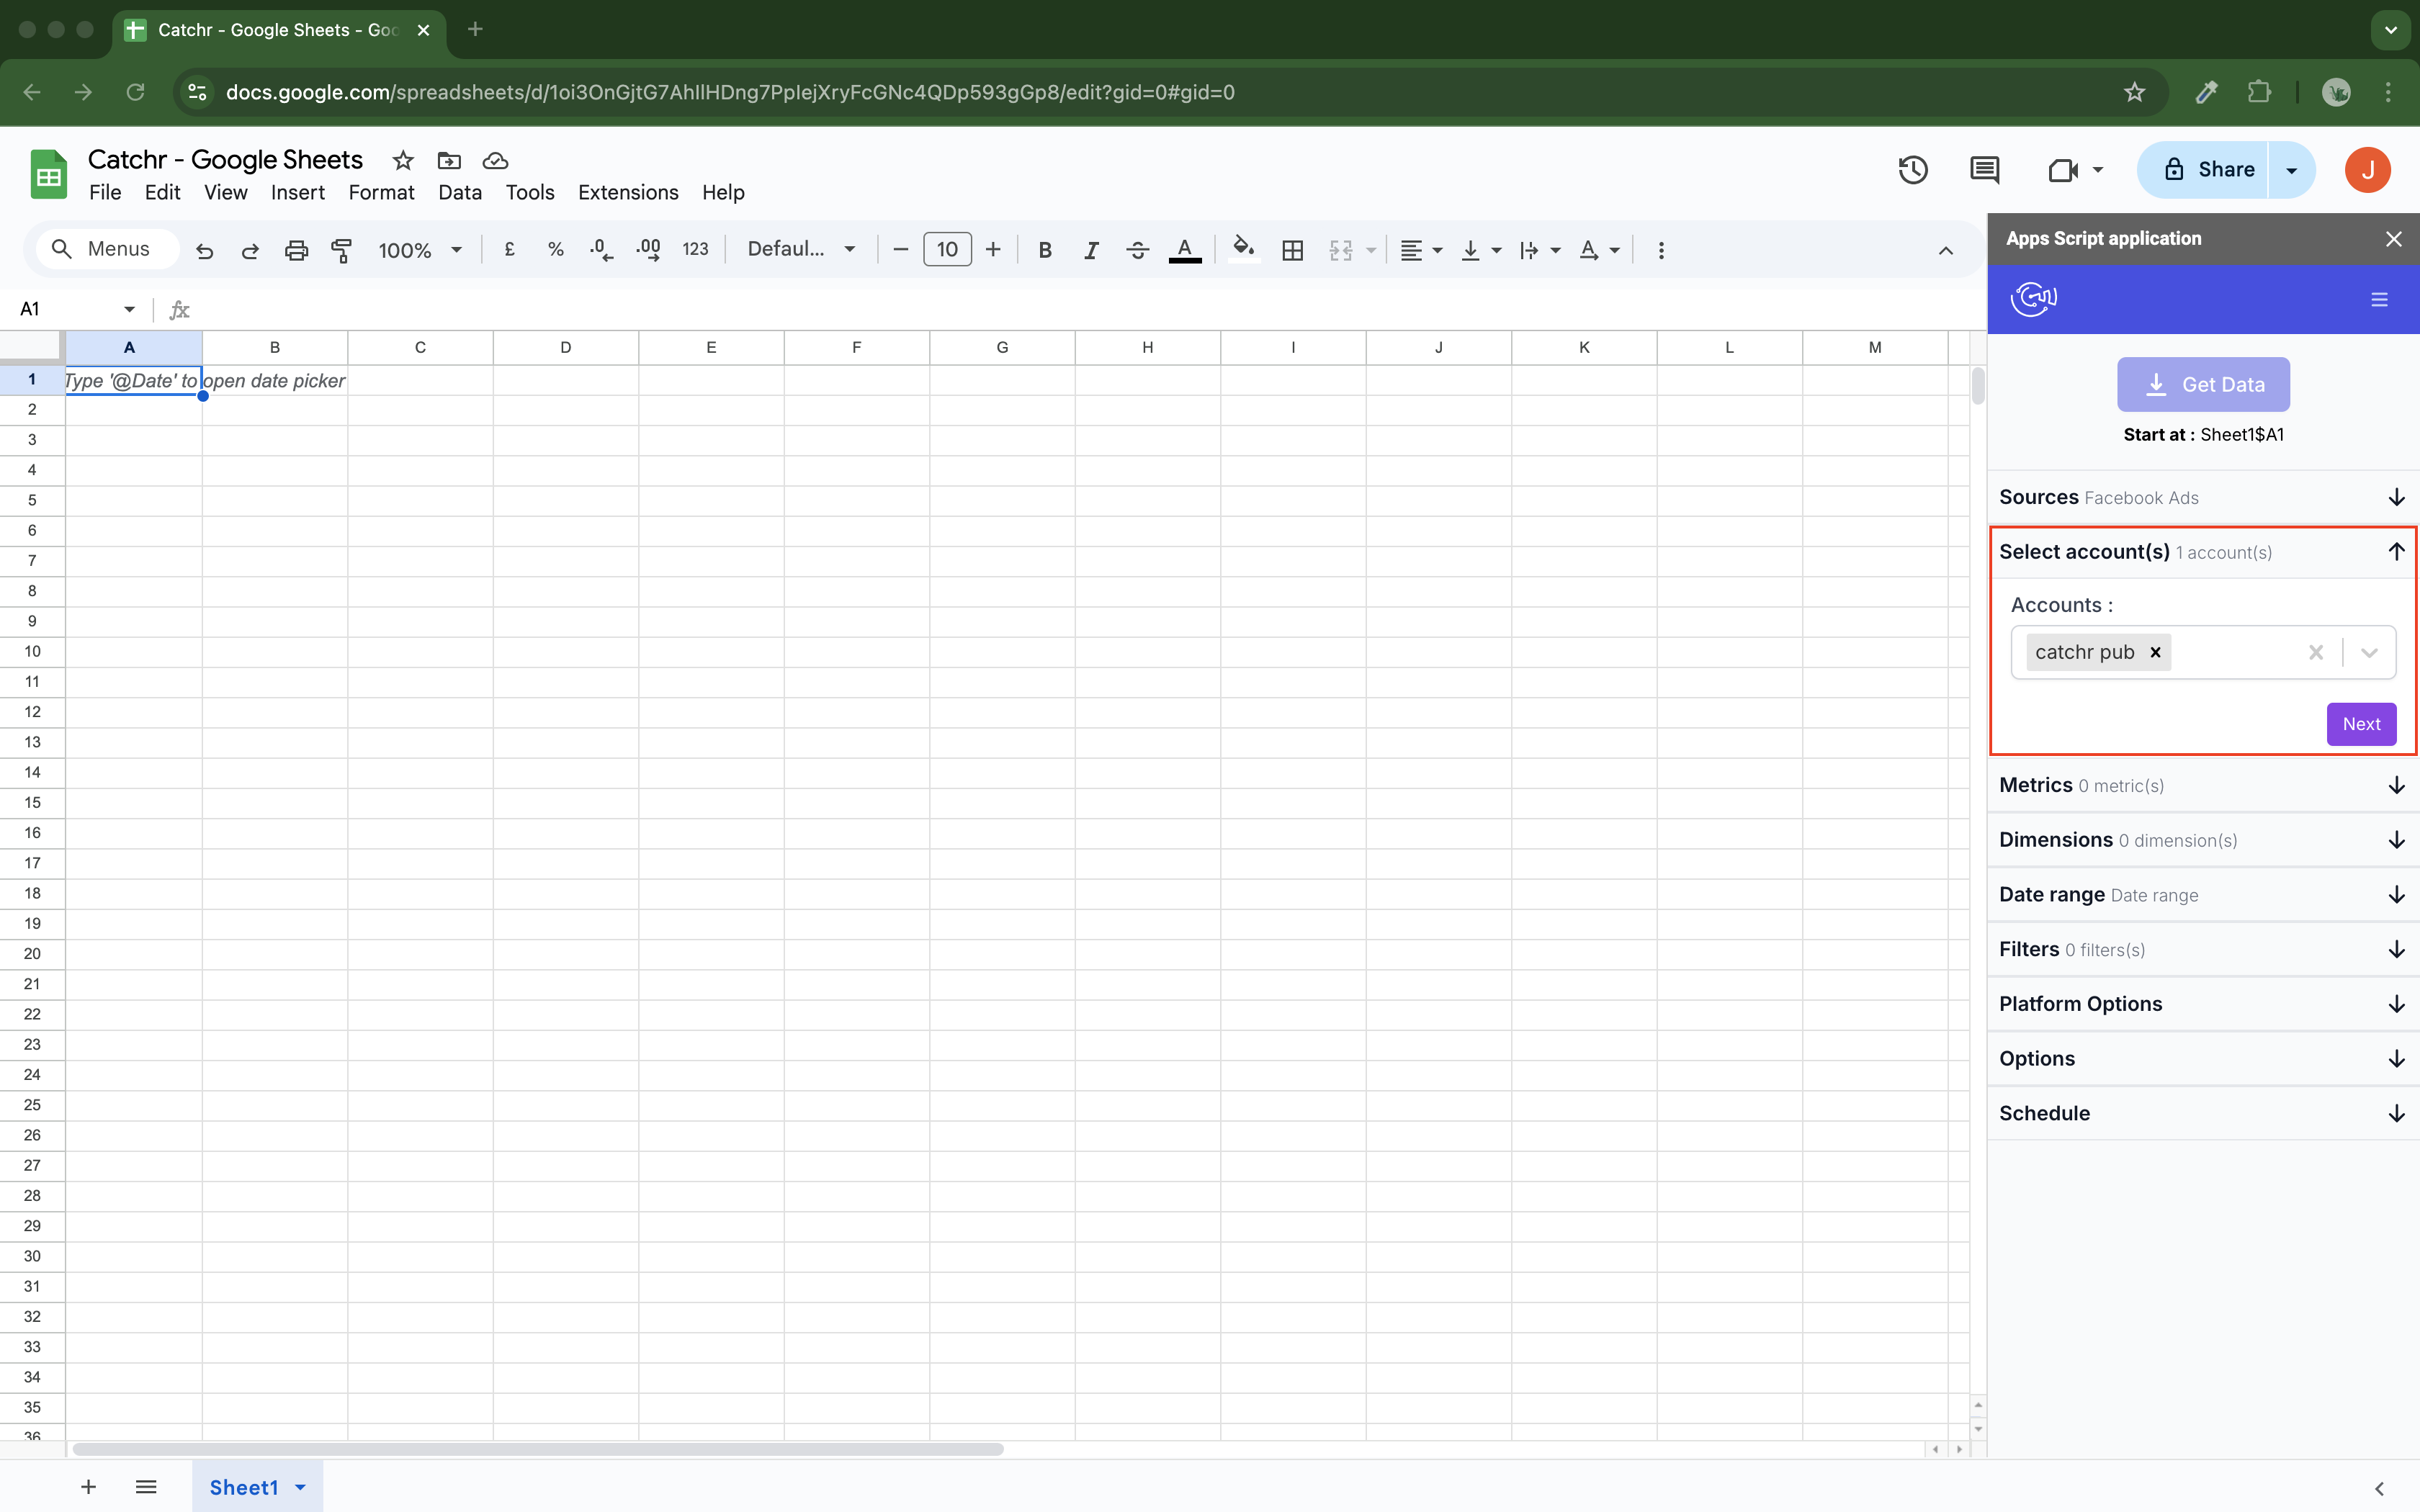
Select your account(s) and click next.
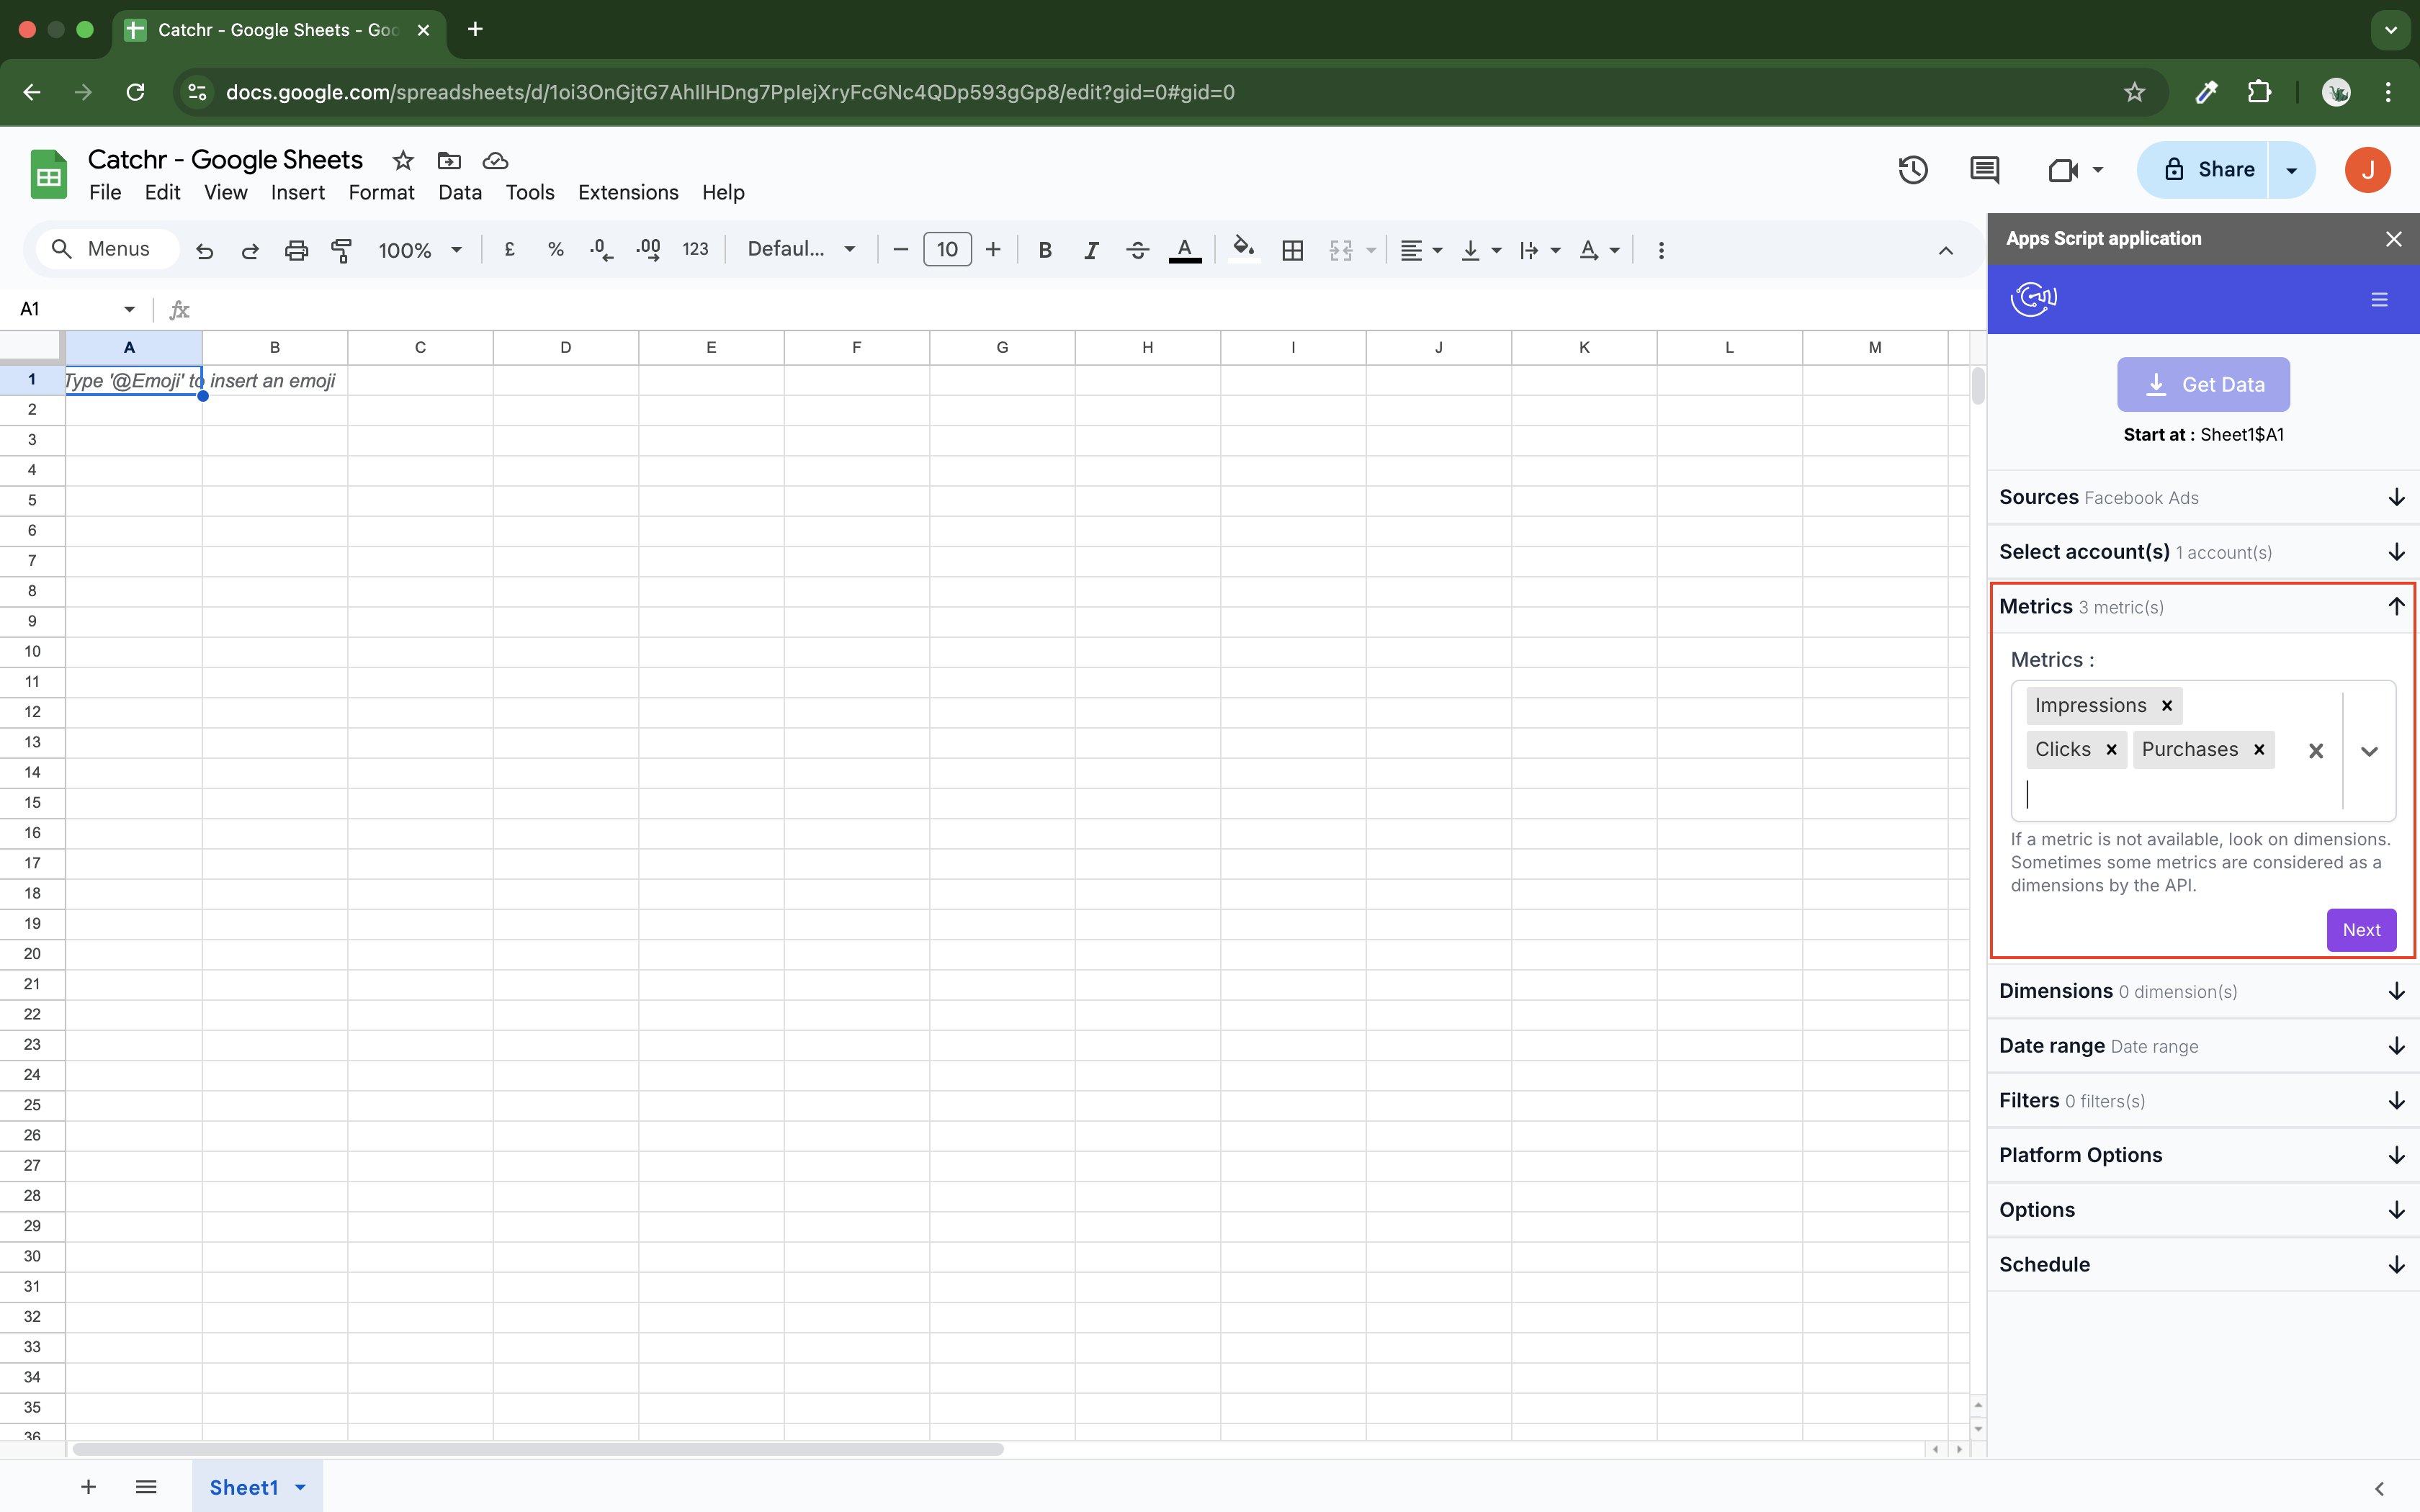
Select your metrics and click next.
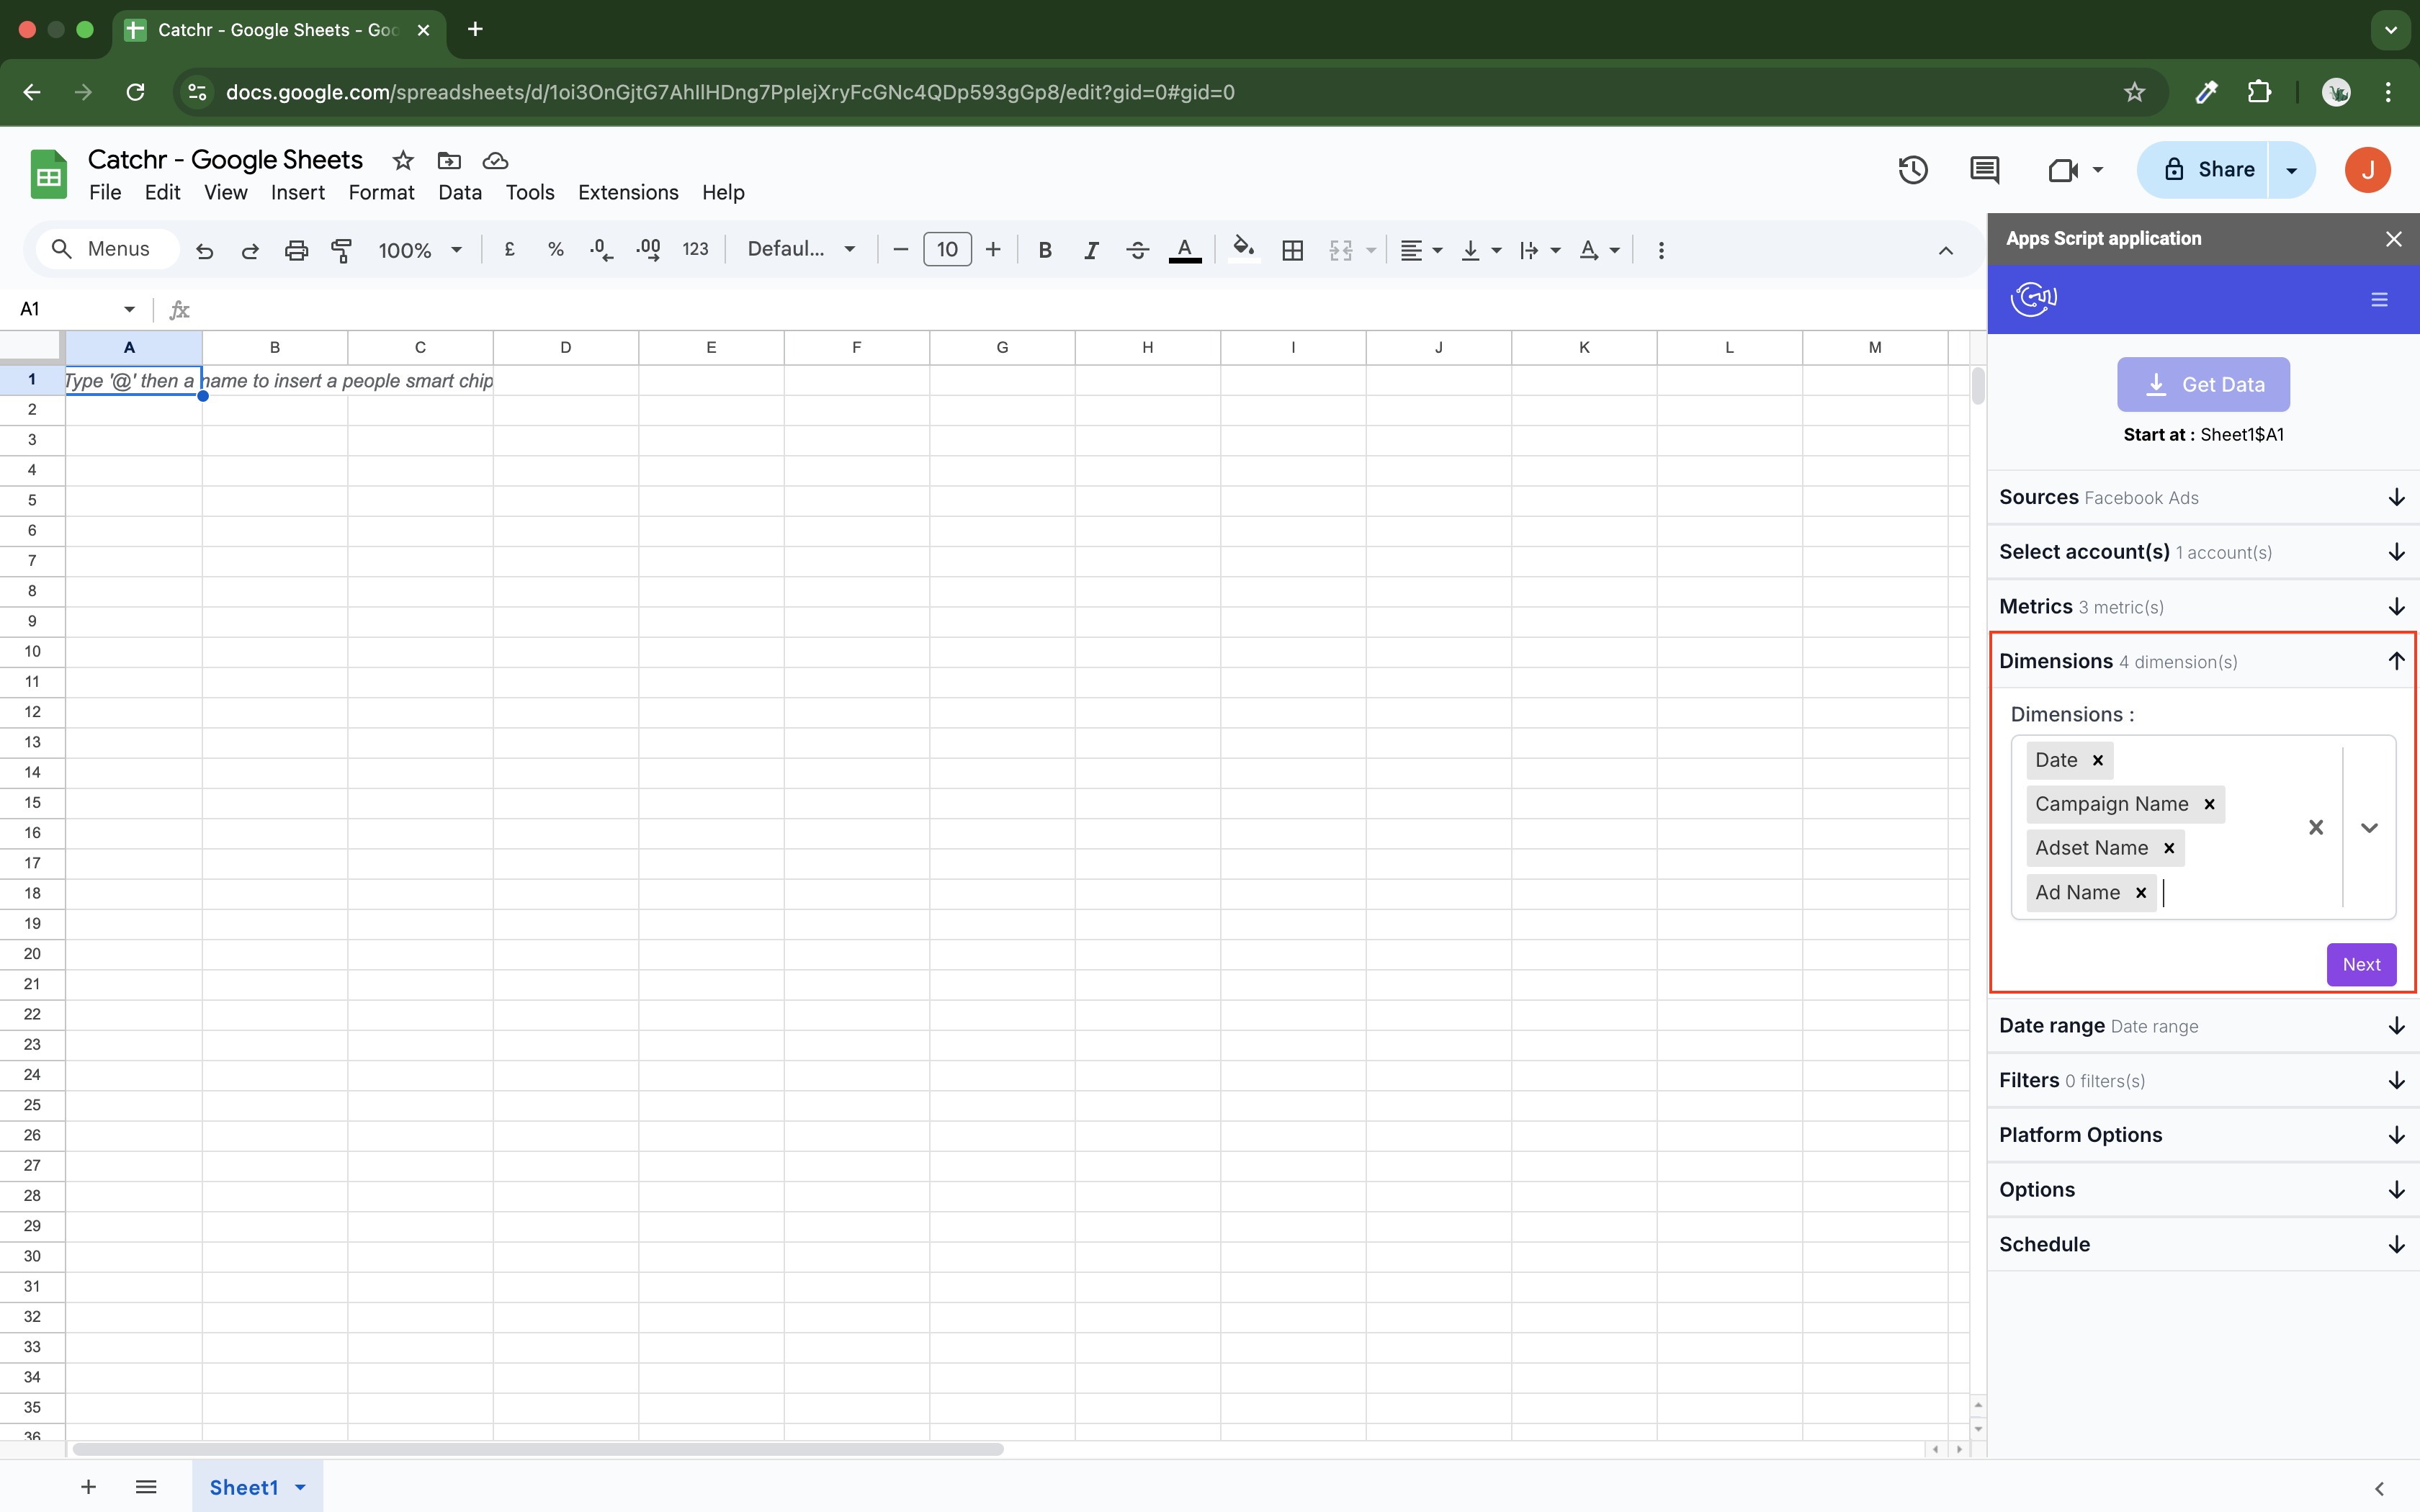
Select your dimensions and click next
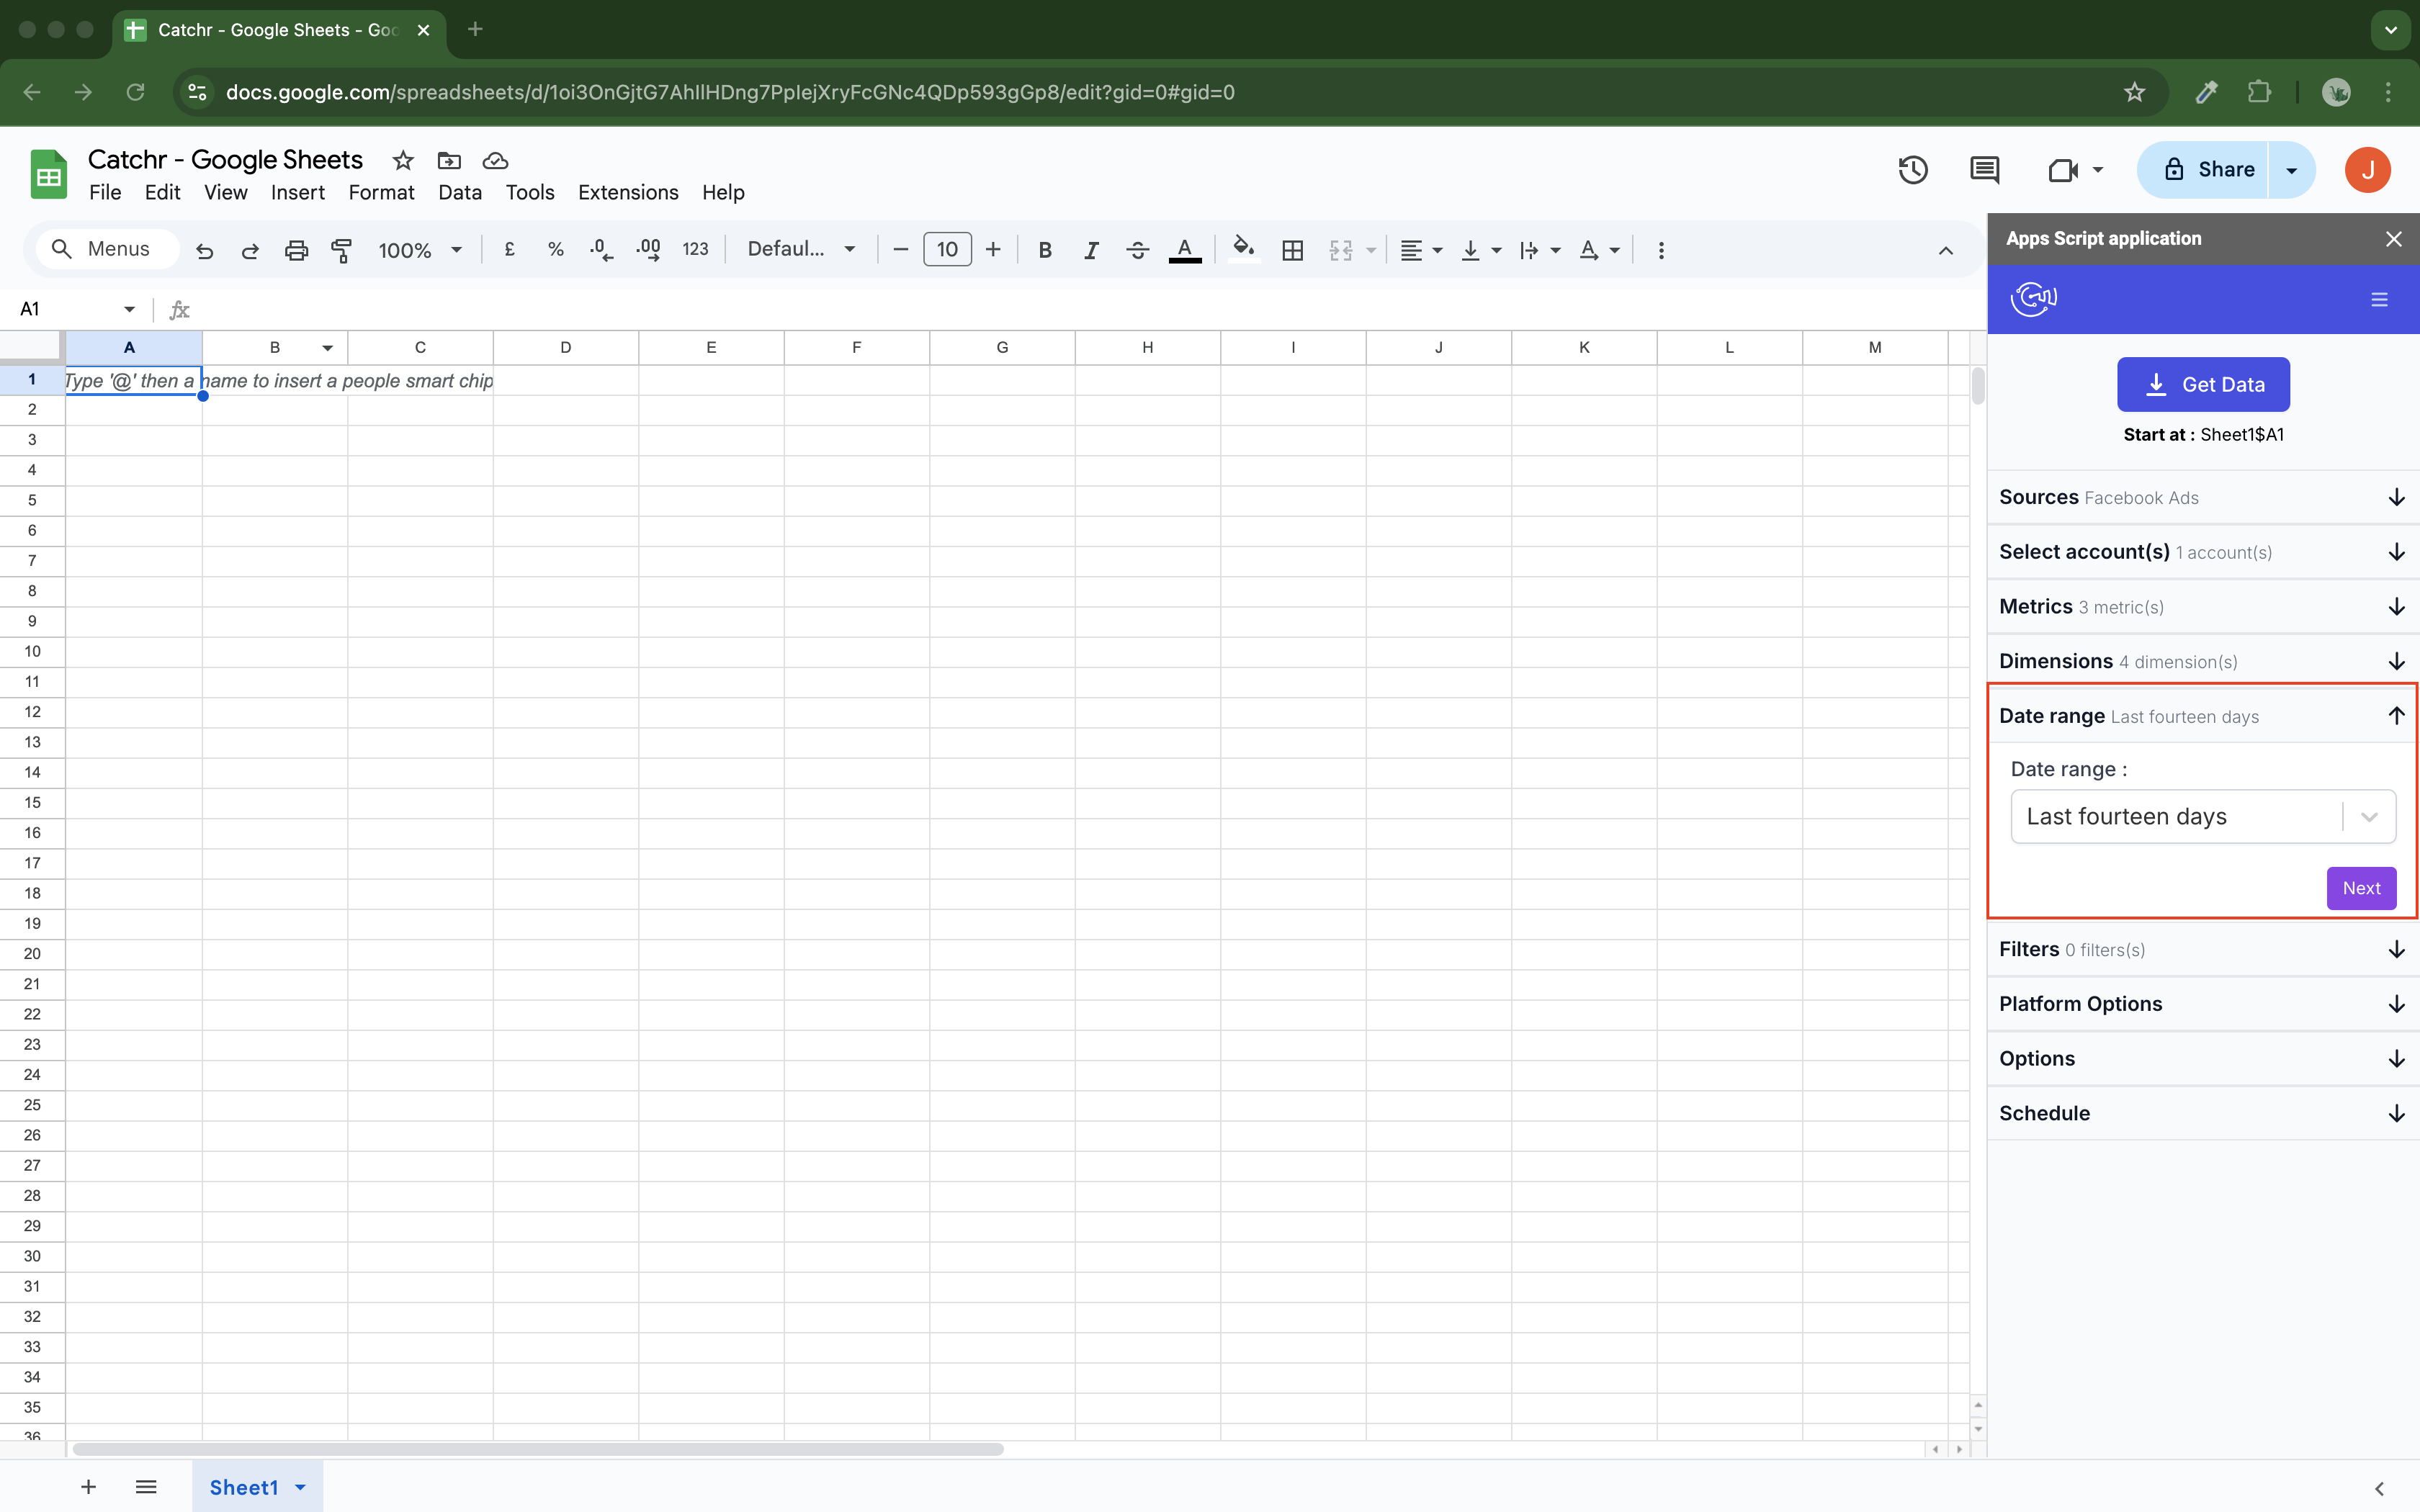
Select the date range. You can select a date range (for example, "Last fourteen days", so your request will always import the last fourteen days and not a defined period), but also a custom date range at the end of the list.
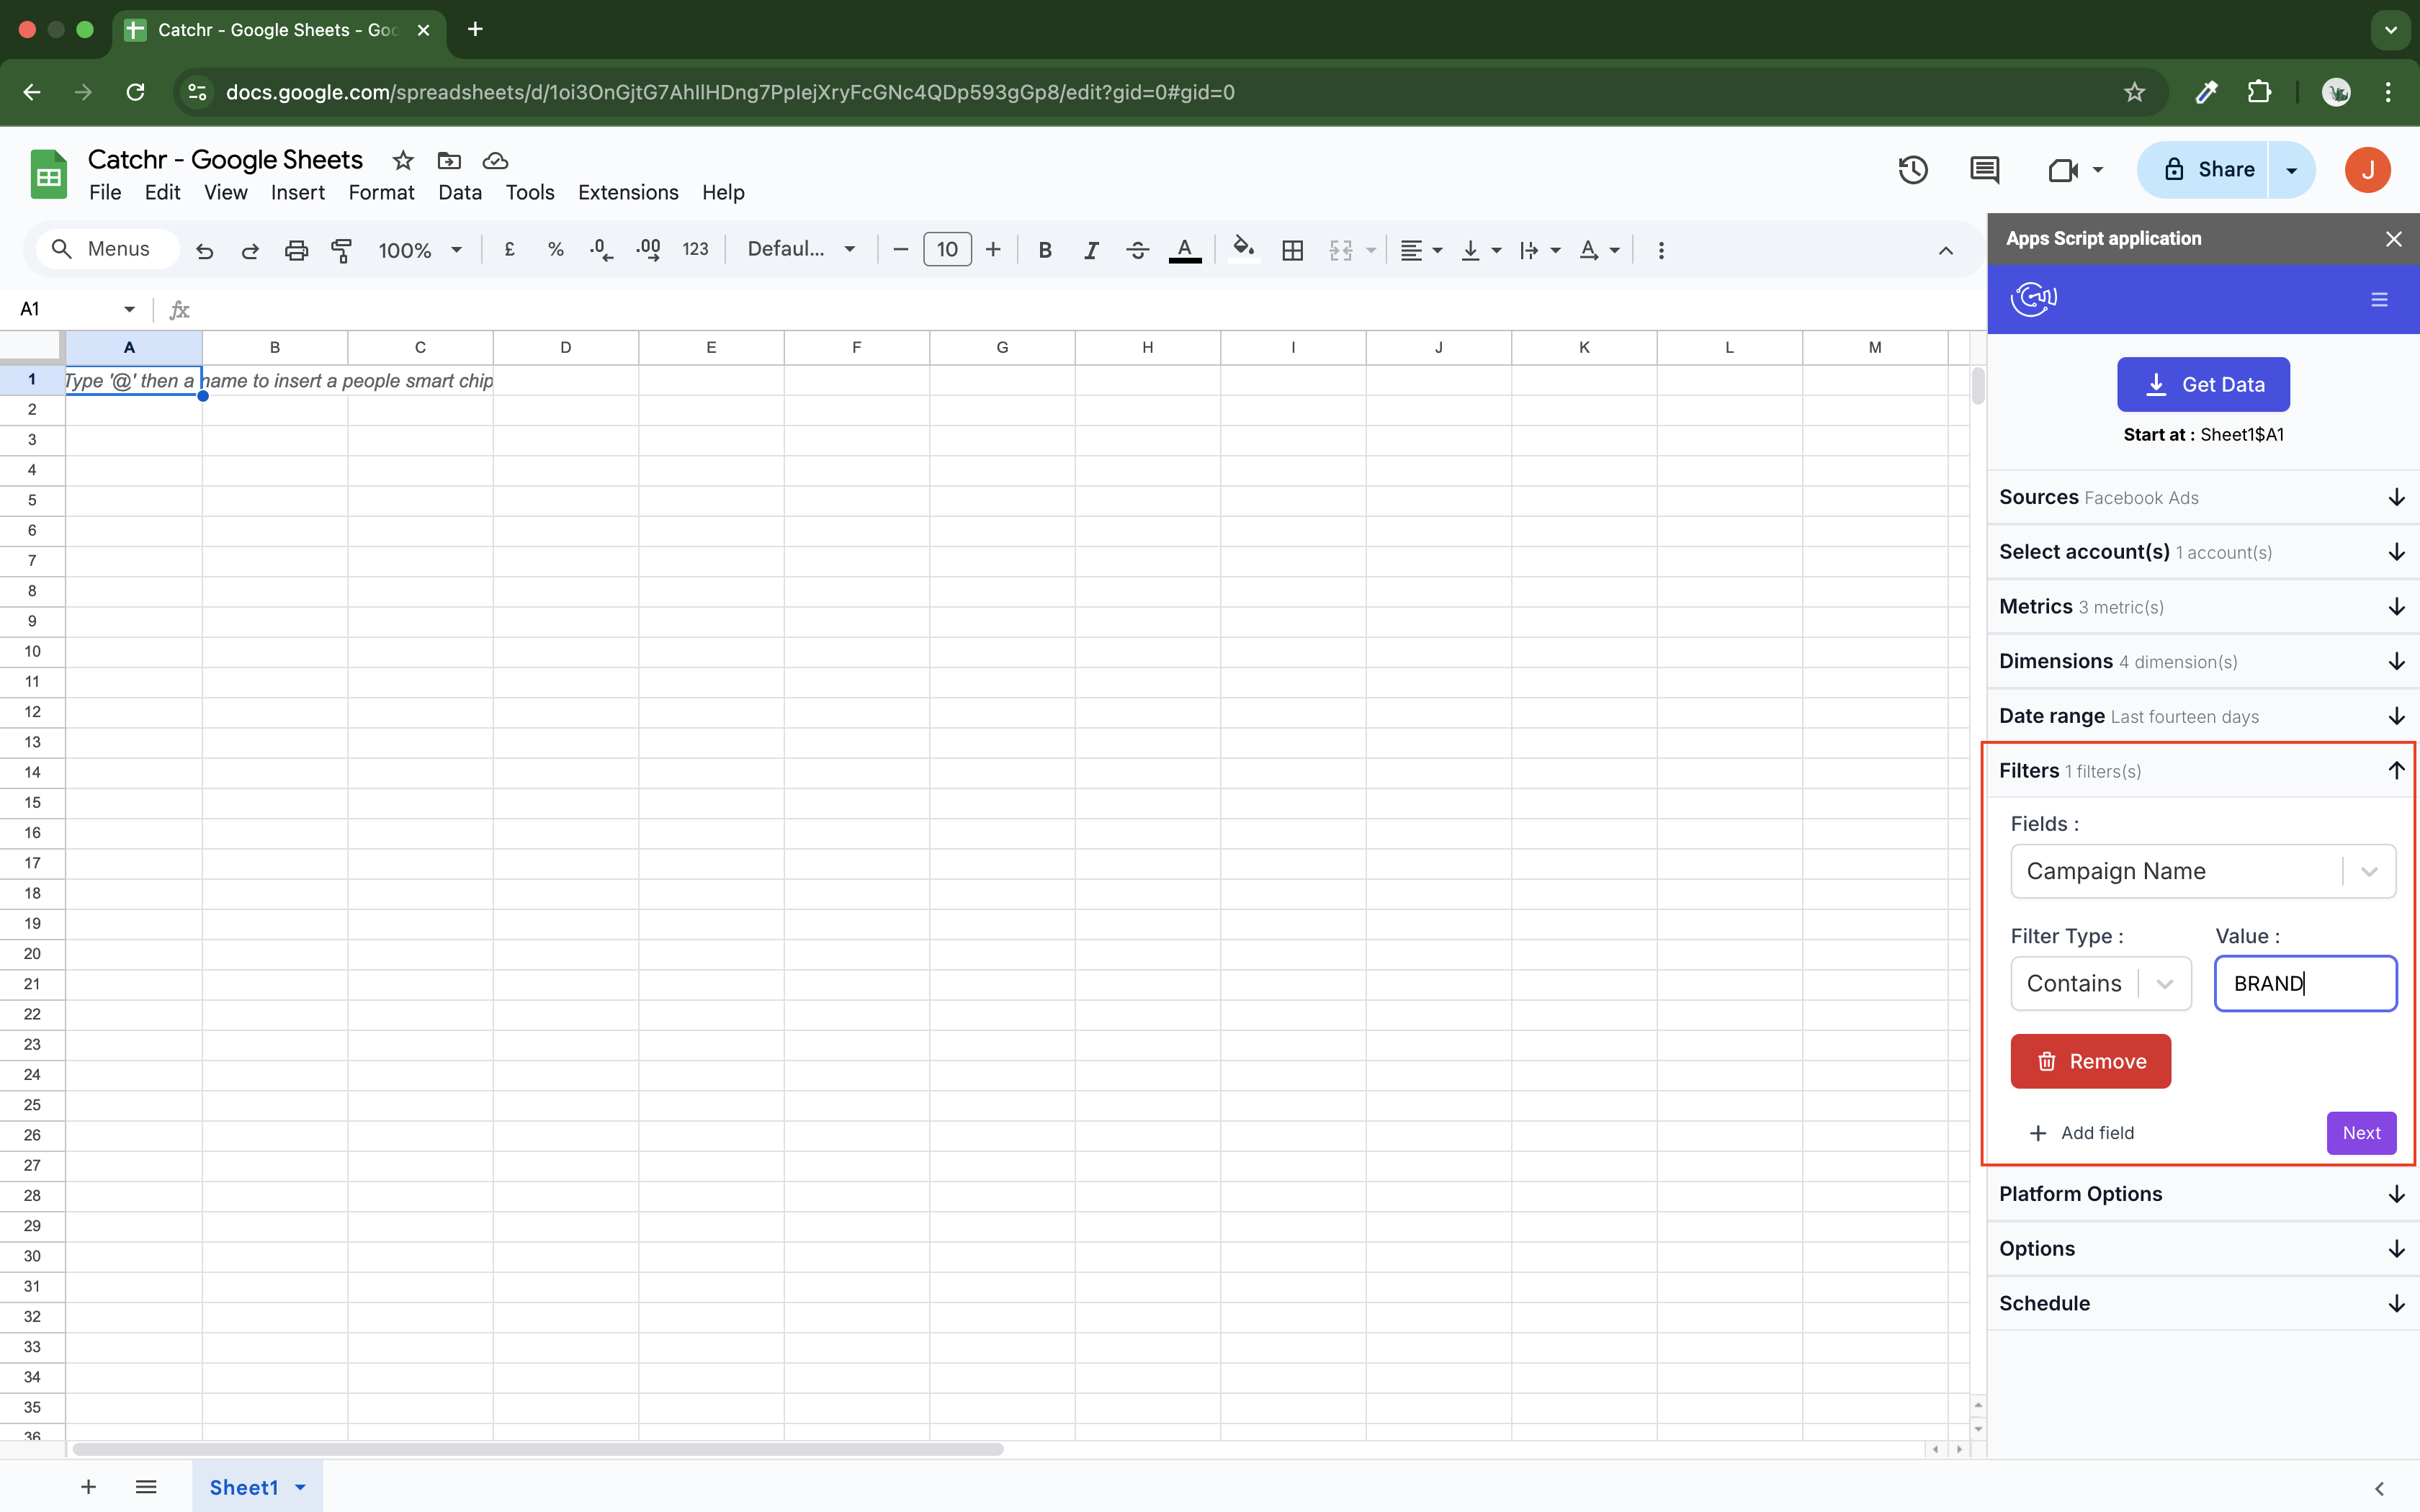
Add any necessary filters and click Next. All filters are separated by an AND close.
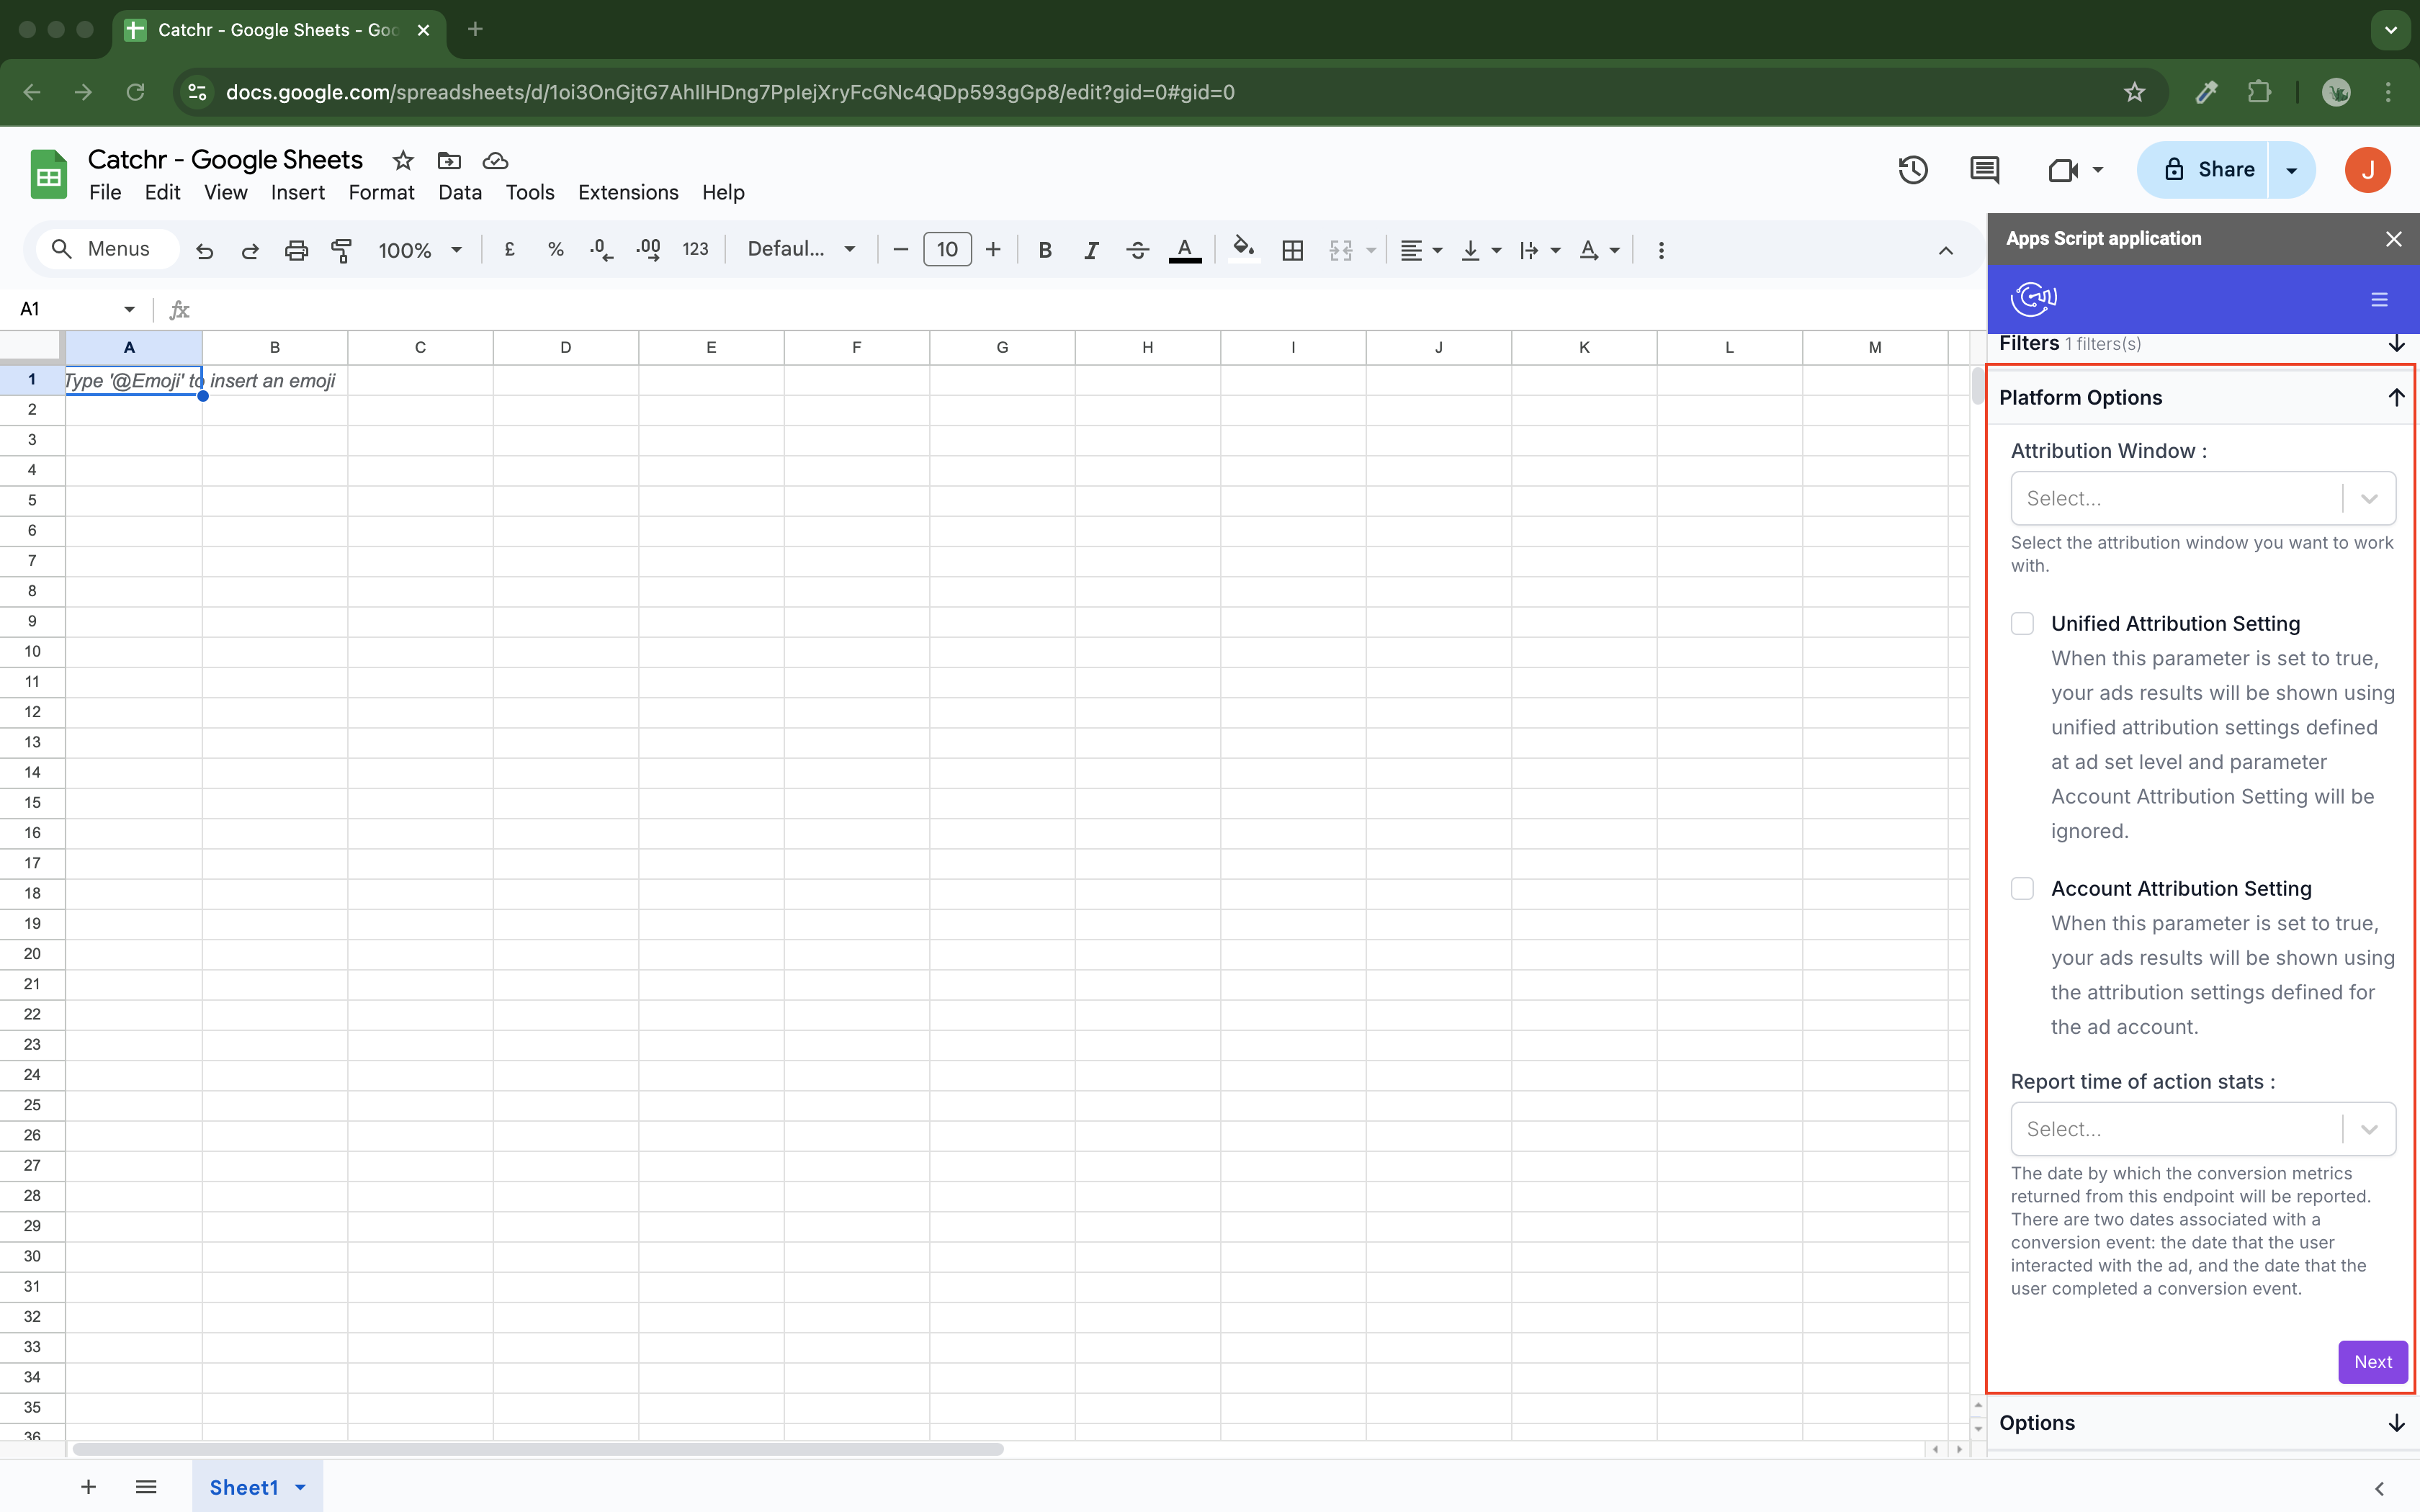
Select the platform options if necessary, and then click Next. Platform options are not available for all platforms. For platforms with attribution, if none is selected, we will use the default attribution setting.
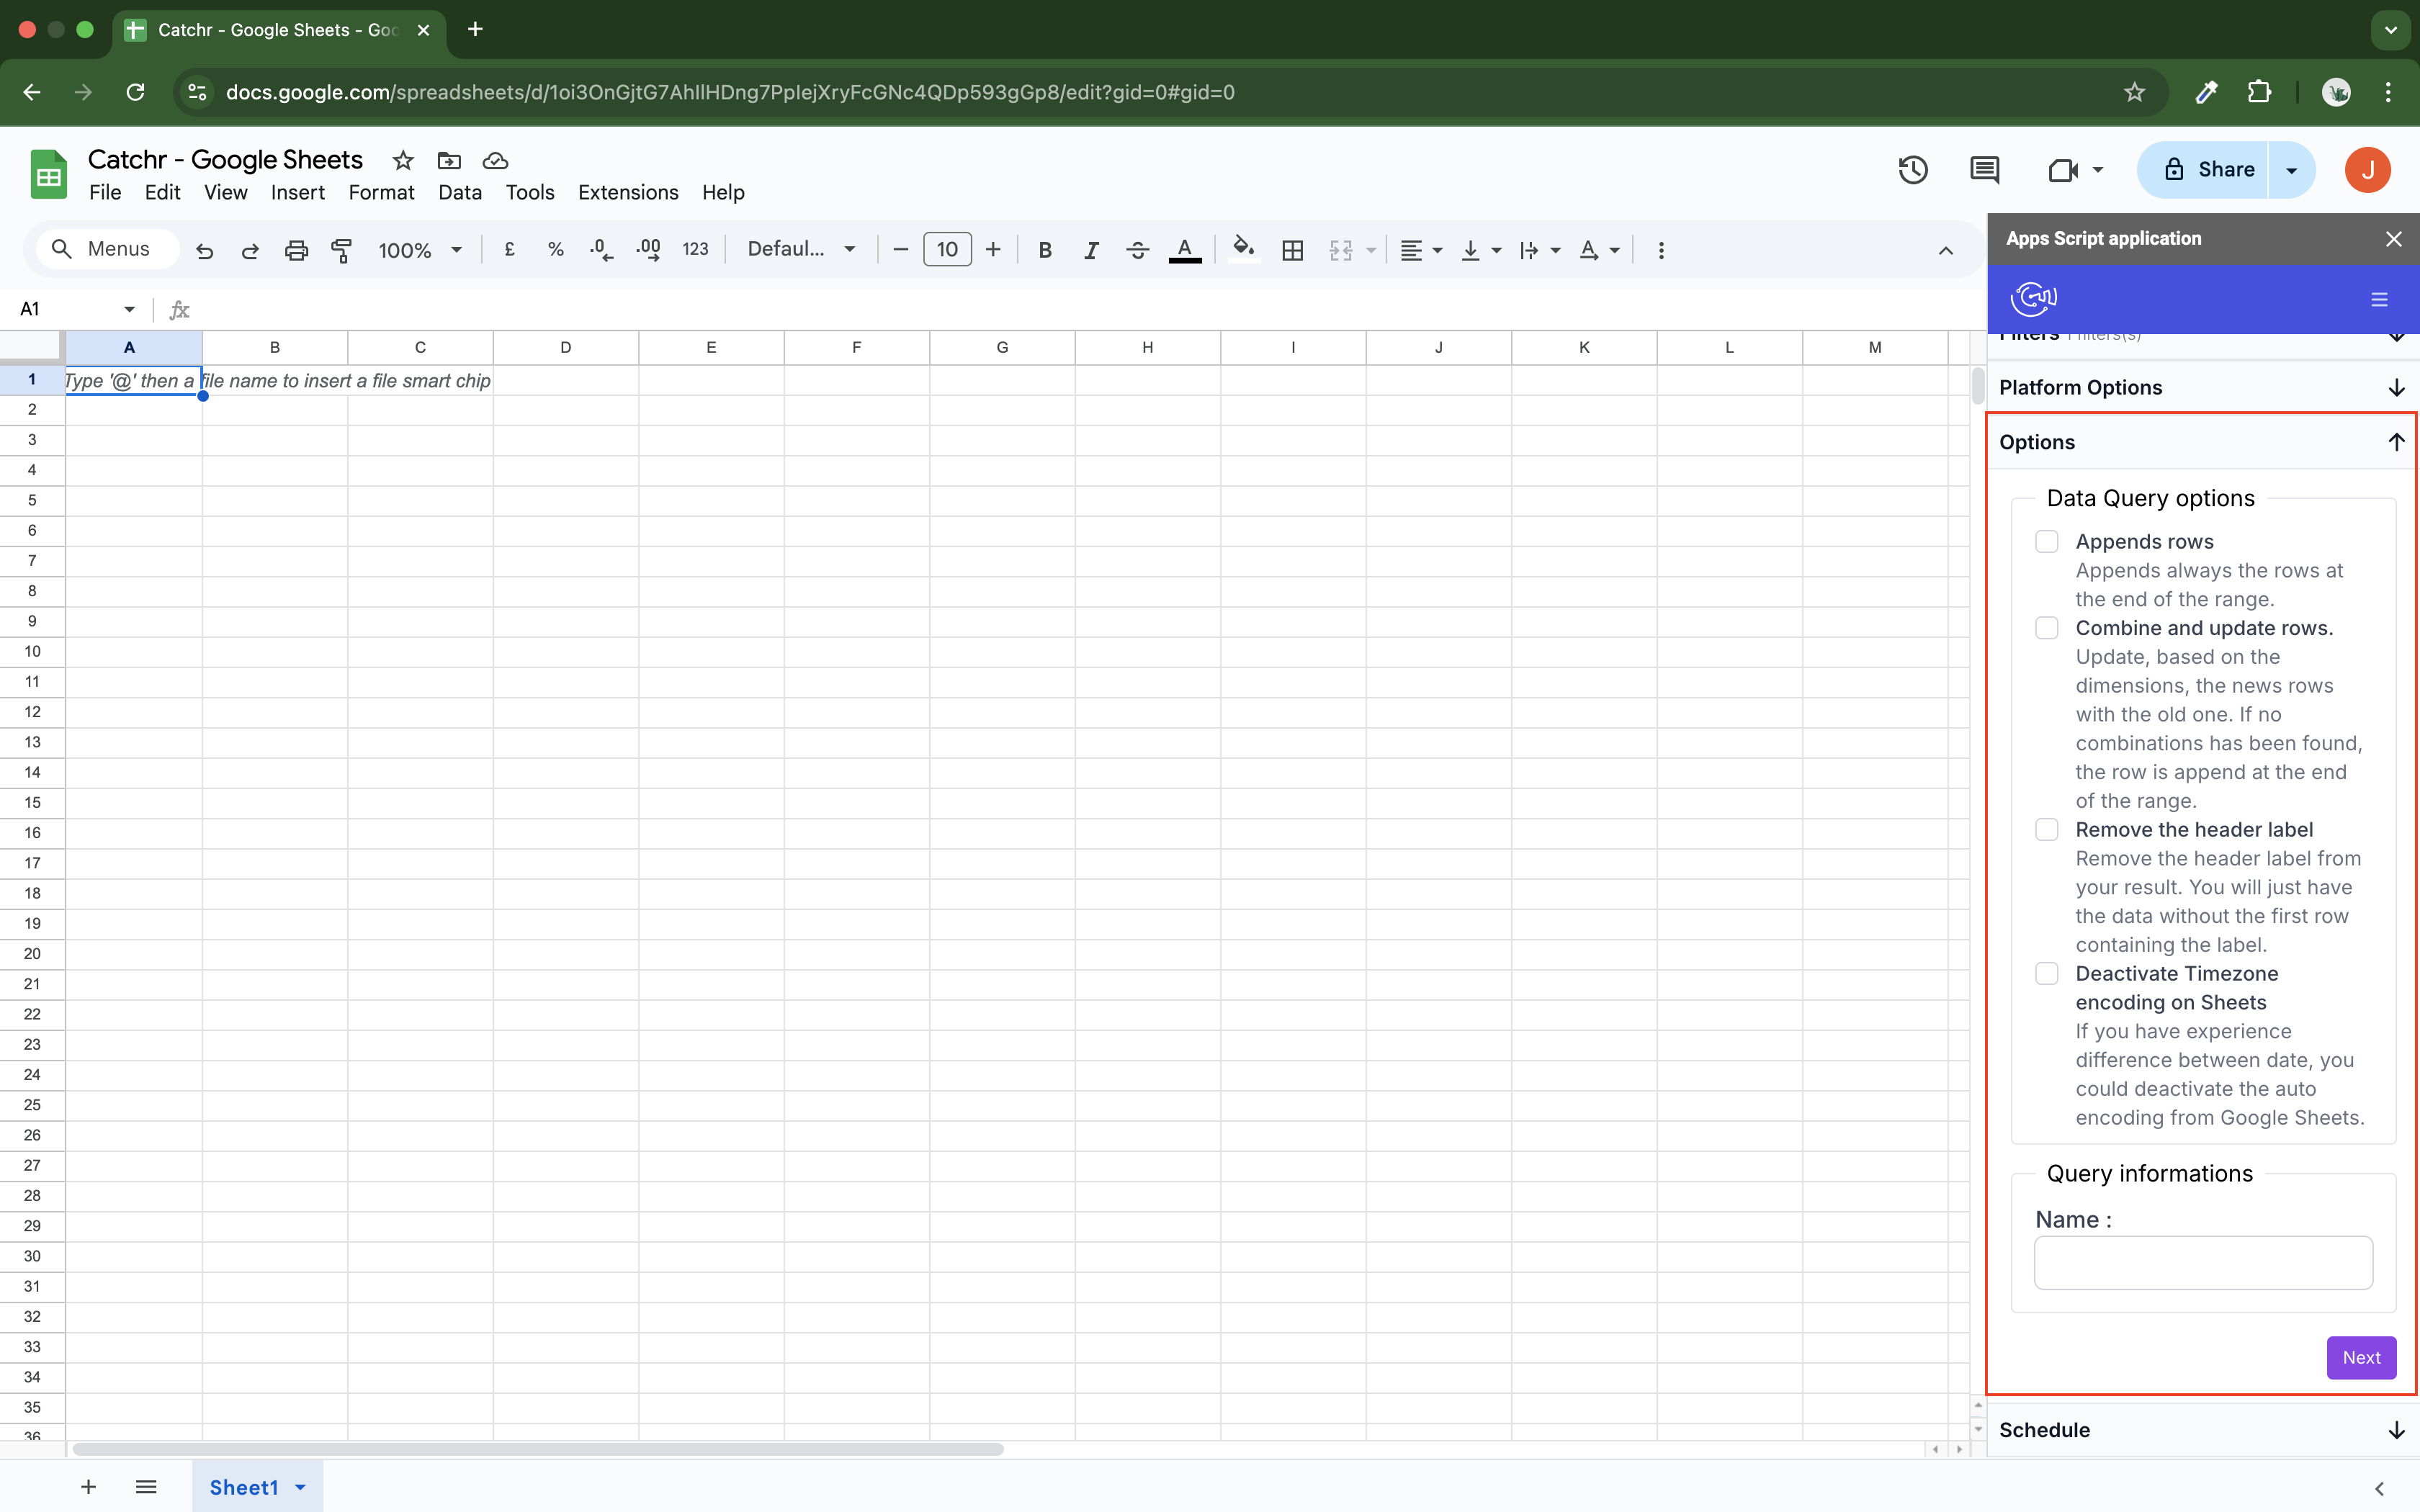
Select options if necessary:
Appends rows: Appends always the rows at the end of the range (if not checked, new data will erase and replace the old data).
Combine and update rows: Update the new rows with the old ones, based on the dimensions. If no combinations are found, the row is appended to the end of the range. (check it to keep old rows updated and add new rows at the end of the existing ones)
Remove the header label: Remove the header label from your result. You will have the data without the first row, which contains the column labels.
Deactivate Timezone encoding on Sheets: If you experience a discrepancy between dates on your platform and in Google Sheets imports, deactivate the auto-encoding feature in Google Sheets.
Name your query (to identify your query in the query list associated with this Google Sheets).
Finally, schedule an auto-refresh if needed. You can refresh your query every hour, day, week, or month.
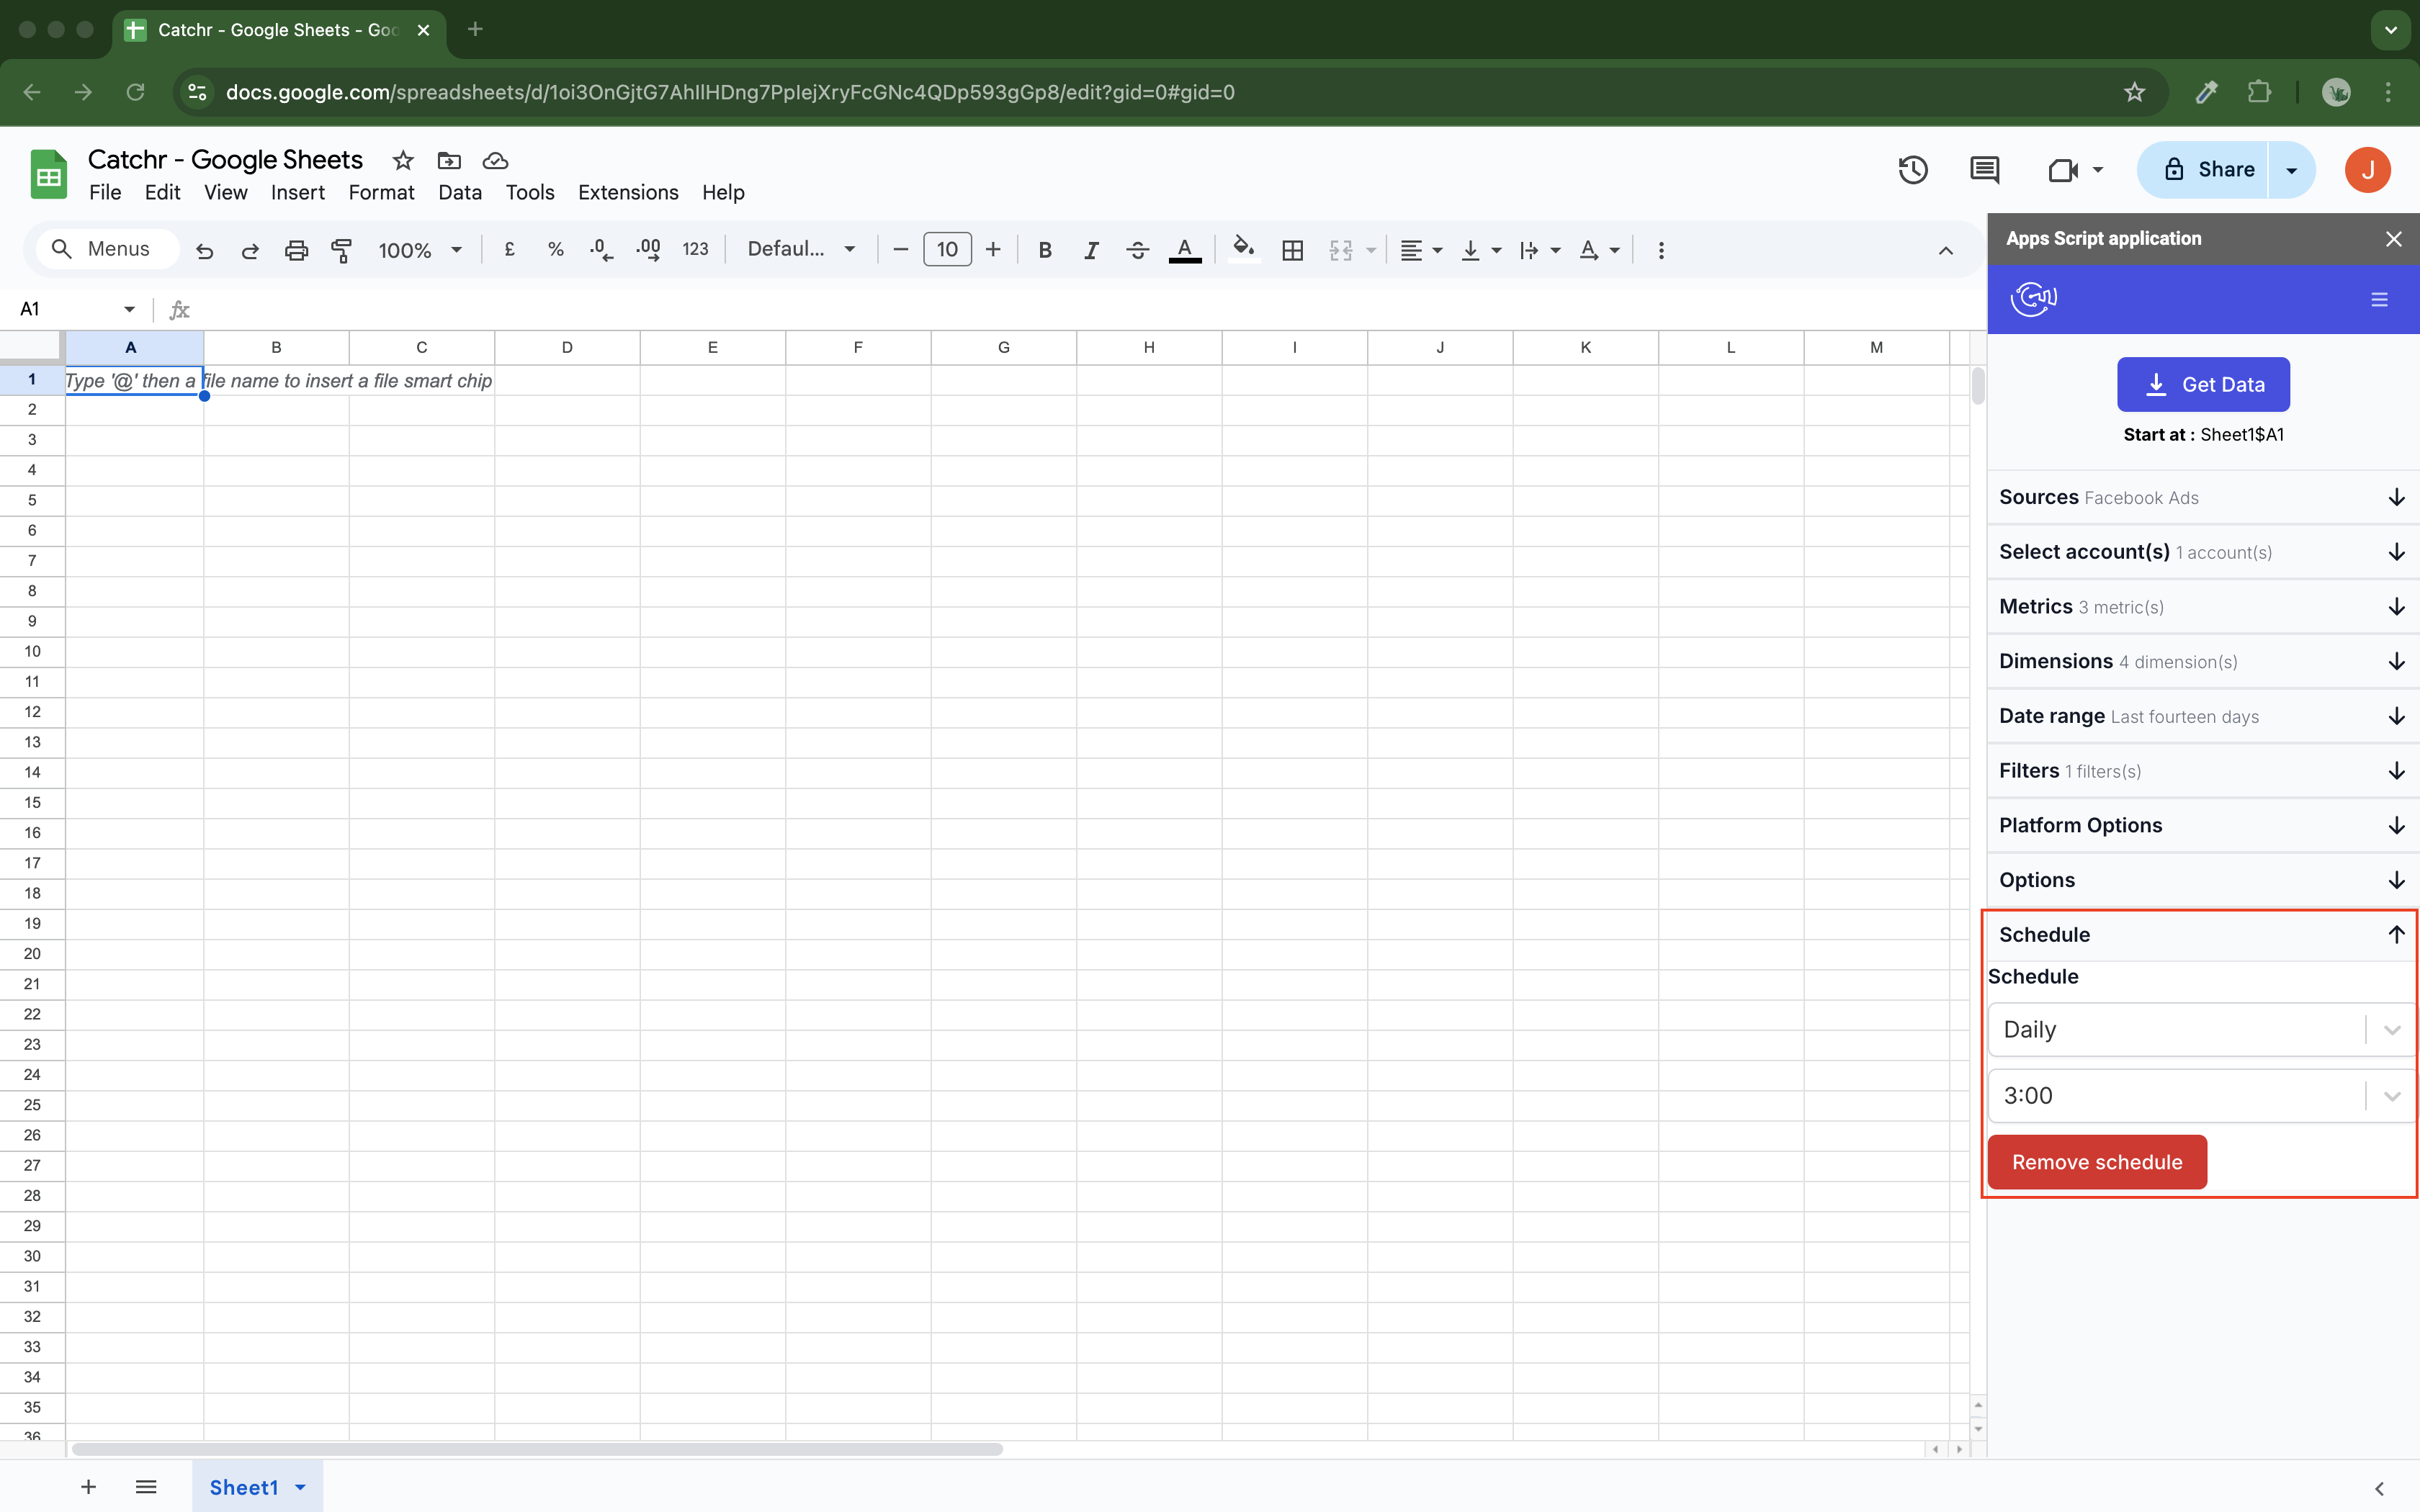
If you have multiple queries with auto refresh and some do not run, consider setting them at different times of the day. When Google Sheets launches multiple queries, it executes them sequentially. If one does not respond, all the others will fail. It's better to have 5 requests each launch at 5 different hours than 5 requests launch at the same time.
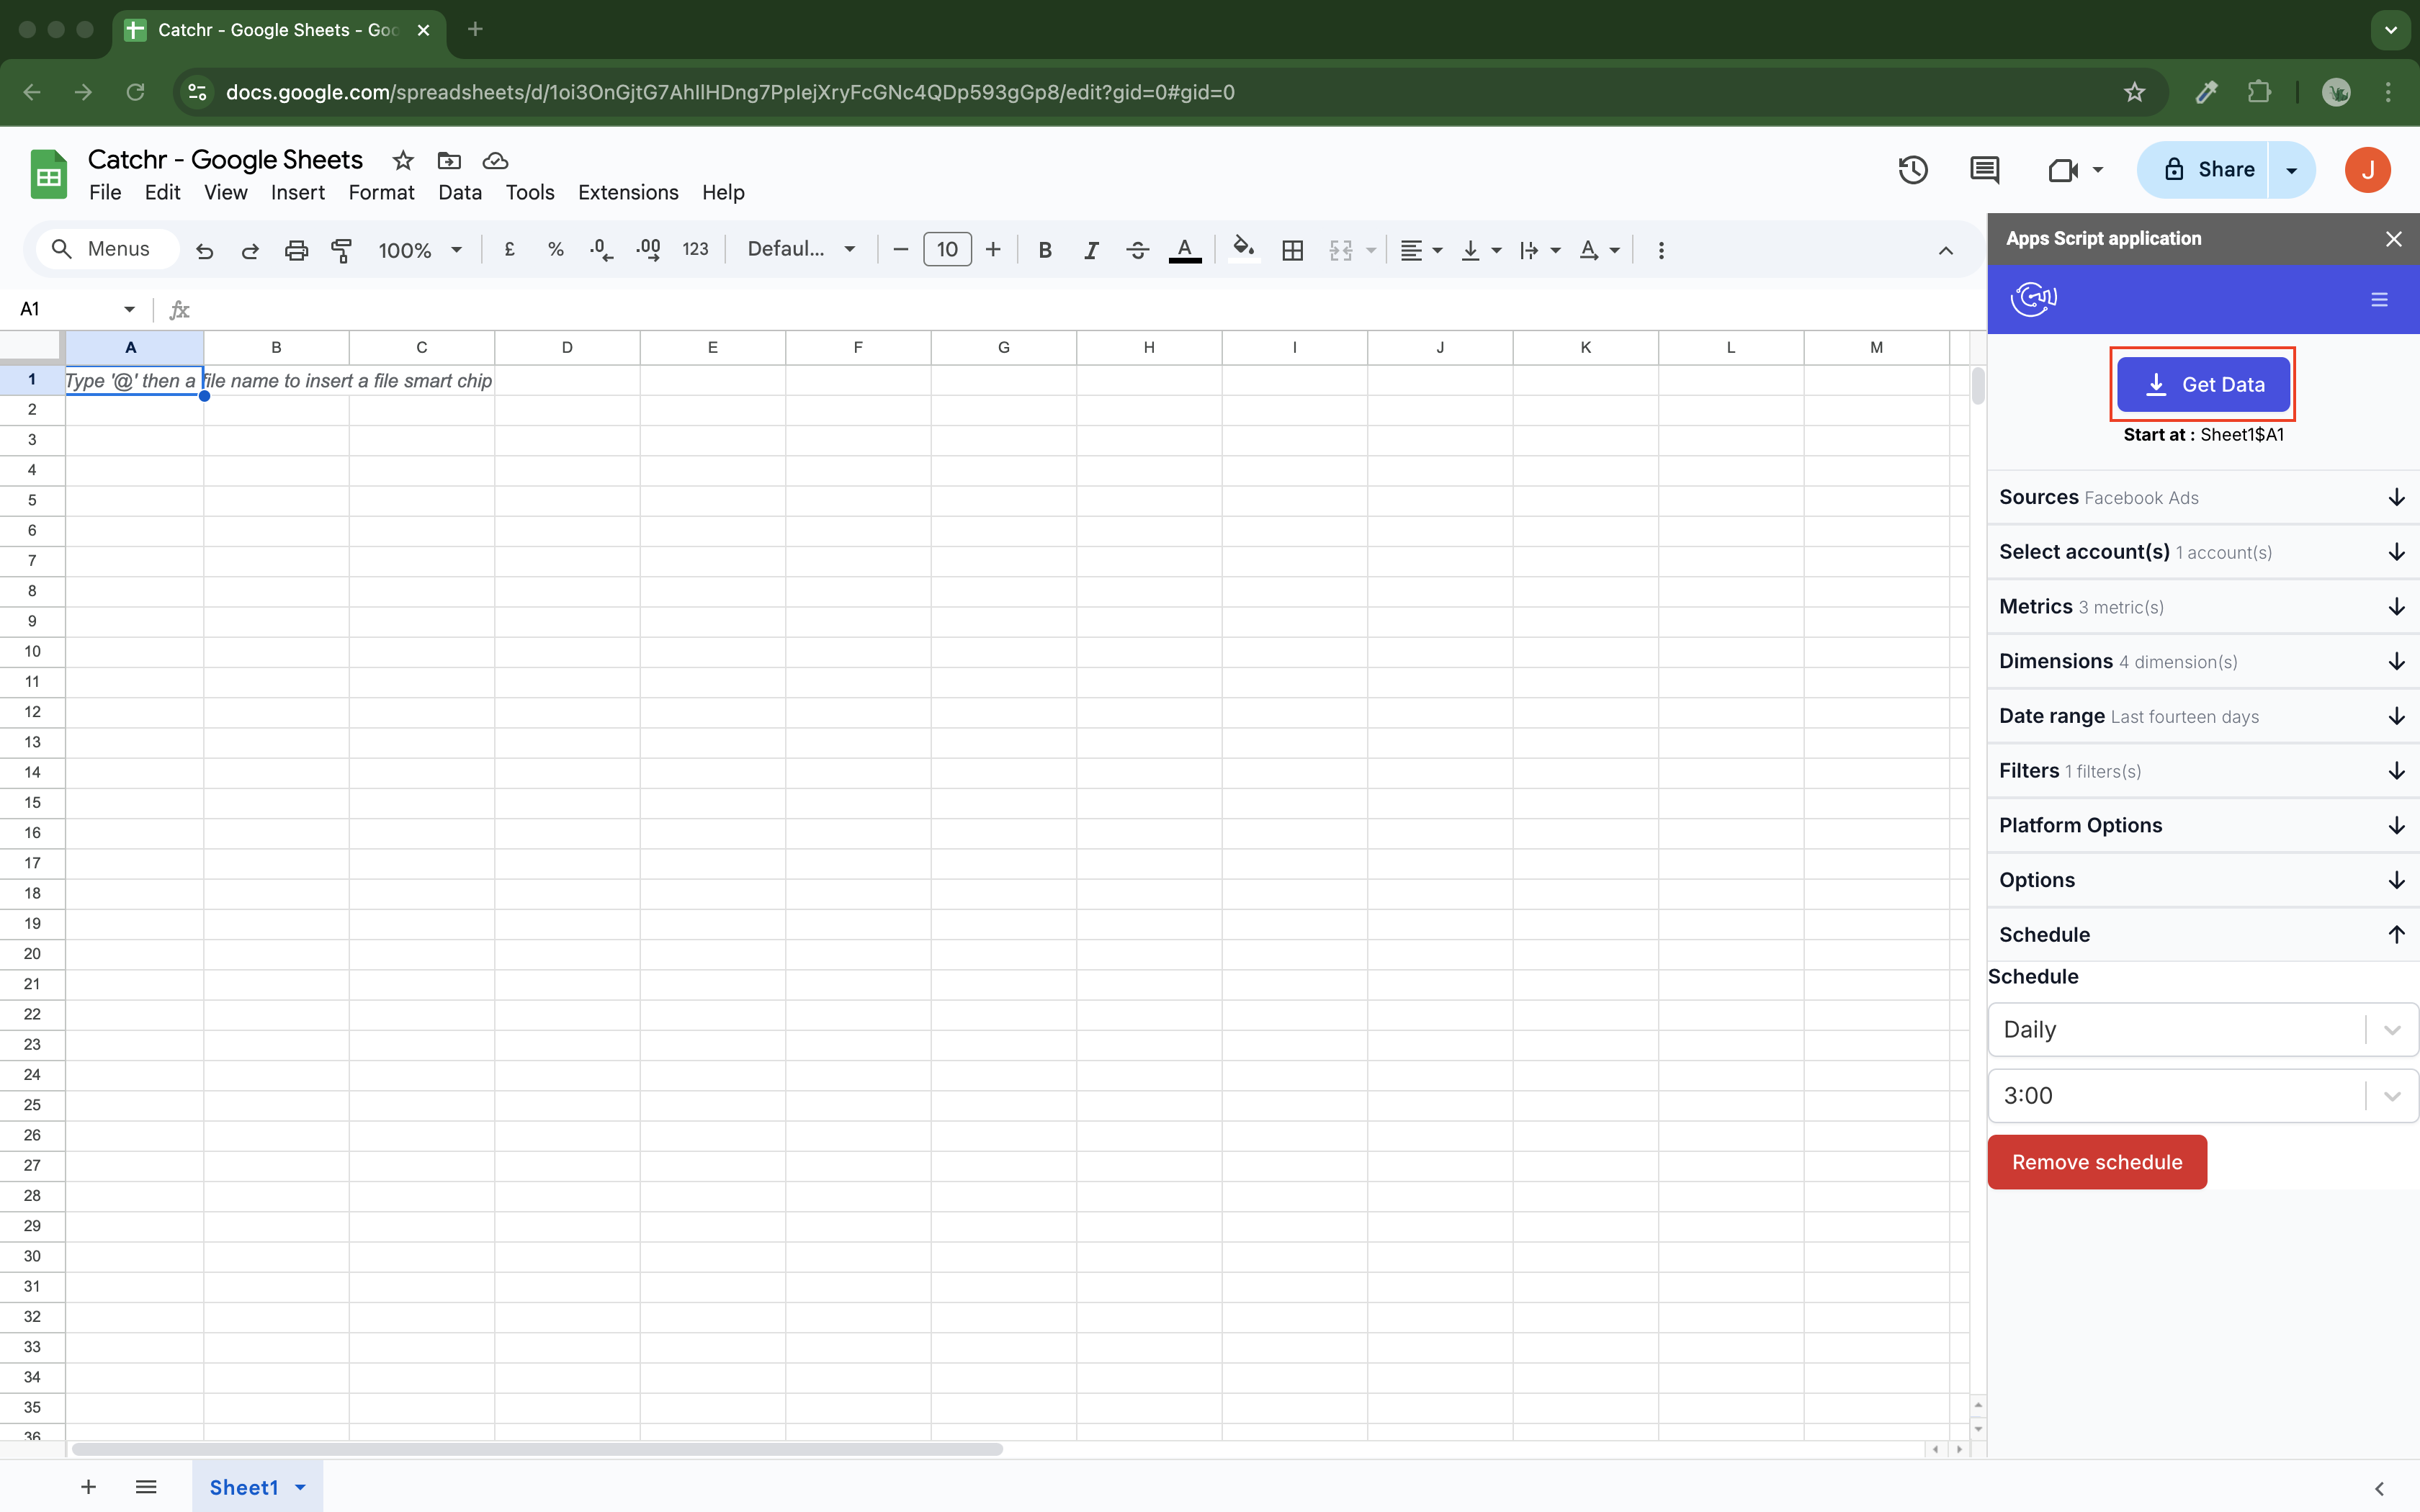
You're almost done! Check which case is selected on your Google Sheets. Your request will start here.
Then, click on Get Data to launch the query.