Before you start, make sure you have the following:
You must be the Store Owner or have a Staff account with the proper rights.
The user must have View access on:
• Orders → View
• Customers → View
• Products → View
These let the API read the store’s data.
App development → View apps developed by staff and collaborators → Develop
Enable development
Manage and install apps and channels
These permissions let the user create and install a Custom App for API access.
To configure the Shopify Staff permissions in Shopify, follow the guidance in this help article:
https://help.catchr.io/en/articles/164-create-a-shopify-staff-account-with-the-right-permissions-to-generate-an-api-key-for-catchr
Log in to your Shopify Admin as Owner or Staff with permissions.
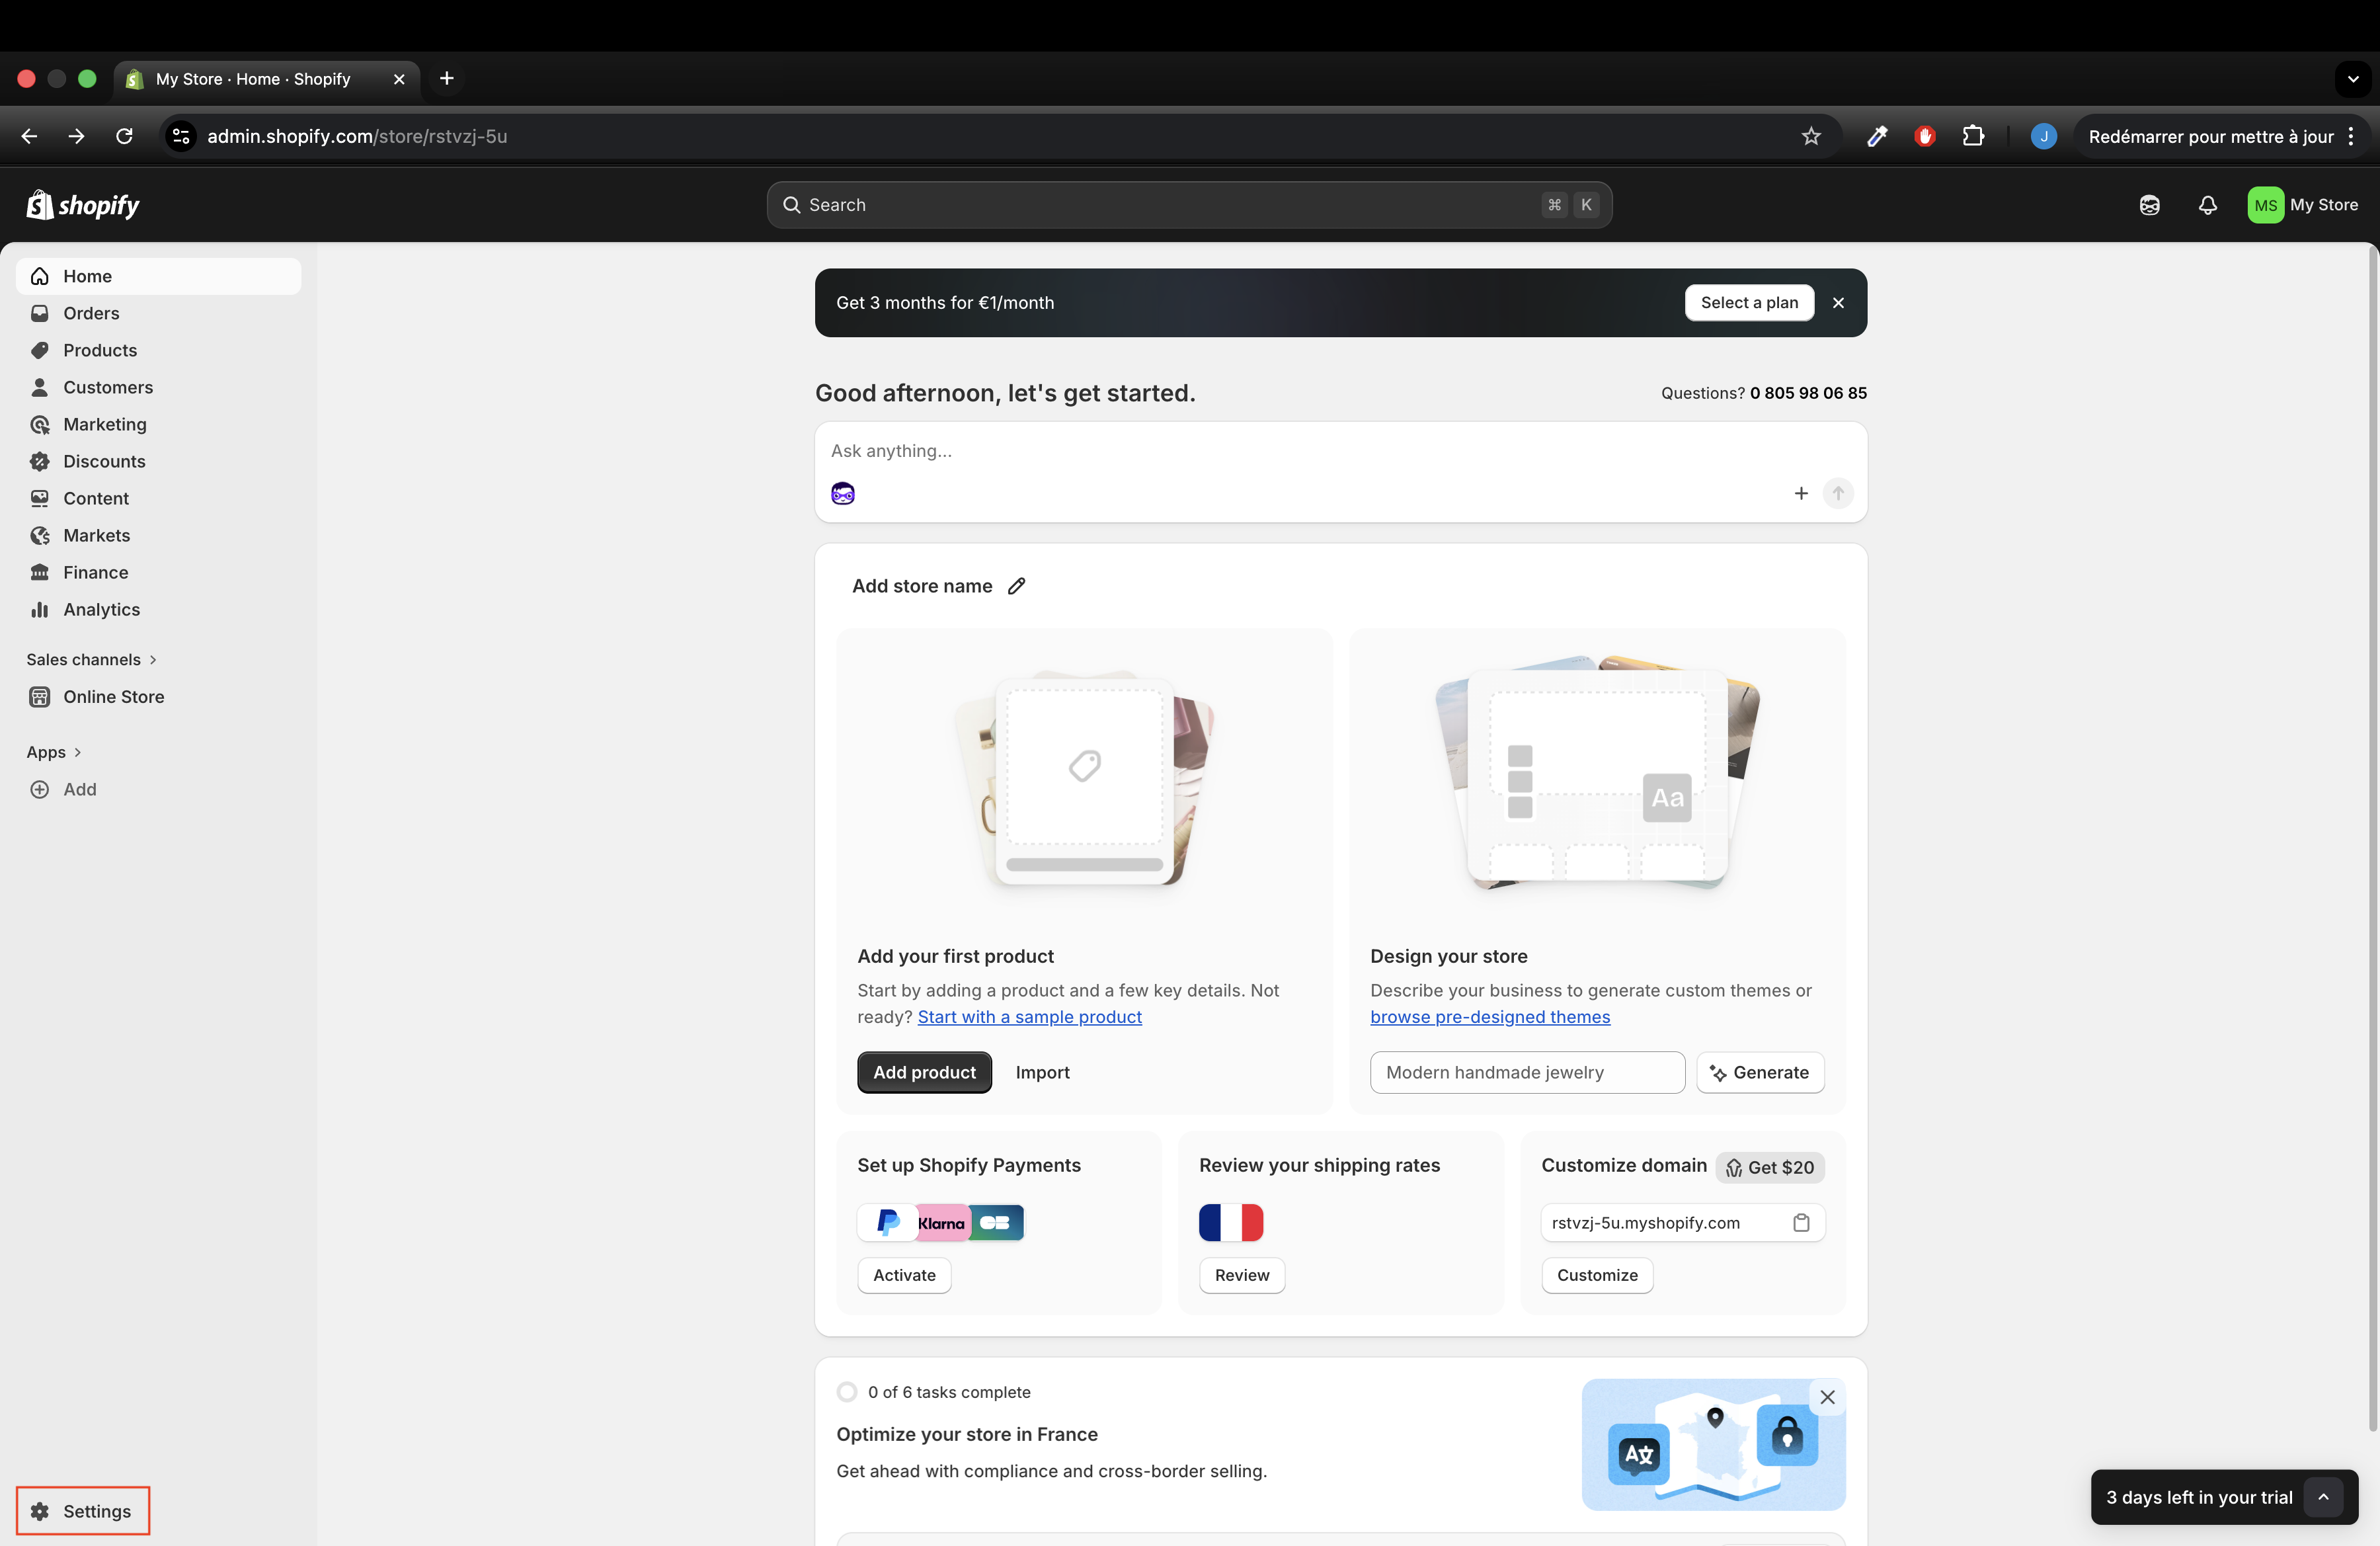
Go to Settings
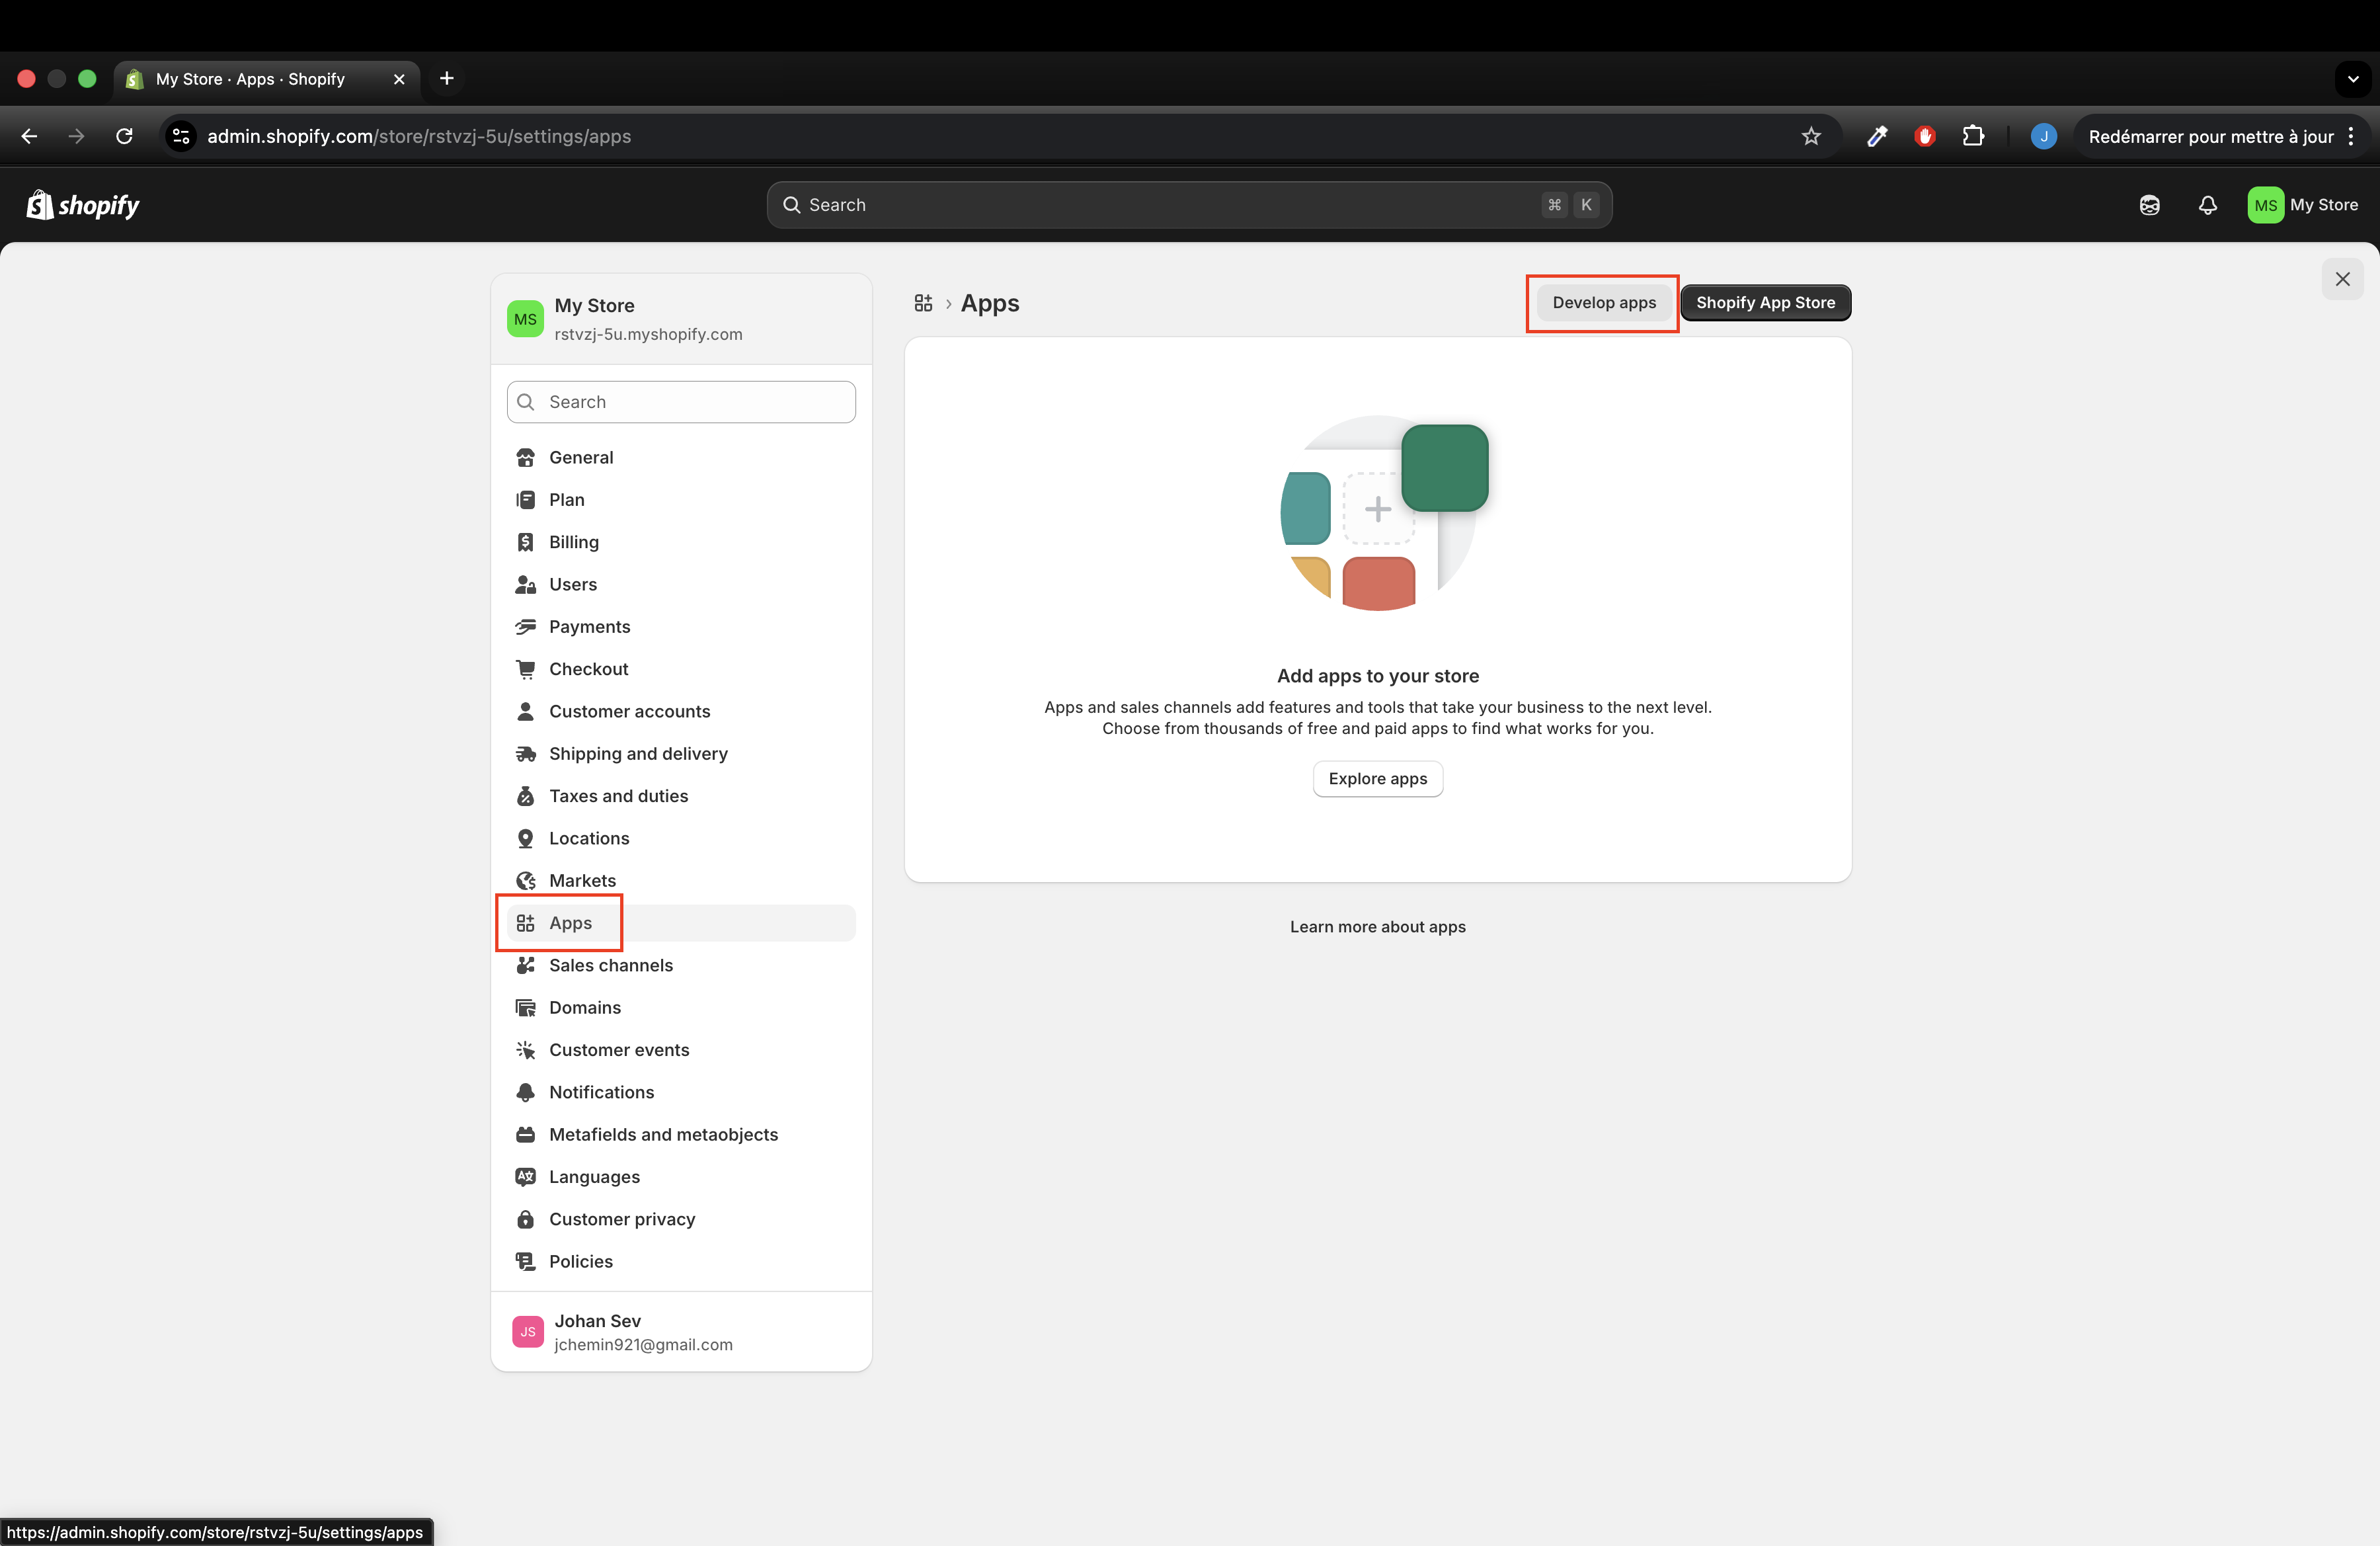
Go to Apps in the Shopify admin then click Develop apps
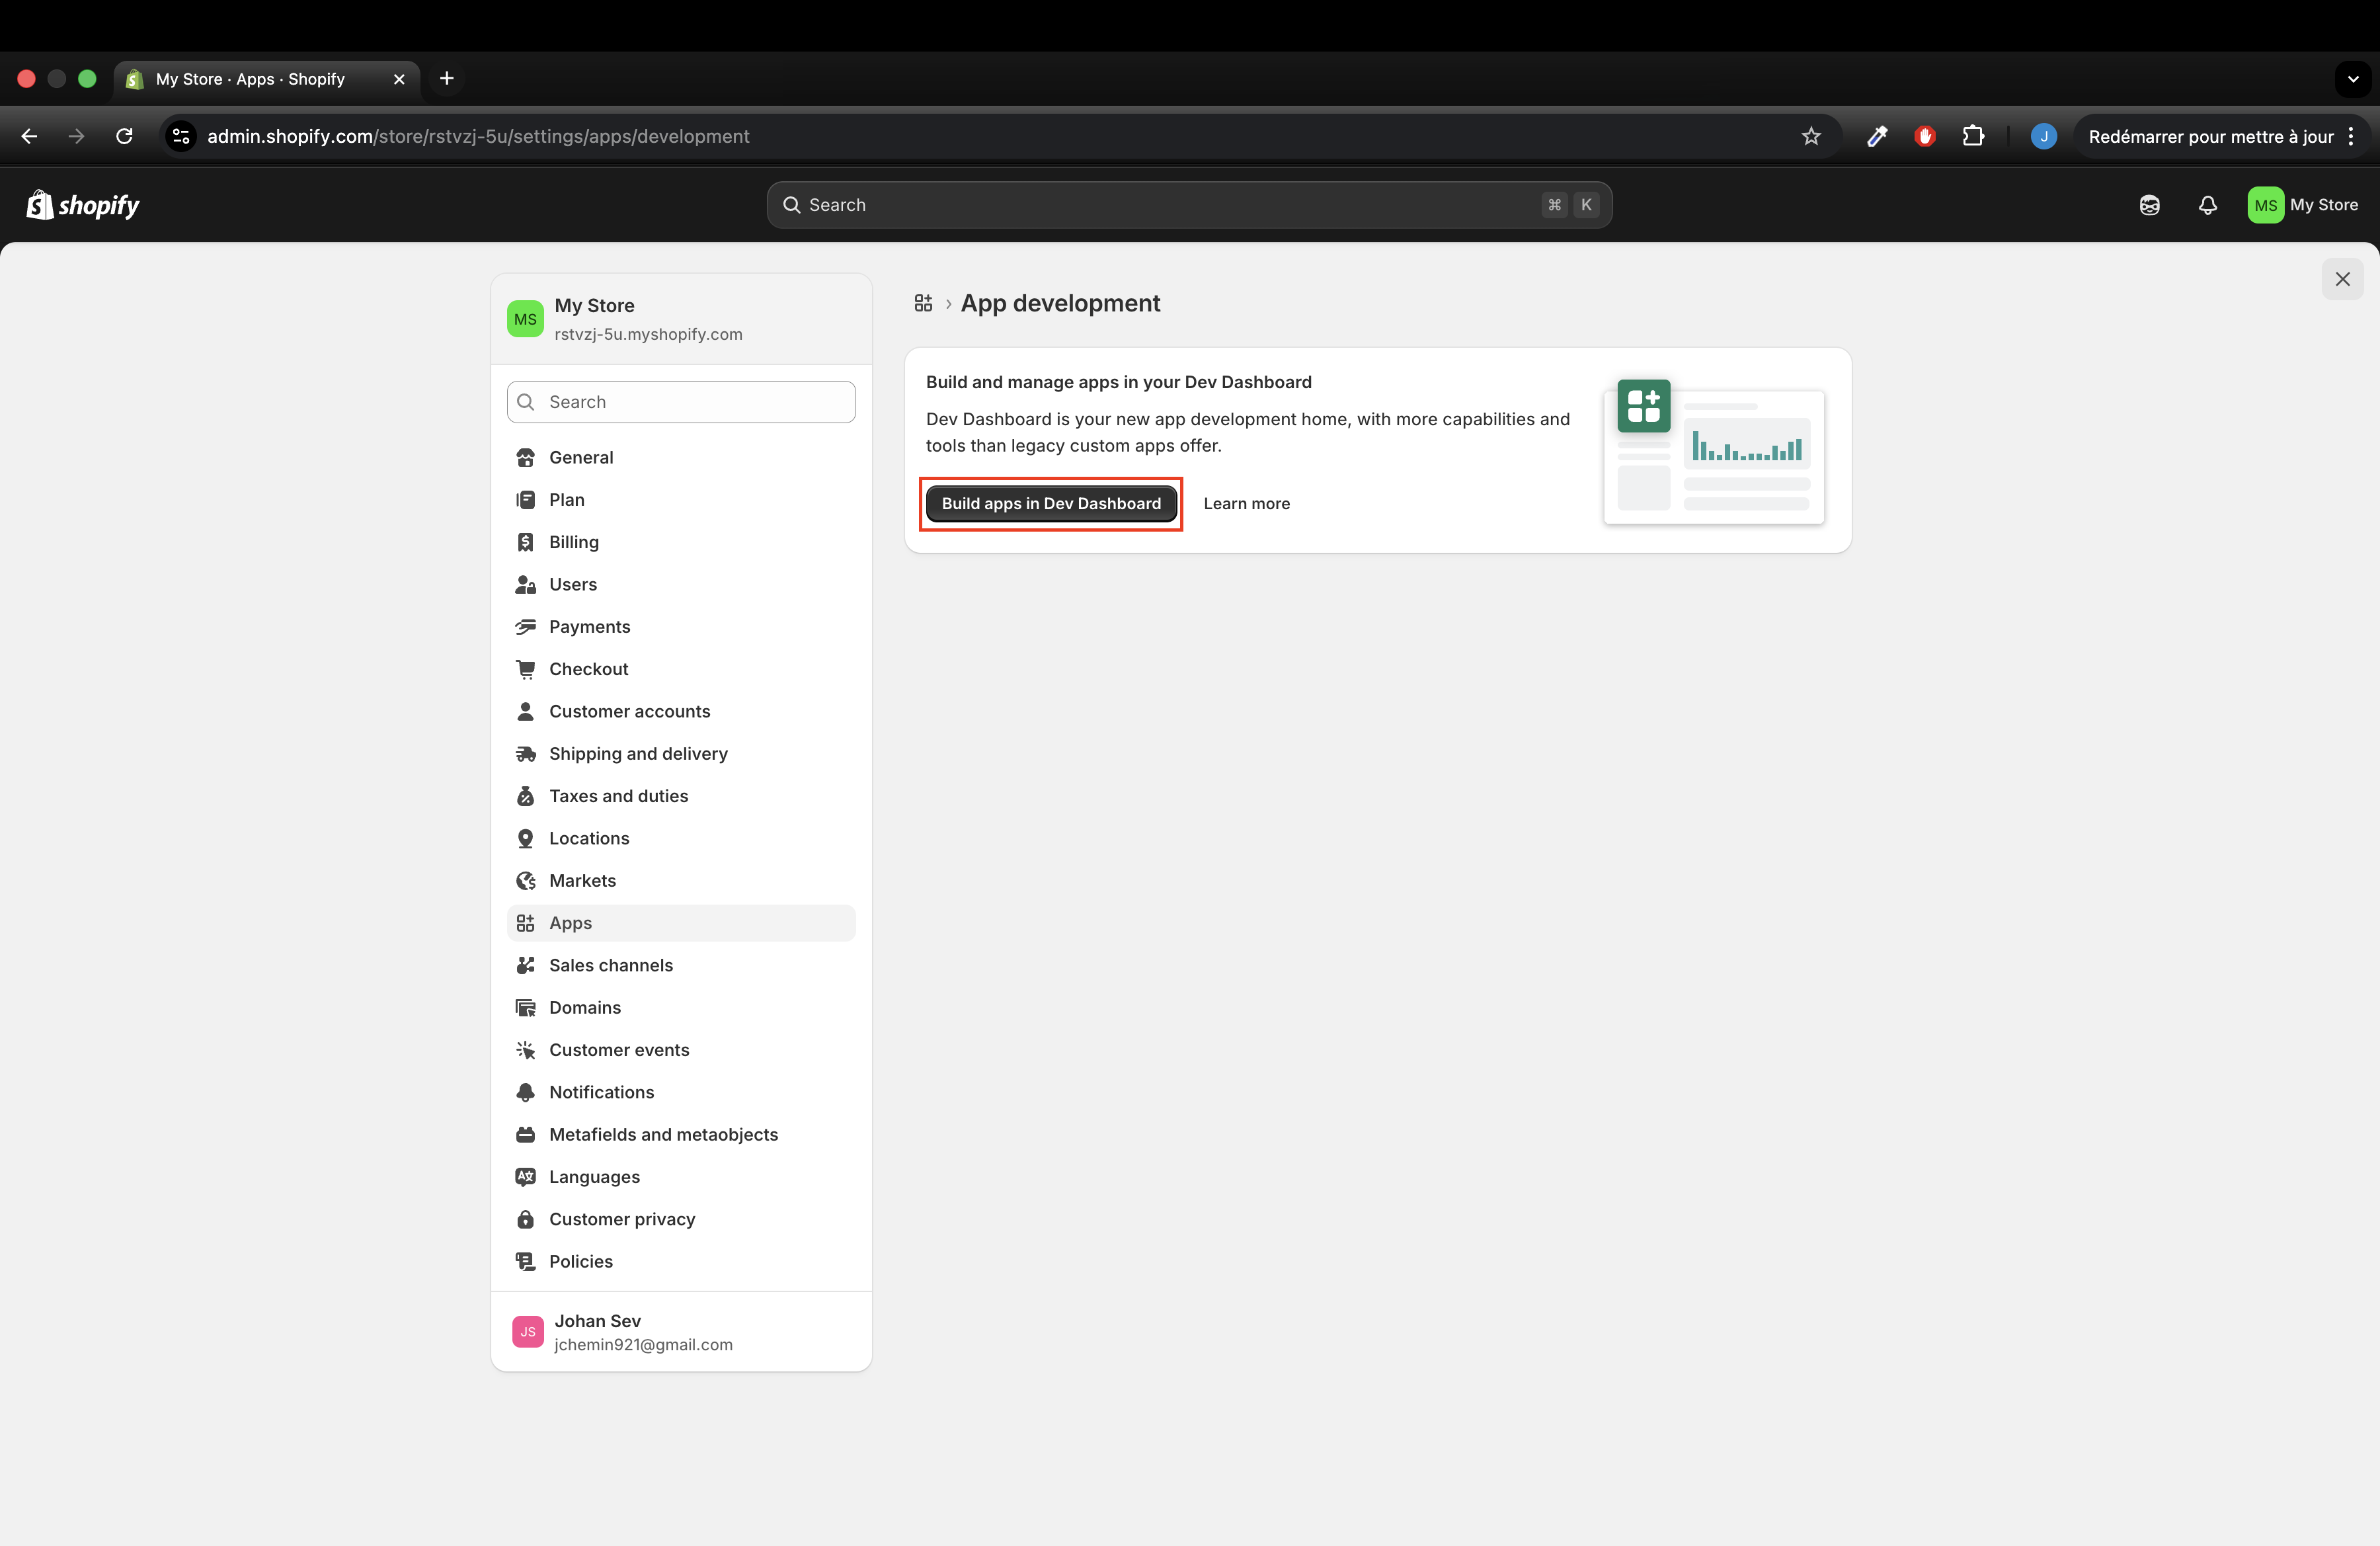
Click Build apps in the Dev Dashboard.
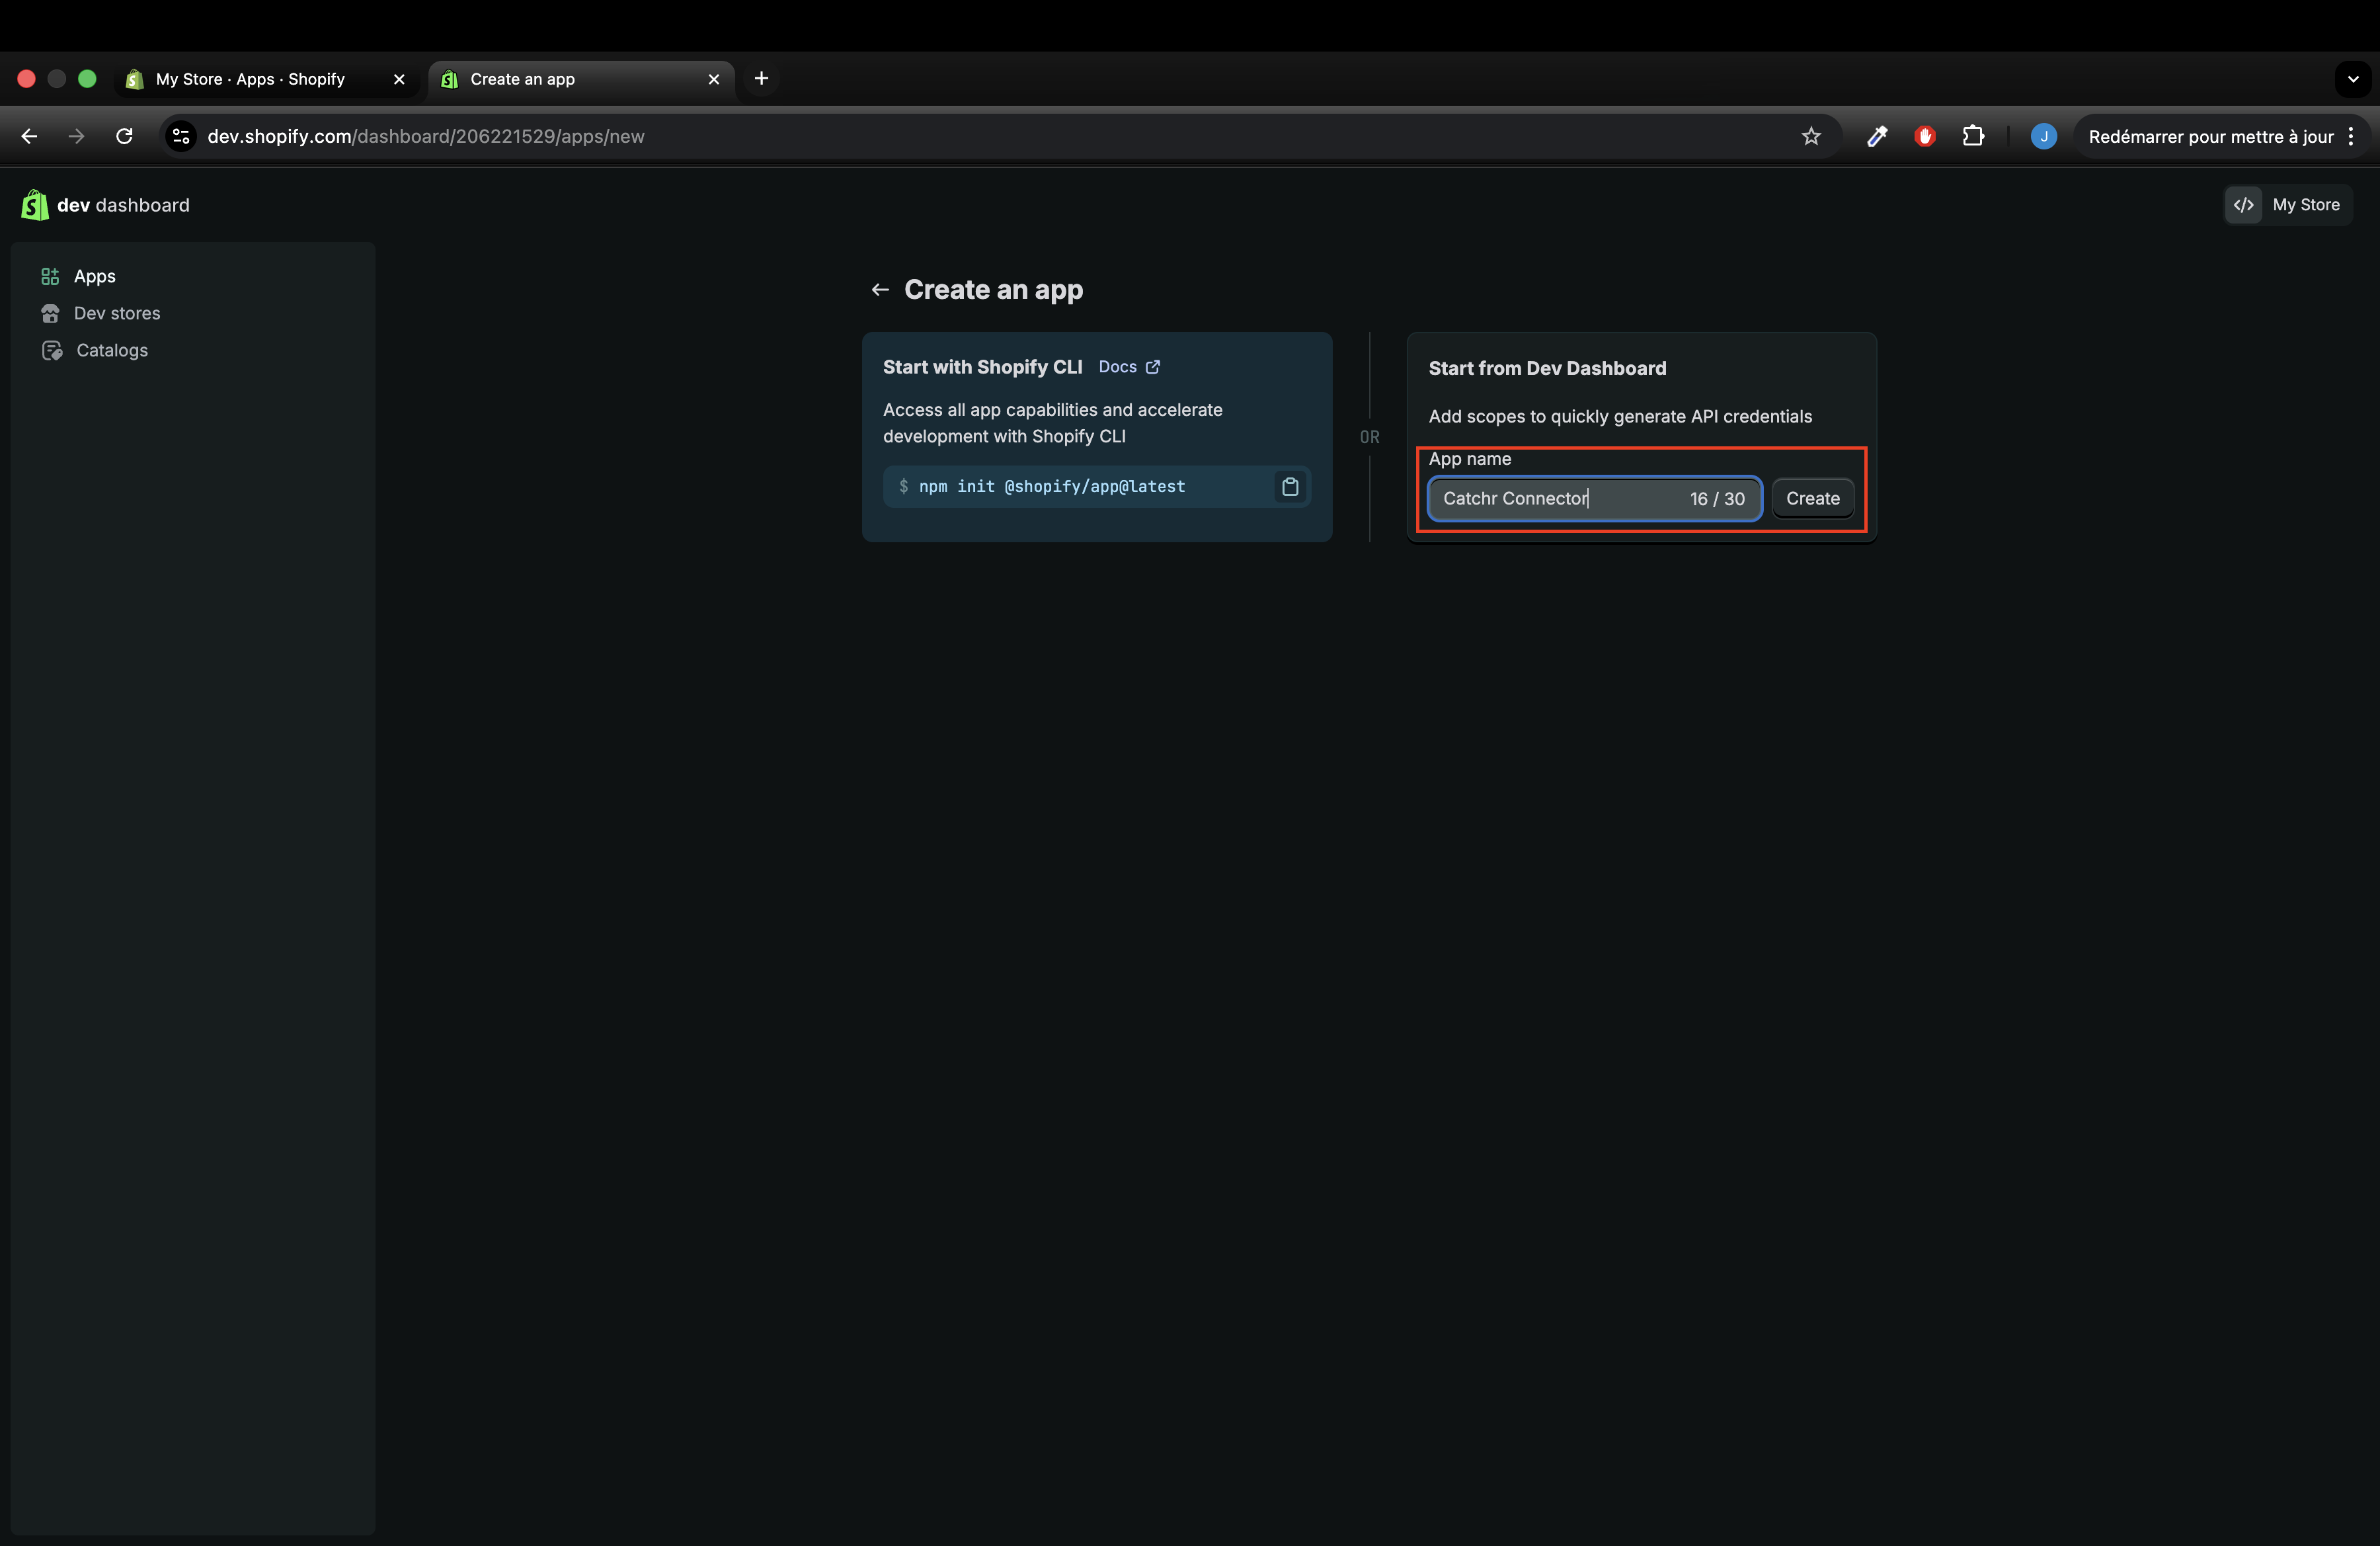
Create a new app
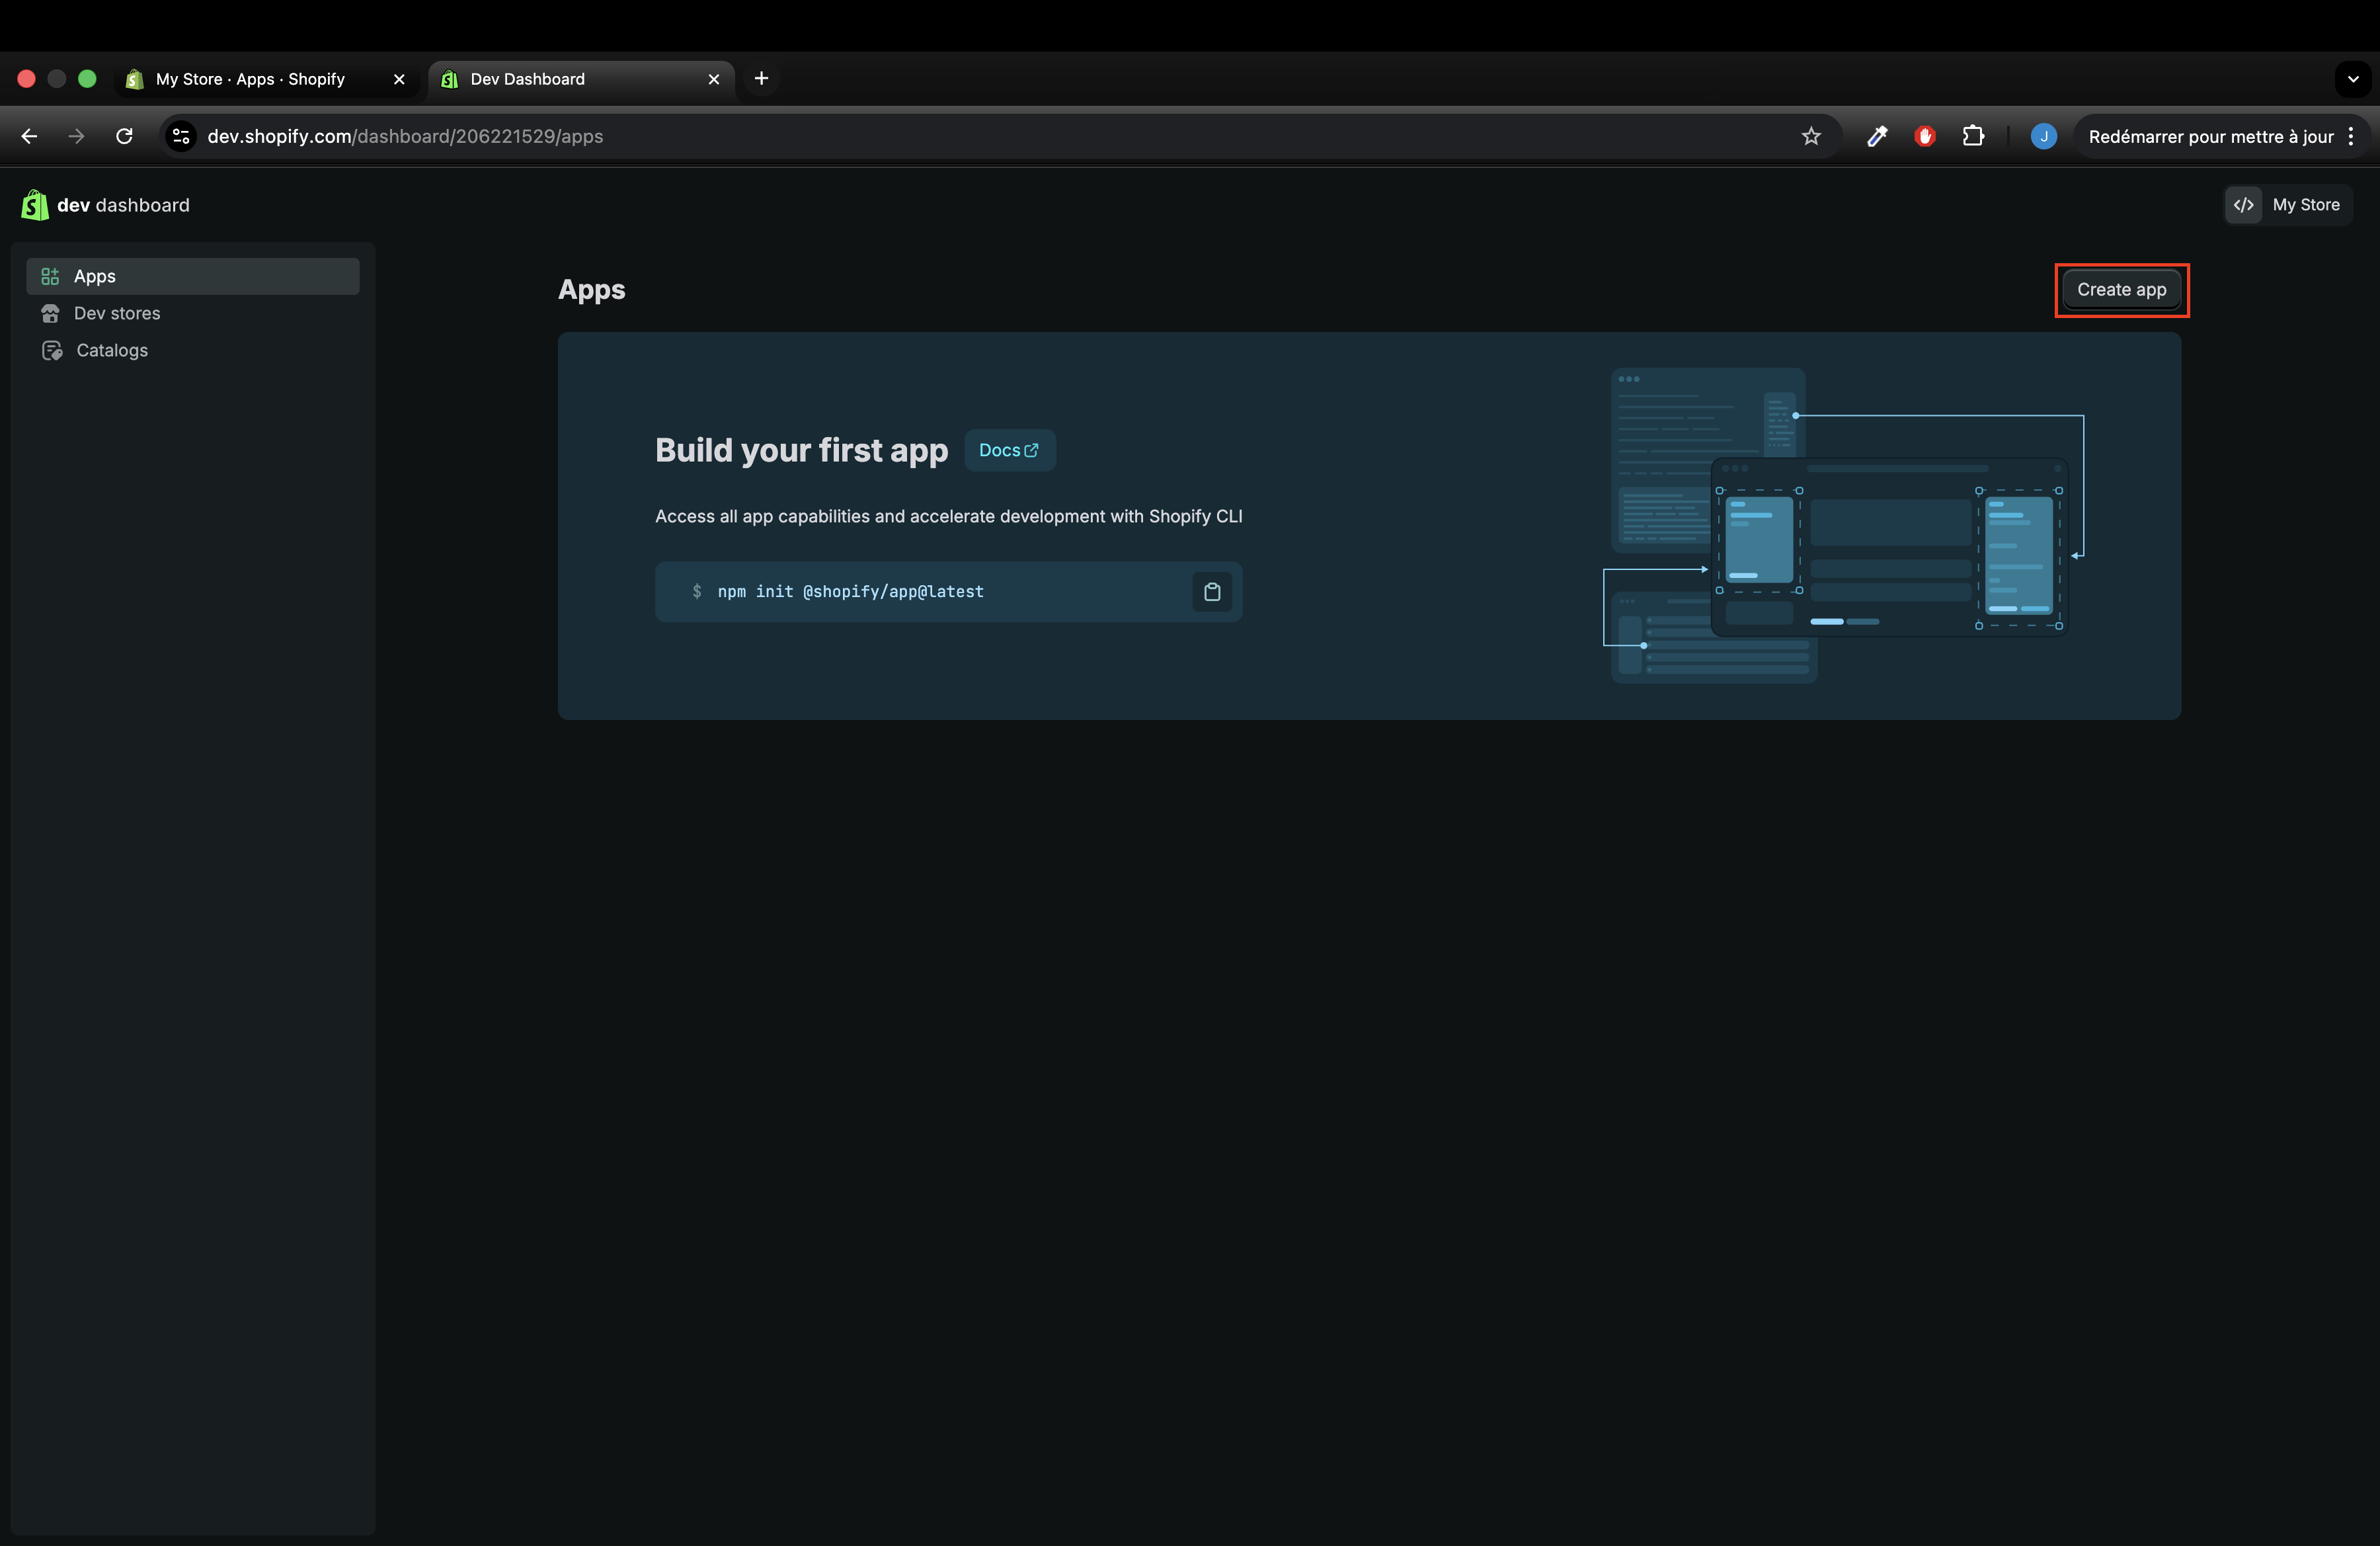
Give it a name like Catchr Connector and click Create.
In URLs → App URL, enter “https://app.catchr.io” and uncheck “Embed app in Shopify admin”

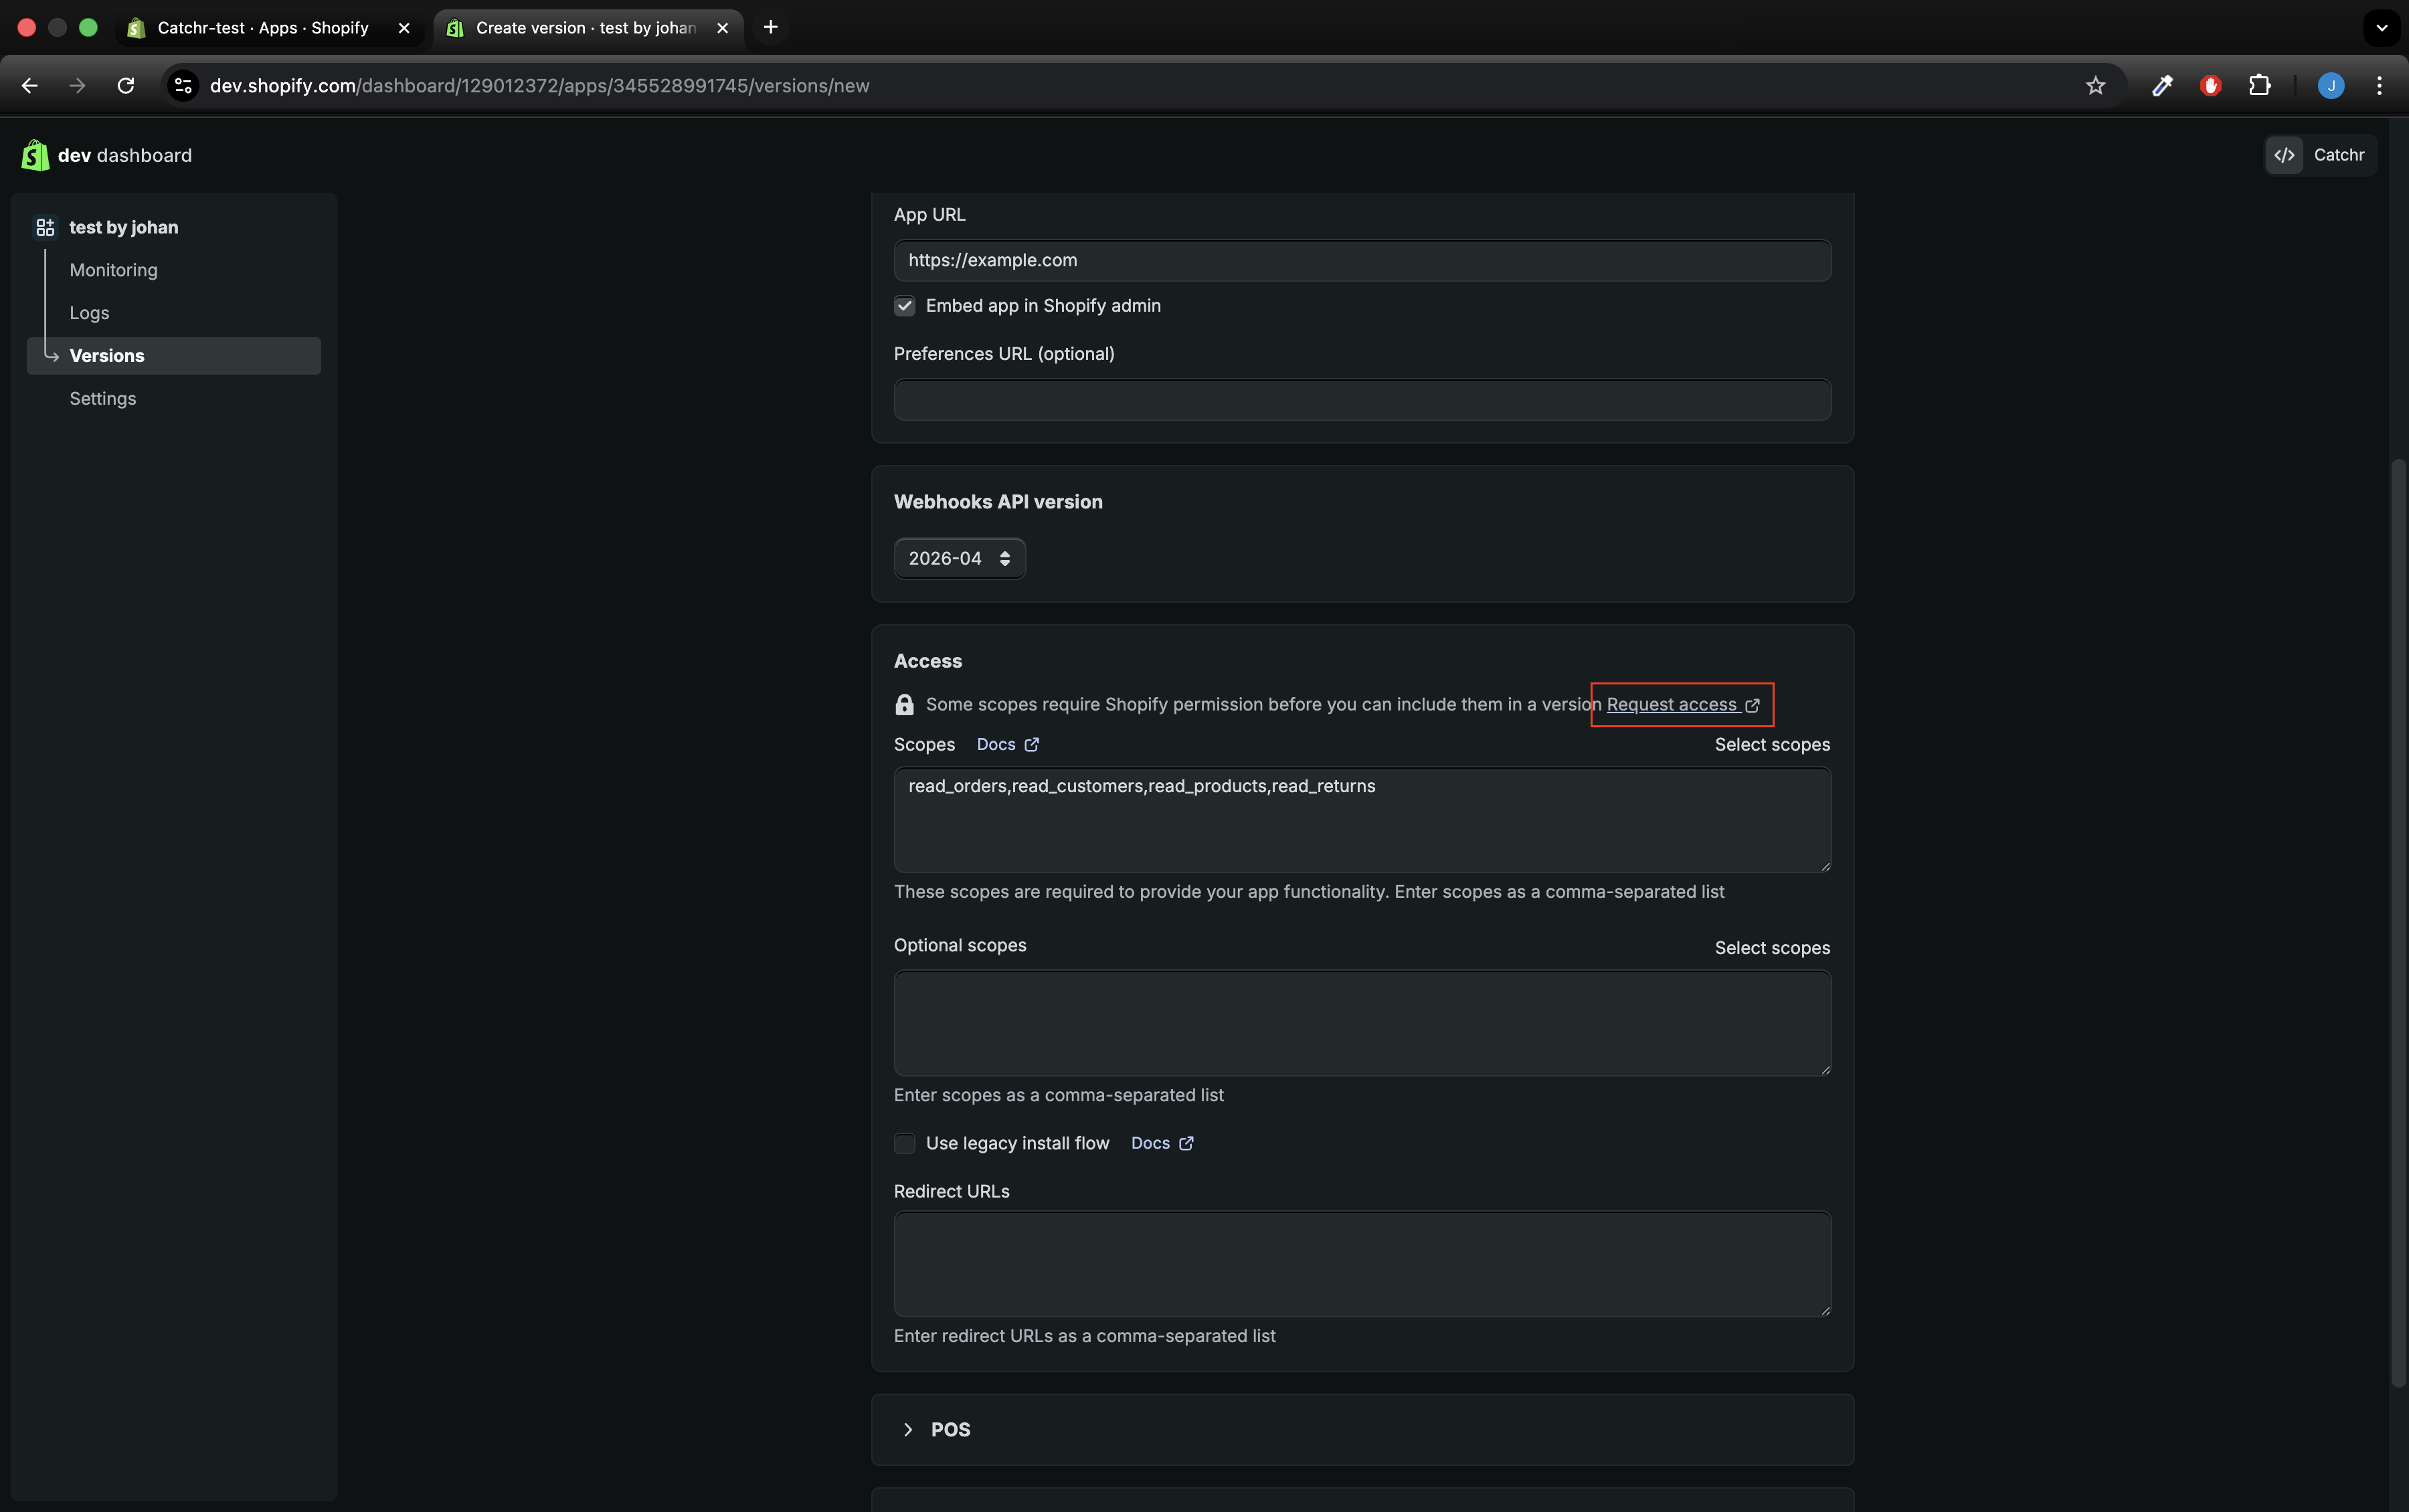
In Access → scopes, paste theses scopes: “read_all_orders,read_orders,read_customers,read_products,read_returns”
! Note: The read_all_orders scope must be explicitly requested before it can be added to your app.
How to request the read_all_orders scope?
In your Shopify app settings, click the “Request access” button located above the scopes field.
You will be redirected to the API access requests page. On this page, locate the “Read all orders” section and click “Request access” again.
In the explanation field, asking why your app requires access to older orders, enter: “Read all historical orders data.”
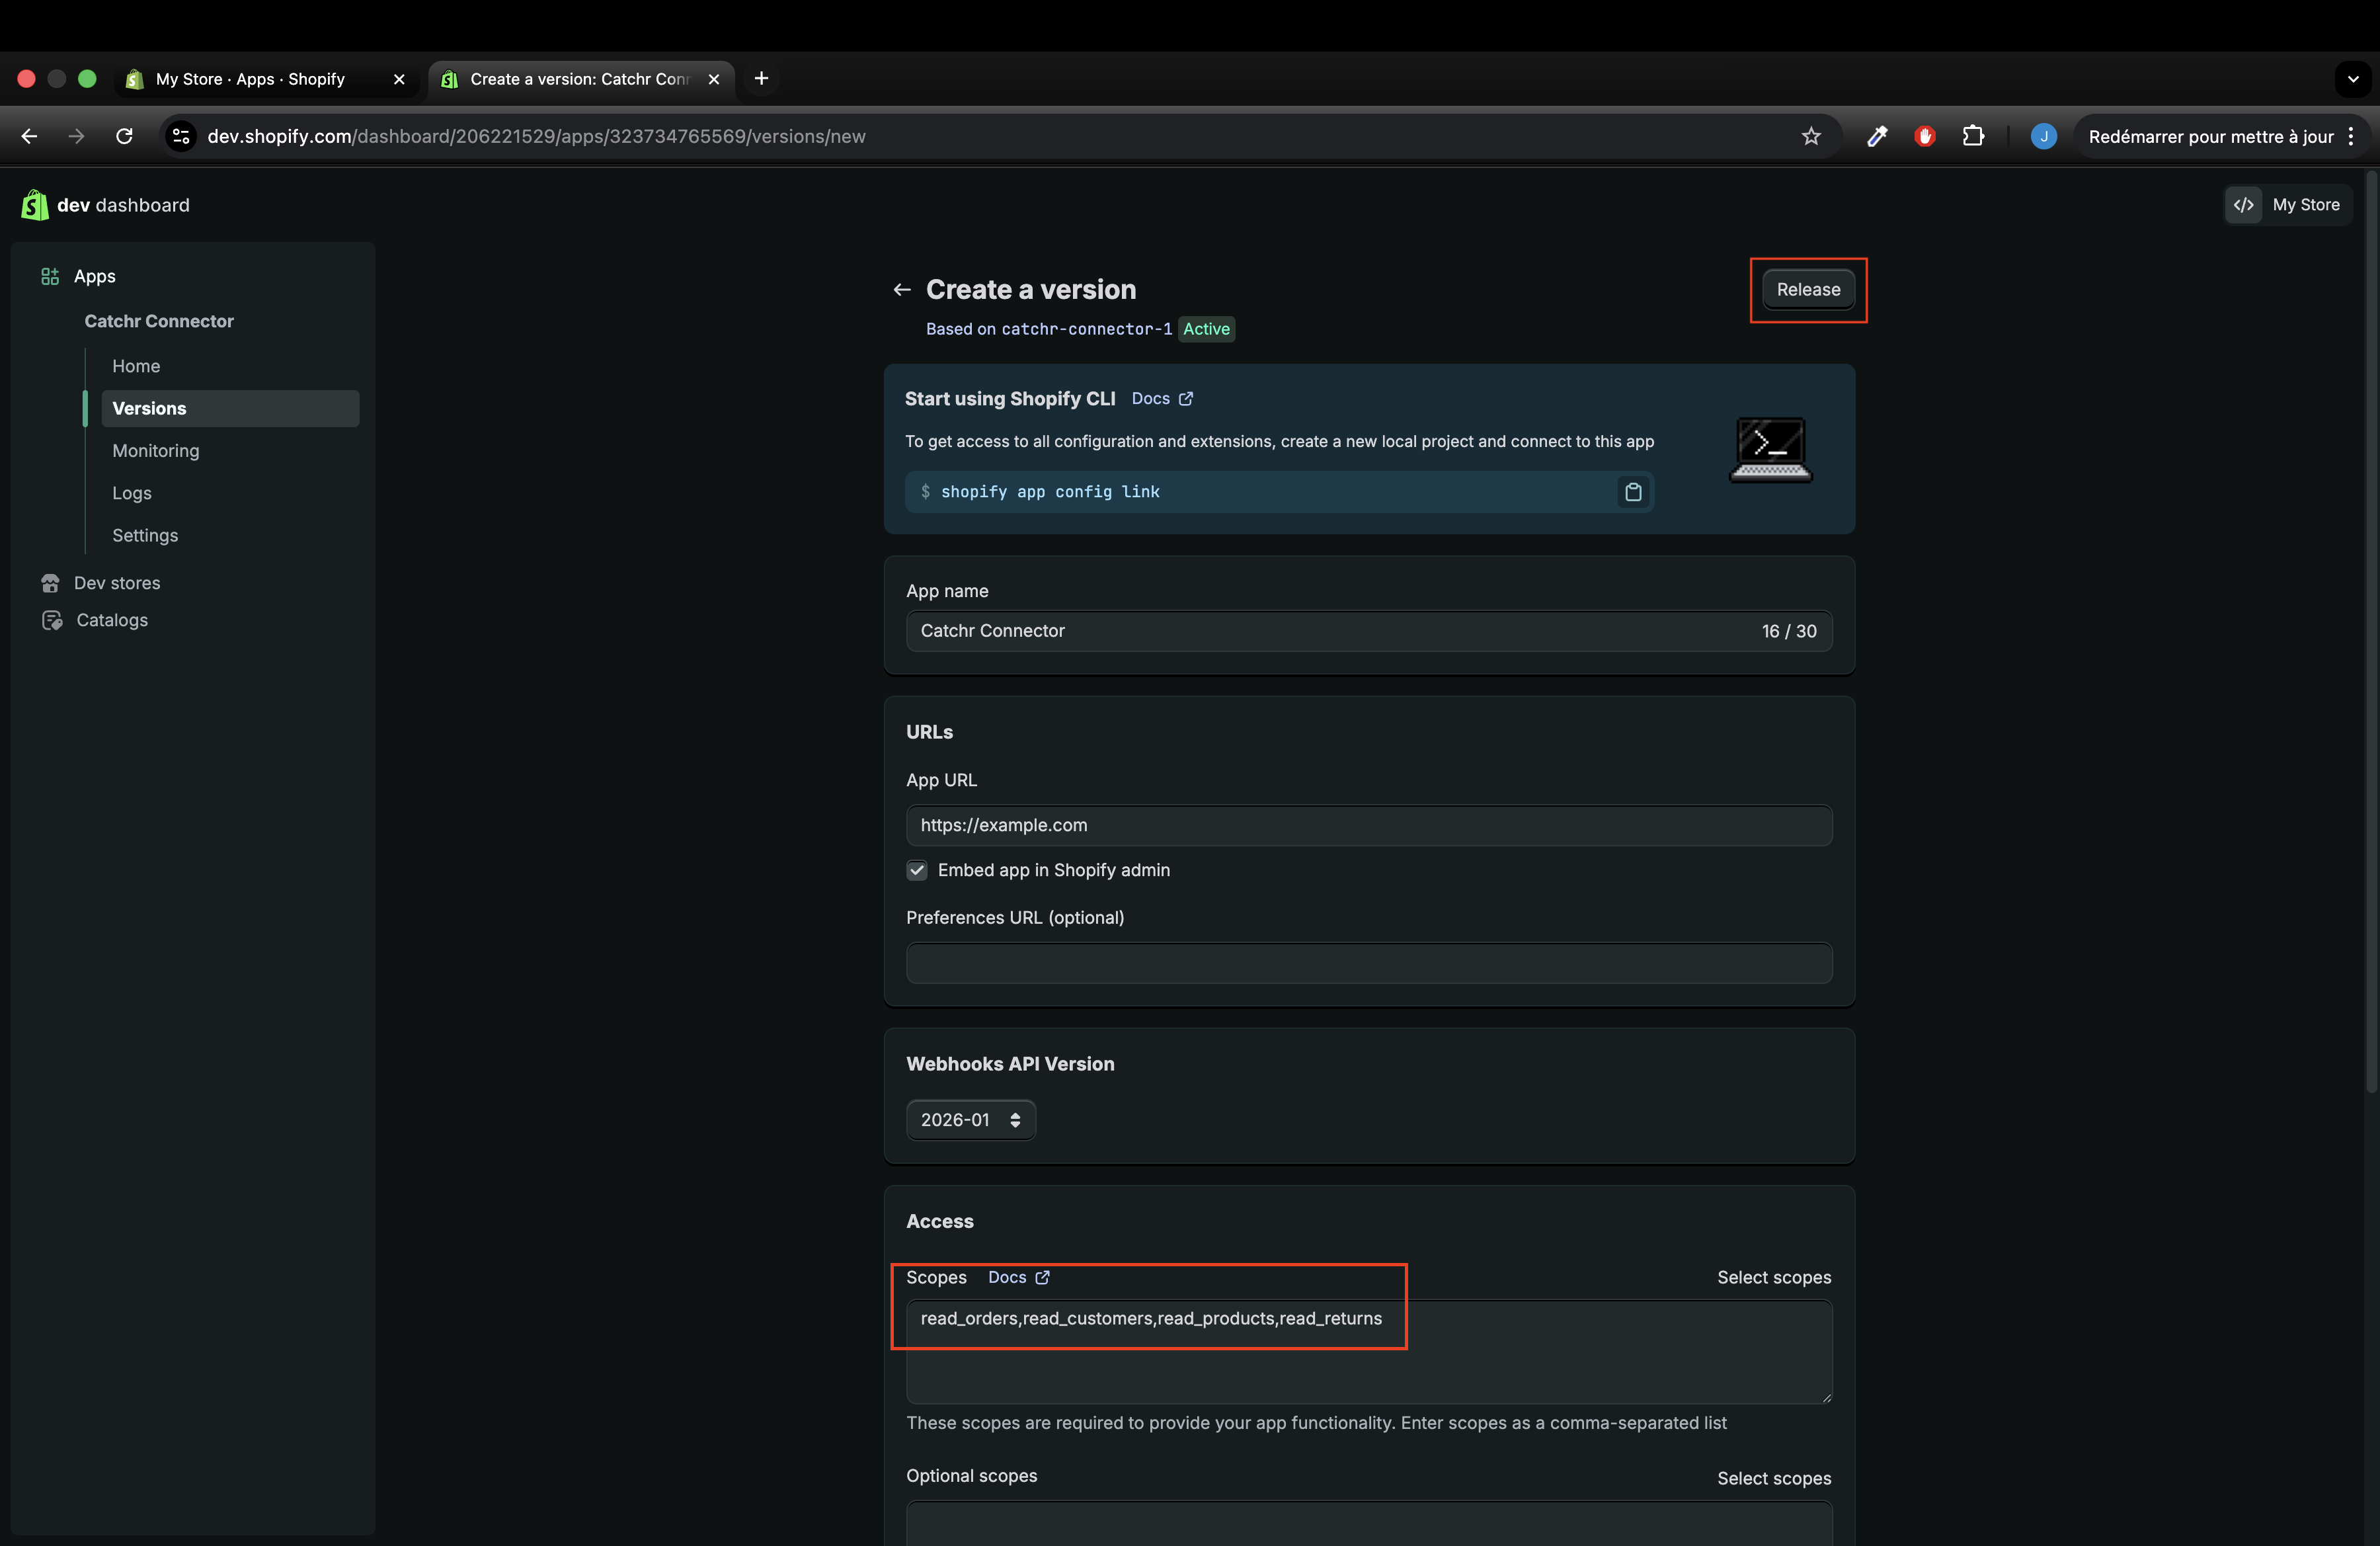
Once access has been granted, go back to the “Versions” screen, where you manage your scopes, and add the read_all_orders scope (you might need to refresh the page).
Then click Release and give a version name, and click Release again.
Install the app: go back to Home and click Installs
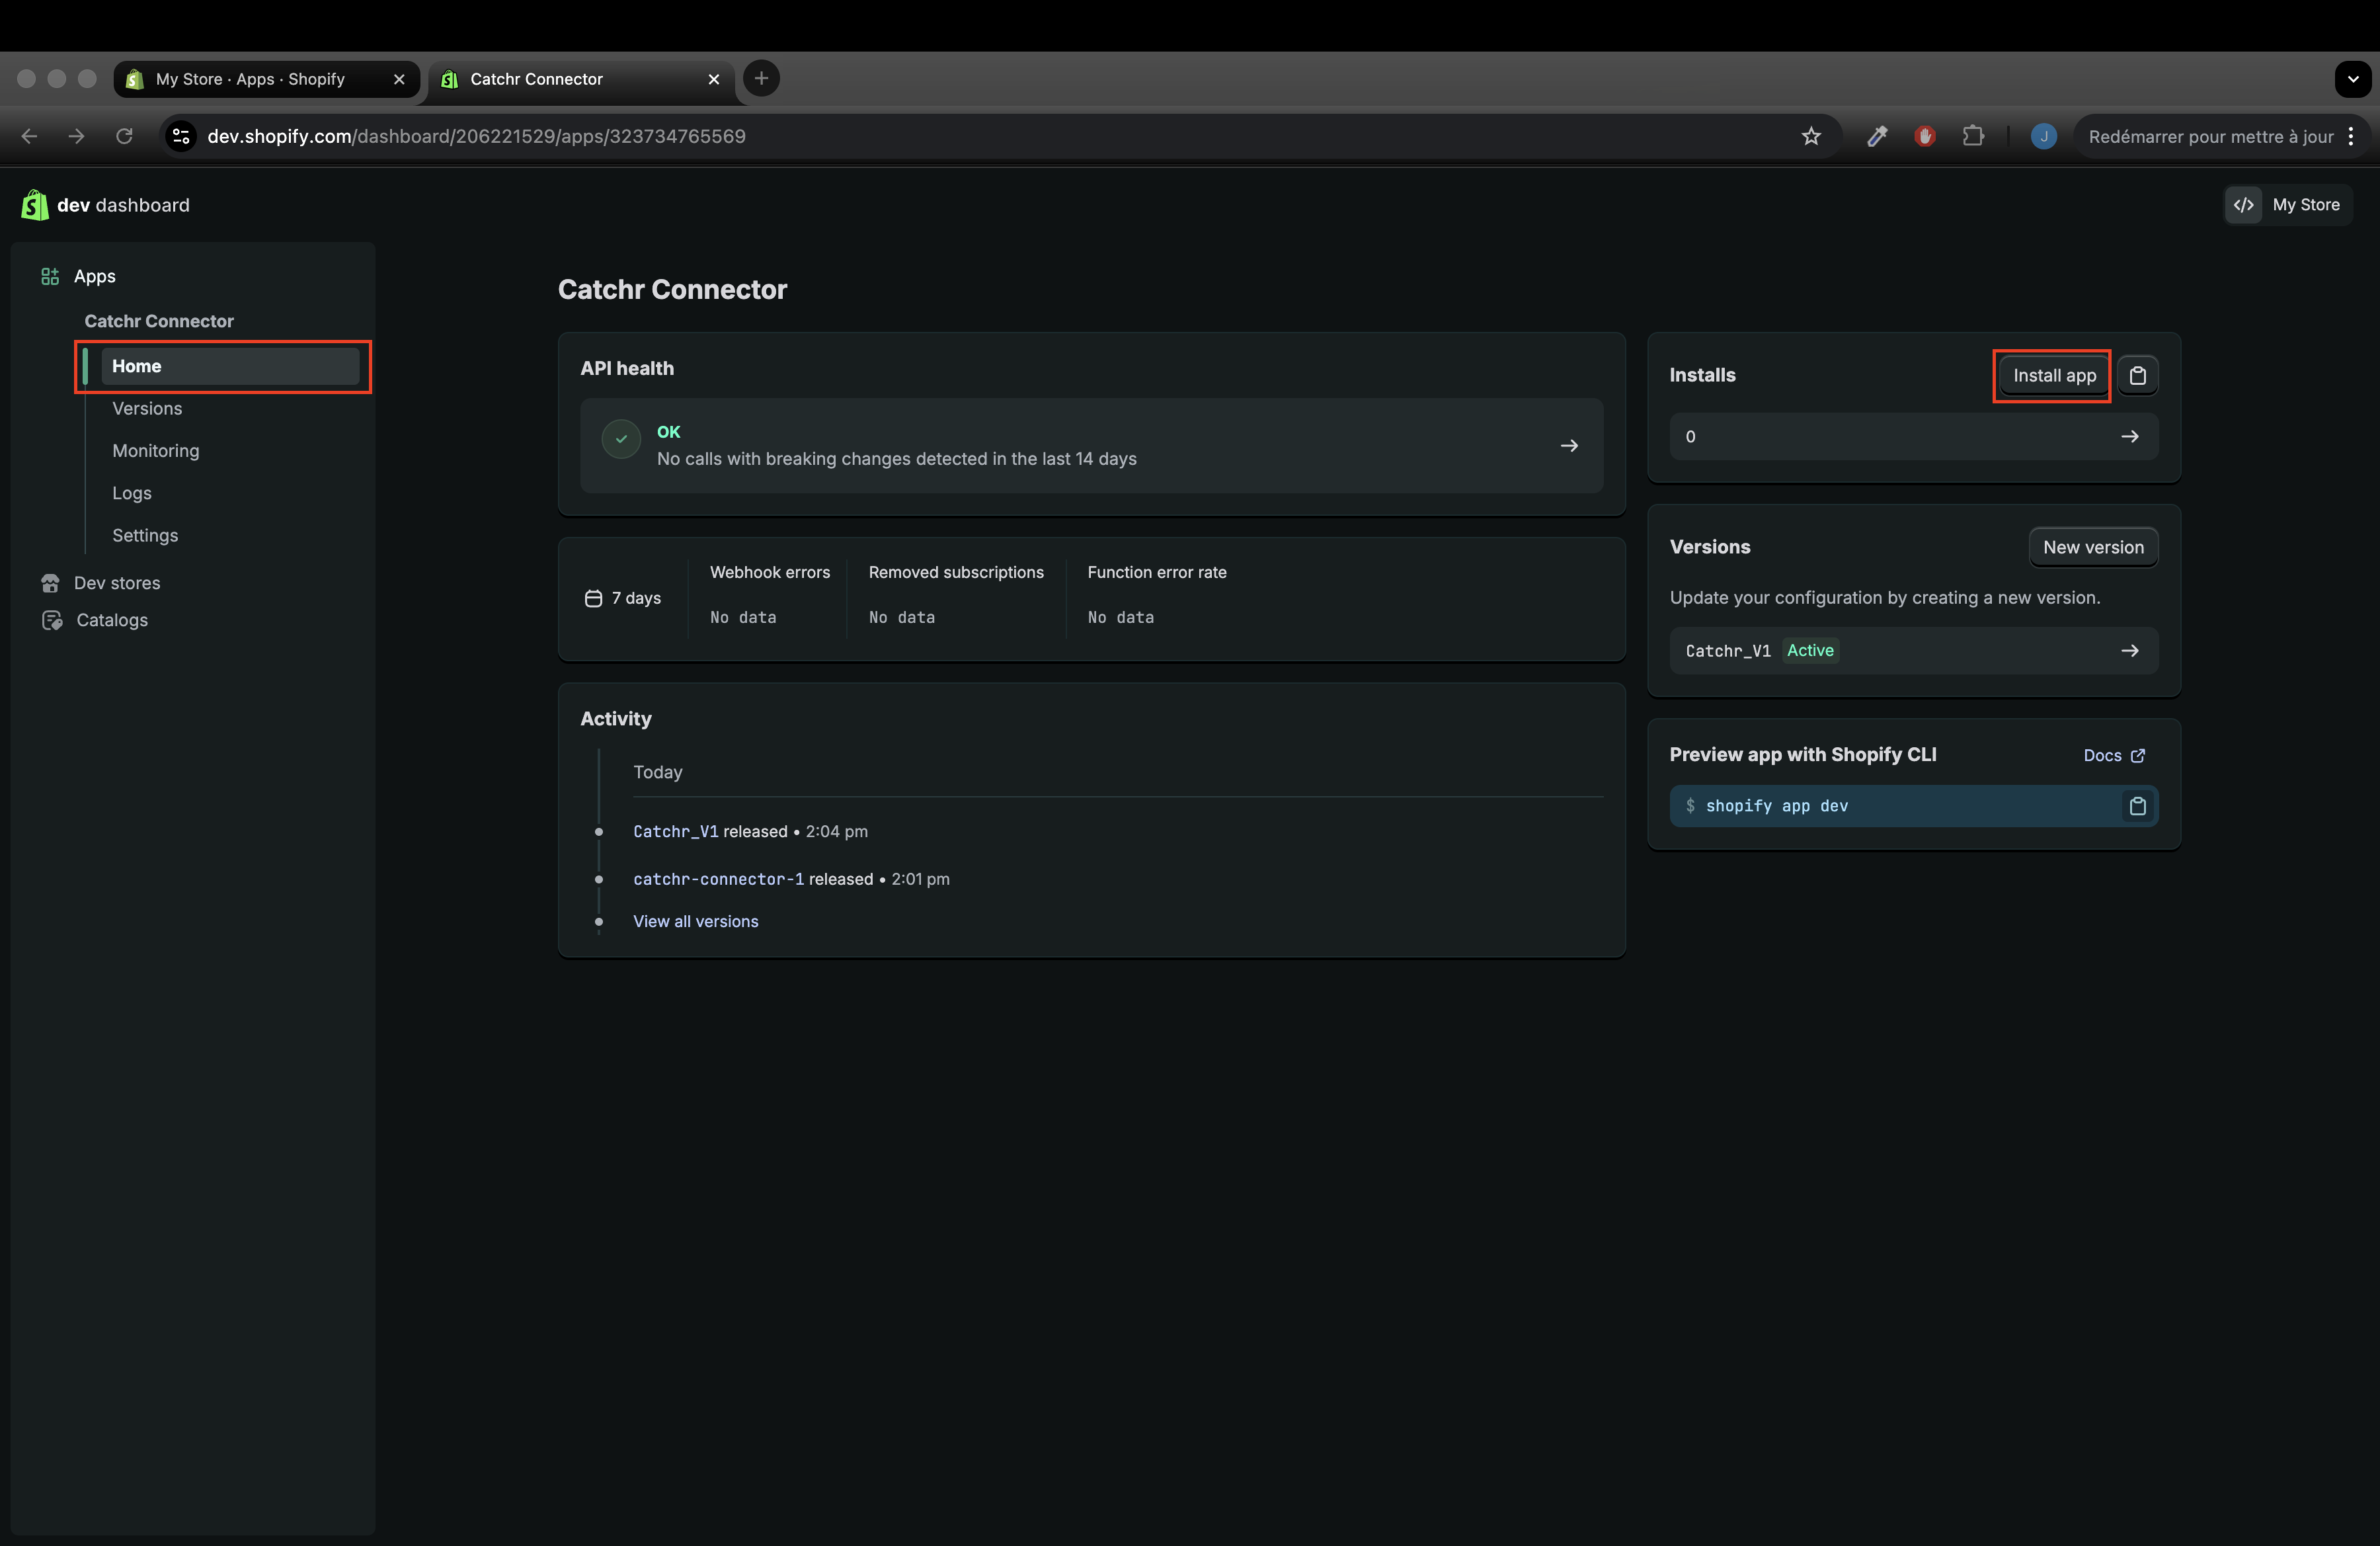
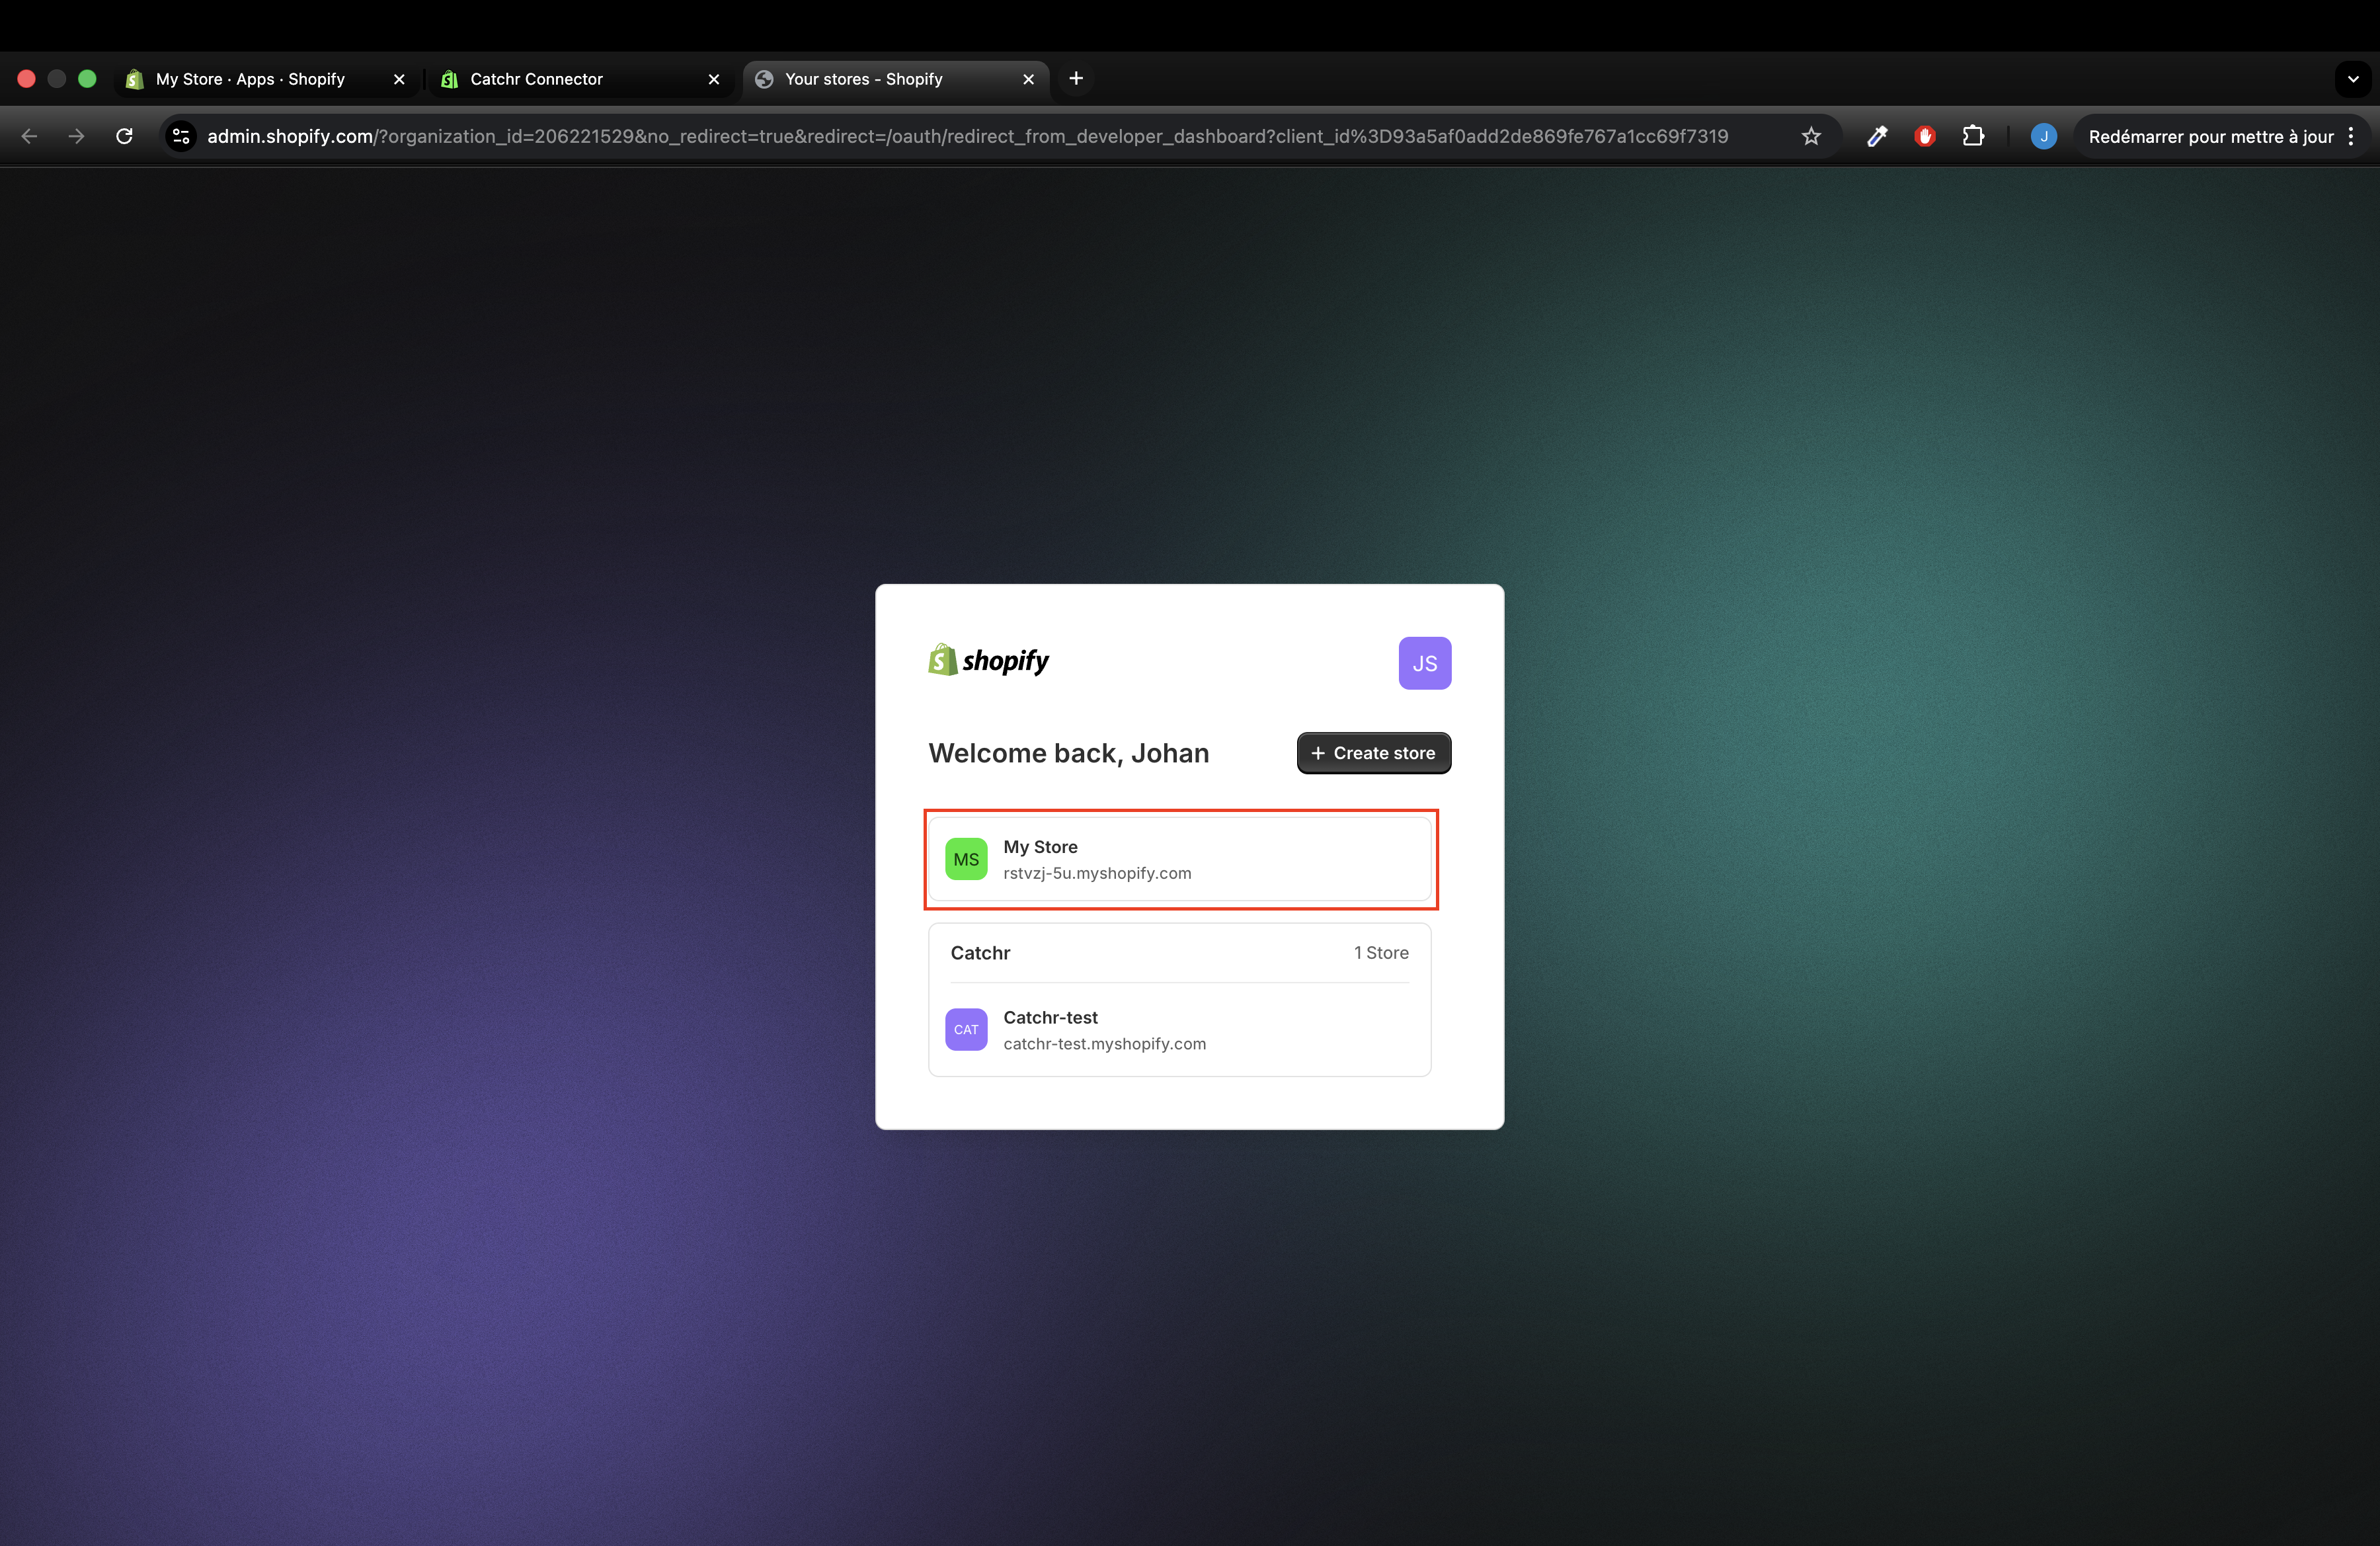
Select the Store where you want to install it.
Click Install (you will be redirected to app.catchr.io (if not, check step 7).

Go back to the tab on dev.shopify.com and go to Settings to find your Client ID and Client Secret. Keep this tab open, you will need these to create your Catchr Source.
Log in to your Catchr account at https://app.catchr.io.
Click Sources in the left menu.
Click + Add Source in the top right.
Choose Shopify as the platform.
Give your new Source a name (e.g., catchr-test.myshopify.com).
When prompted:
Enter your Shopify store domain (e.g., yourstore.myshopify.com)
Paste the Client ID and Client Secret from the App you created.
Click Connect to create the source.
Once connected, Catchr will show your available Shopify account.
Activate the source and confirm permissions.
You can now use this Shopify Source in Catchr for reporting in Looker Studio, Excel, Google Sheets, Power BI, Tableau, etc.